Trapped on an Island: Coffee with a Moka Pot
It’s the stuff that wakes you up in the morning and transforms you from an obnoxious human being into the lovely person that you are. But what do you do when you can’t simply get your daily fix from the coffee shop around the corner?

While the Moka pot is nearly 90 years old and reached an iconic status with institutions like the Museum of Modern Art having it on display, its spread is still mostly limited (southern) Europe and Latin America. One reason for that might be, that while preparing coffee with the Moka pot isn’t particularly hard, it’s also very easy to get a bad cup of coffee from it. Therefor, let’s go through the process of brewing and see how one can get a more decent cup of coffee using the Moka pot.
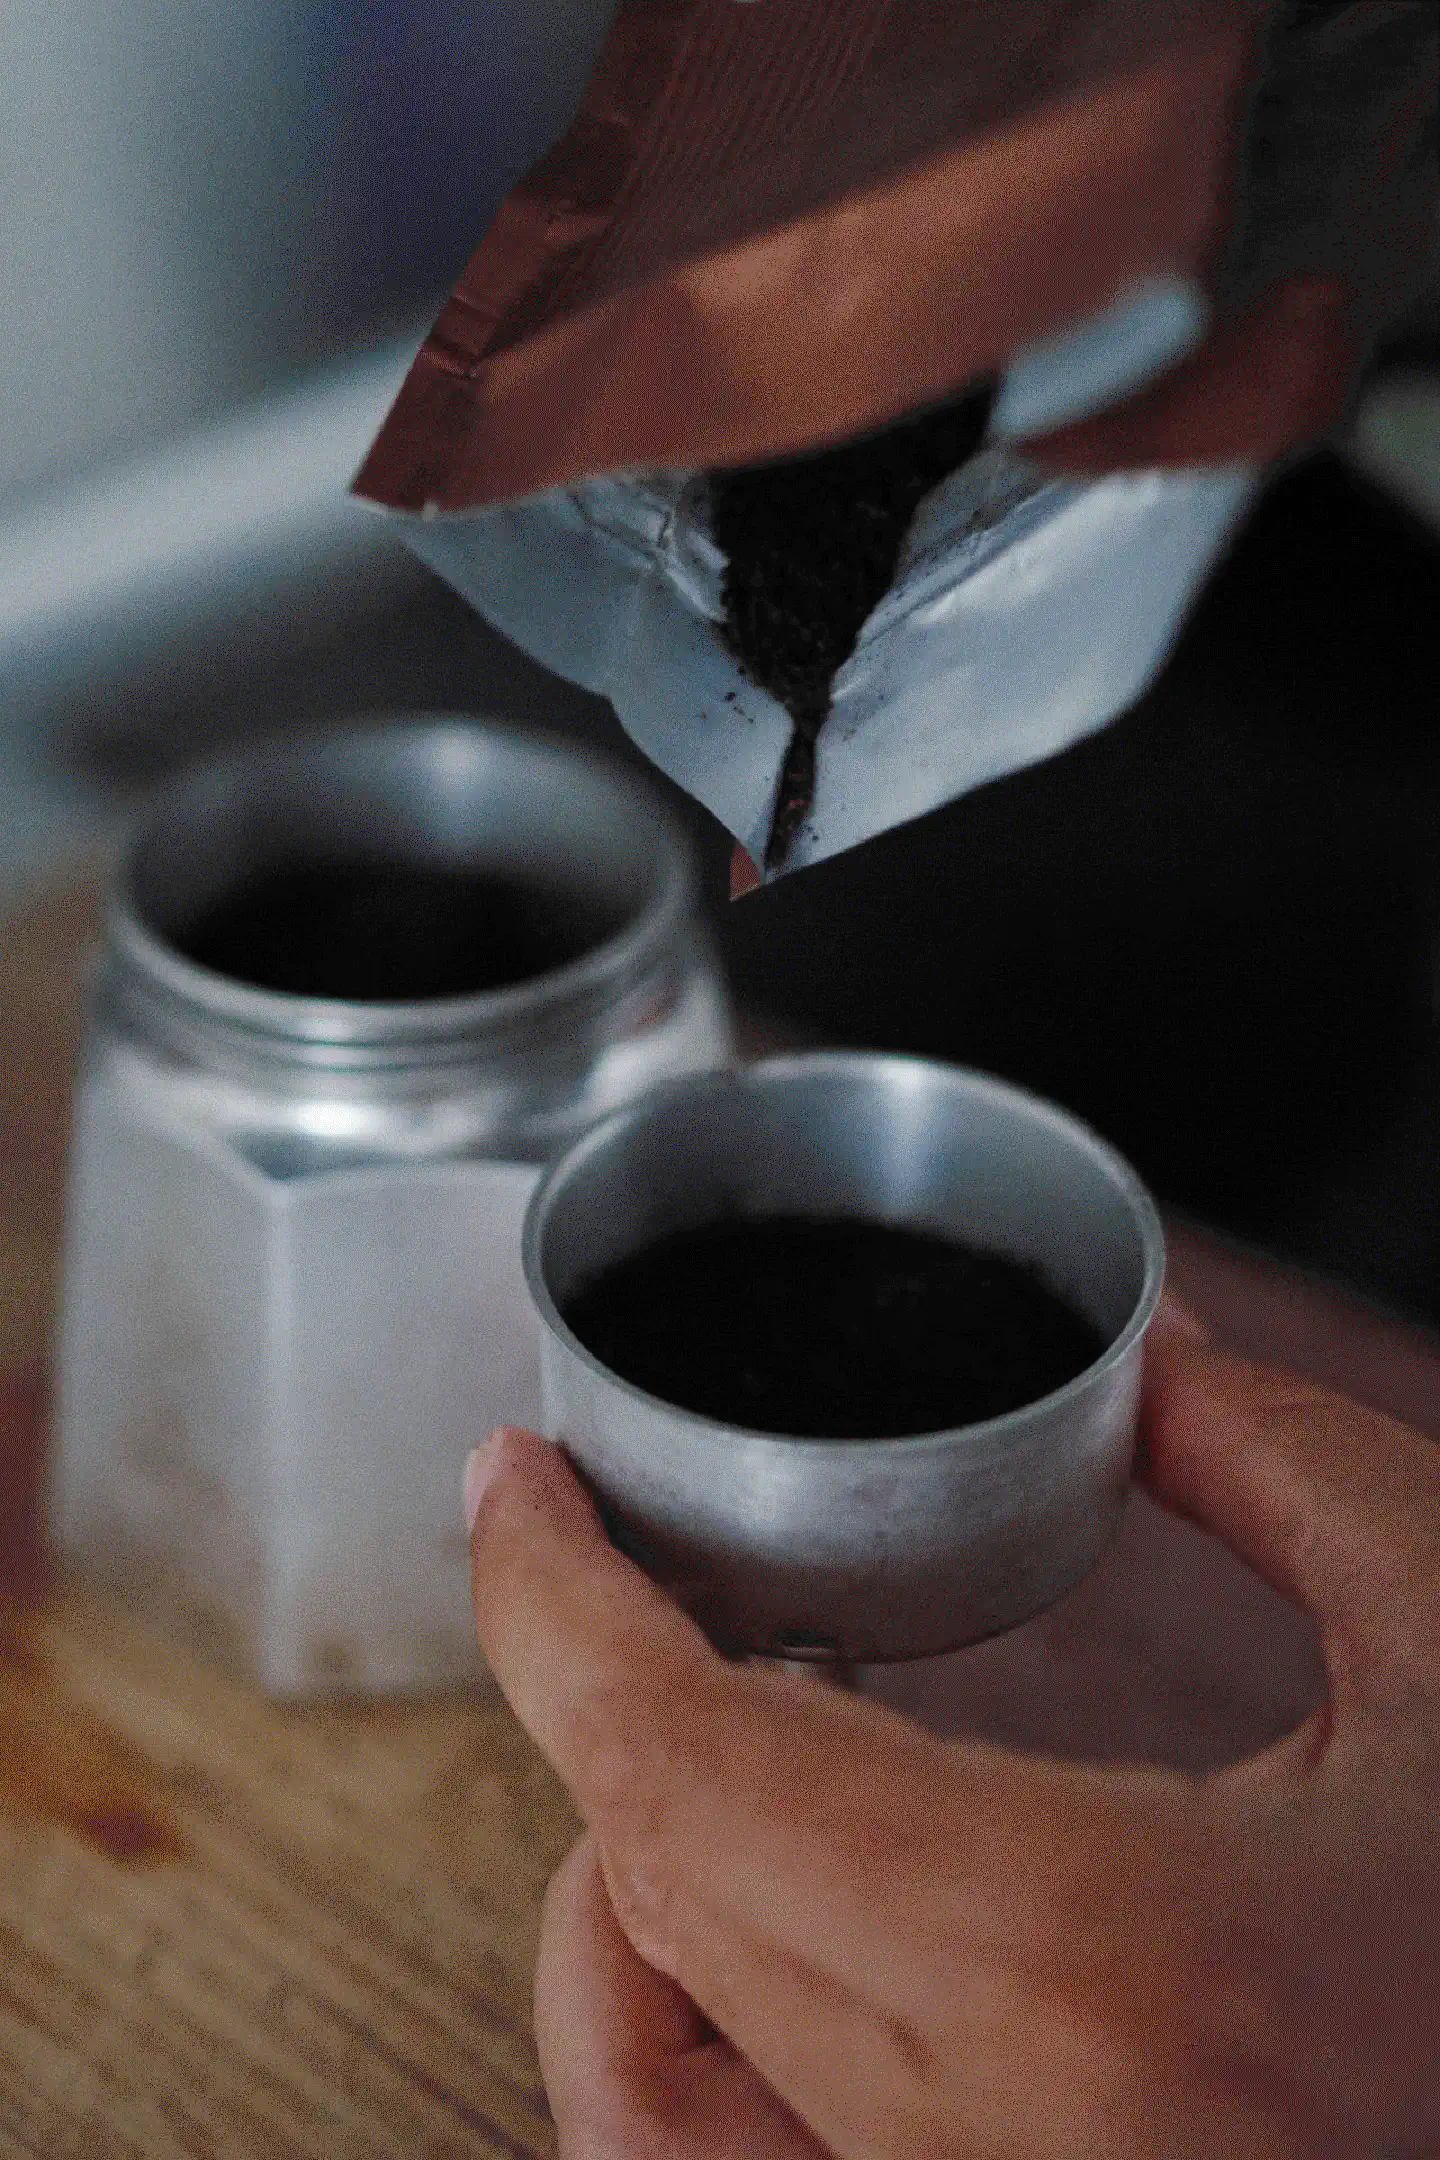
First things first: The coffee. A lot of people seem to be using a fine ground espresso roast. While it is possible, I noticed that it might not be ideal for the Moka pot, which has an extraction ratio that is somewhat higher than that of an espresso machine. Therefor I’d suggest using a slightly coarser grind than what you’d normally use for in an espresso machine. Keep in mind, that in a typical pot, coffee is being extracted at far lower pressures of around 1 or 2 bars (100 or 200 kPa) compared to the conventional ~9 bars (~900 kPa) of an espresso machine. In addition to that, the Moka pot provides no real consistency in terms of pressure, extraction time or water temperature, so that it’s generally hard to get a similar tasting cup over and over again. That’s not necessarily a bad thing, just prepare for your coffee to vary in taste with every new cup you’re brewing, even when you stick to the same parameters.
Next, the water. I usually take bottled water for brewing coffee, since tap water differs a lot from place to place and I usually don’t carry around a TDS meter to check for the mineral content. TDS stands for Total Dissolved Solids and a TDS meter can basically tell you how many parts per million (ppm) of such solids your water contains. The lower the number is, the softer the water is. The higher the number gets, the more mineral content it has. Ideally you’d want to end up at something around 150ppm (which is the equivalent to 150mg/l) for your brewing water, although the acceptable range goes from 75ppm to 250ppm. Since it’s easier to Google the ppm ratings of individual bottled water brands rather than finding out the exact value of your tap water, I would go with that. Brands like Volvic, Fiji and Aquila tend to work pretty good.
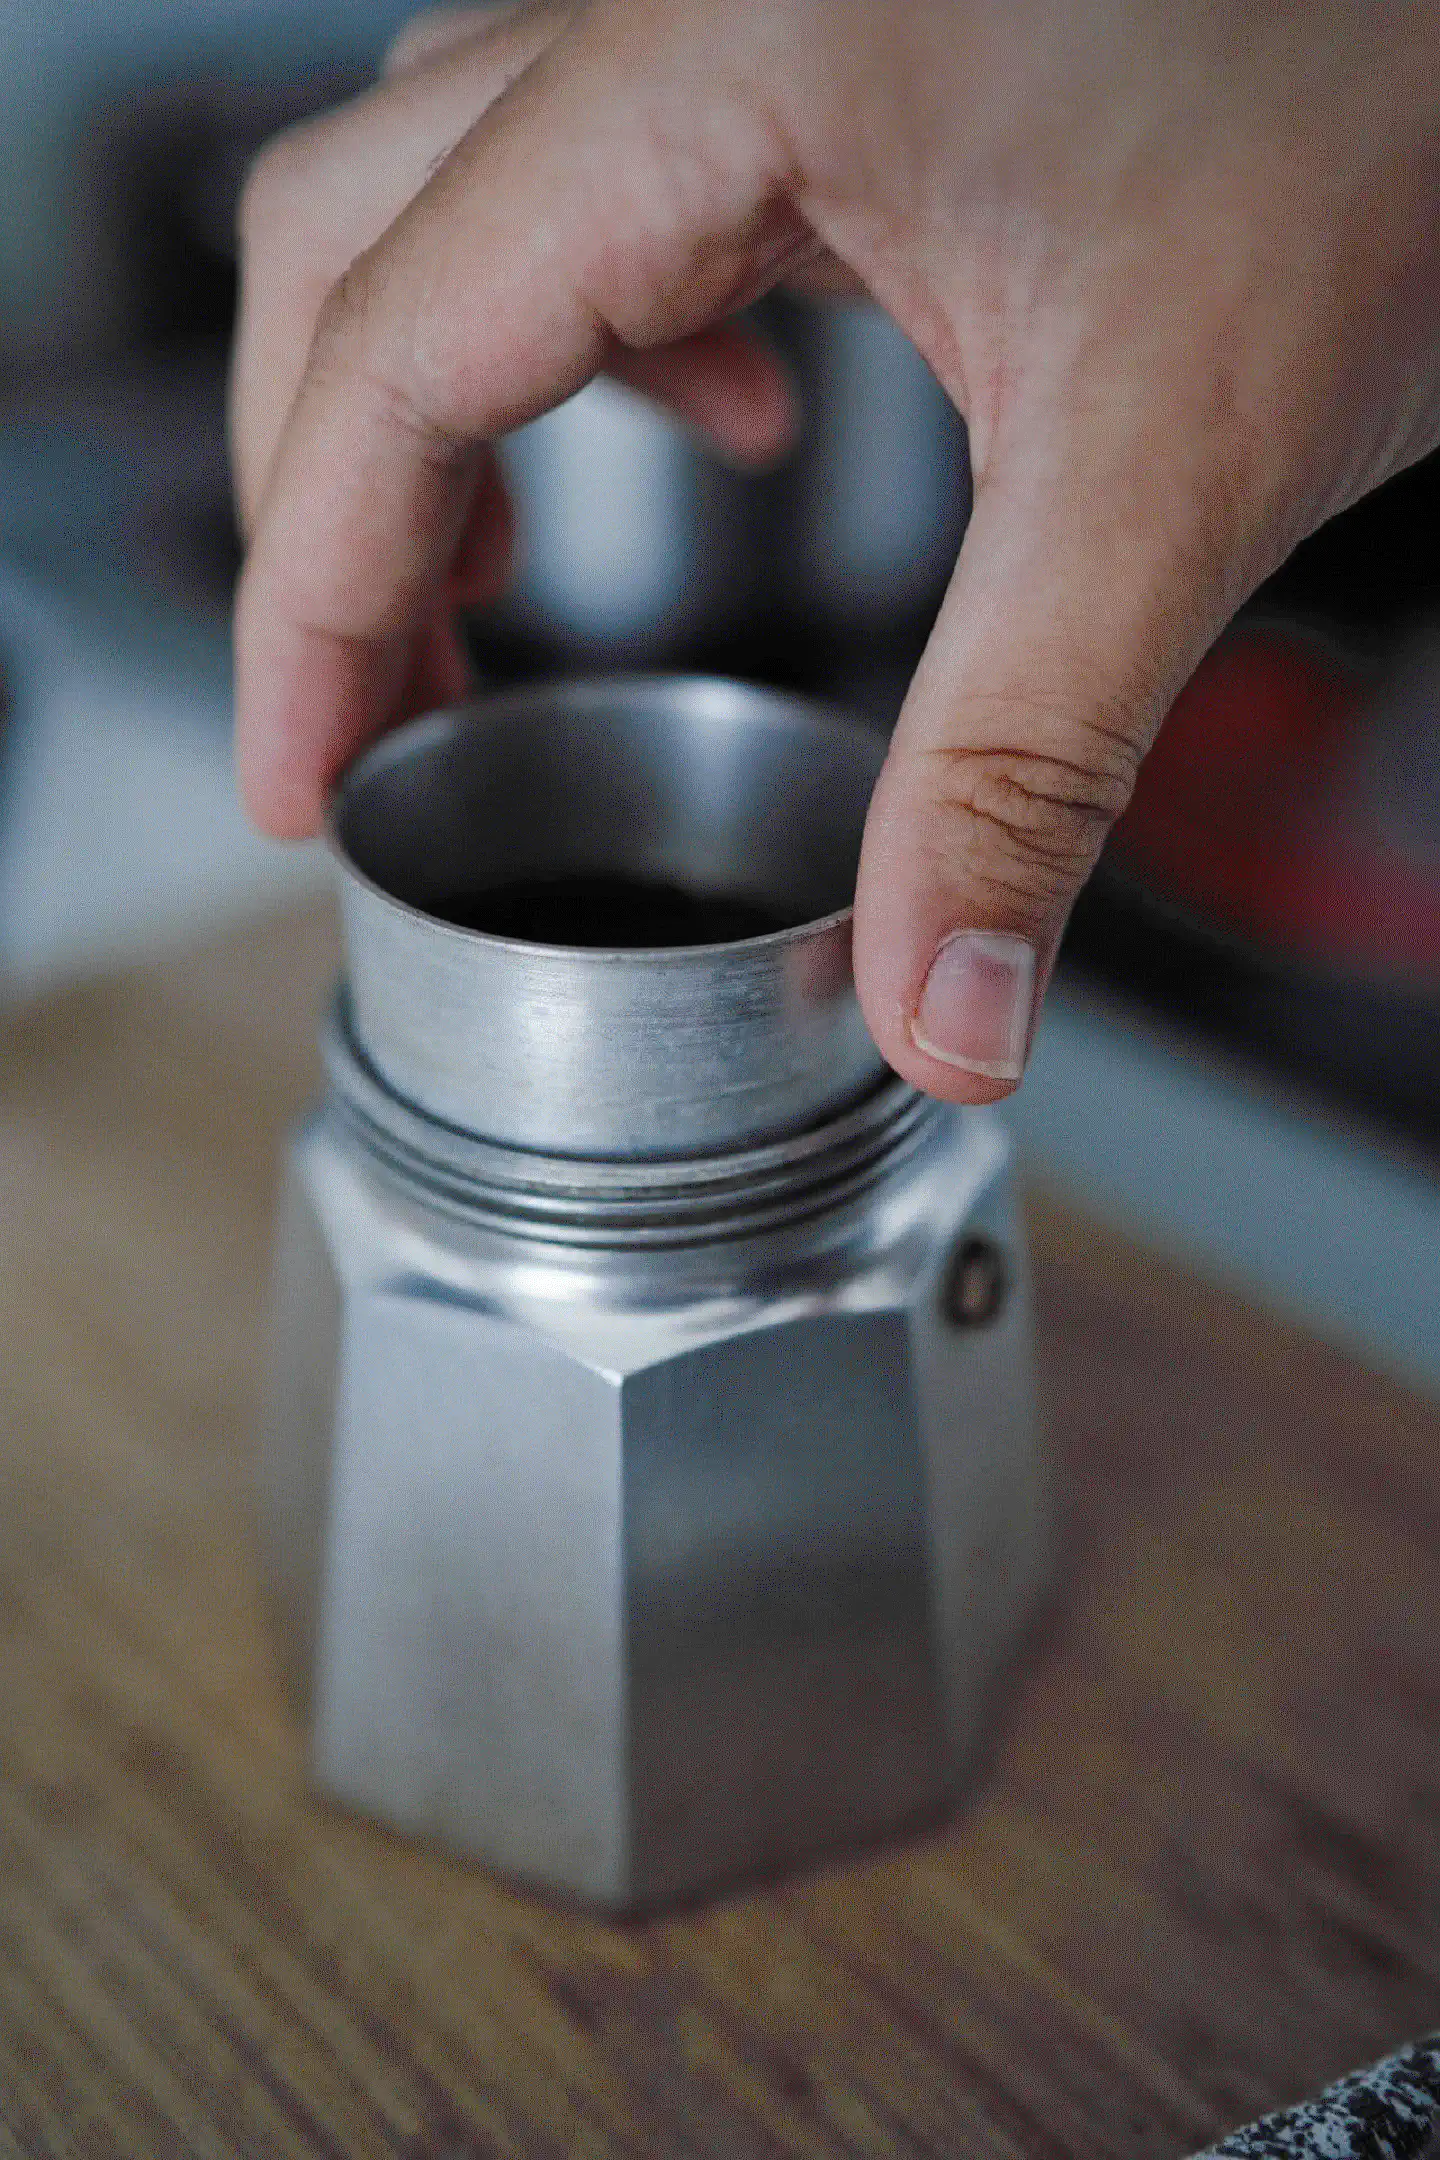
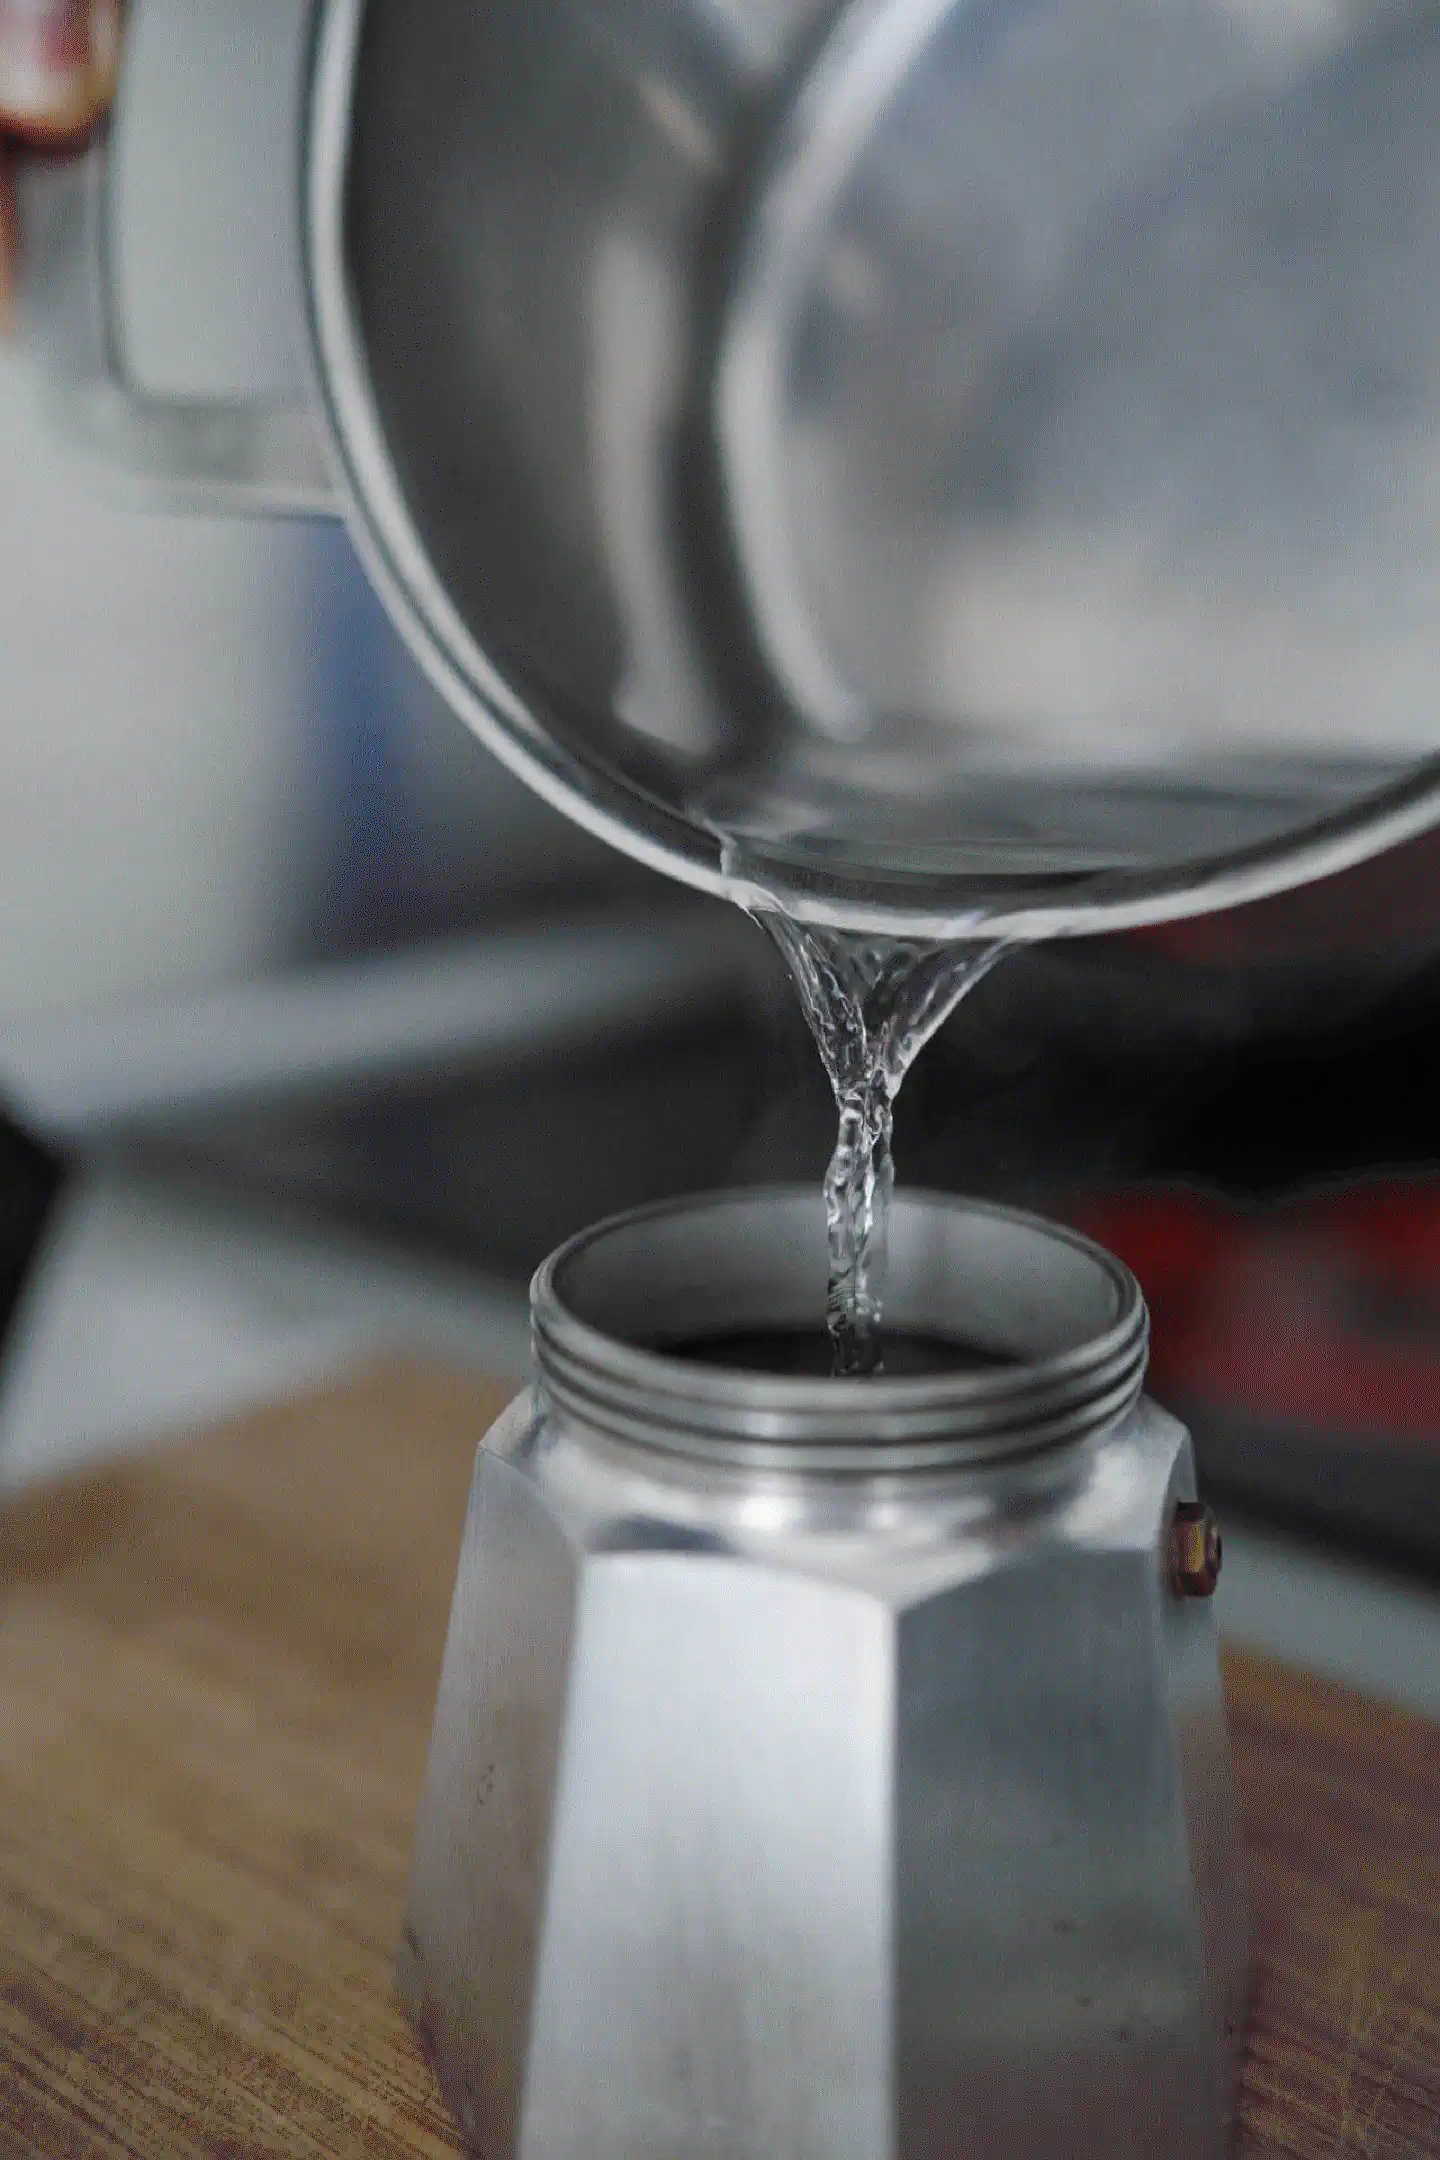
Apart from the water itself, the heating process is pretty important when brewing with a Moka pot. People usually pour the water into the bottom chamber at room temperature, insert the basket, put the pot onto the stove and turn it on. While this works, it usually leads to the cup being more bitter in the end, as the coffee already gets heated while the water begins to boil. Ideally you’d want to heat the water individually upfront (in a kettle or something as simple as a cooking pot), quickly pour it into the bottom chamber as soon as it boils and only then insert the basket, close the Moka pot and put it on the hot stove.
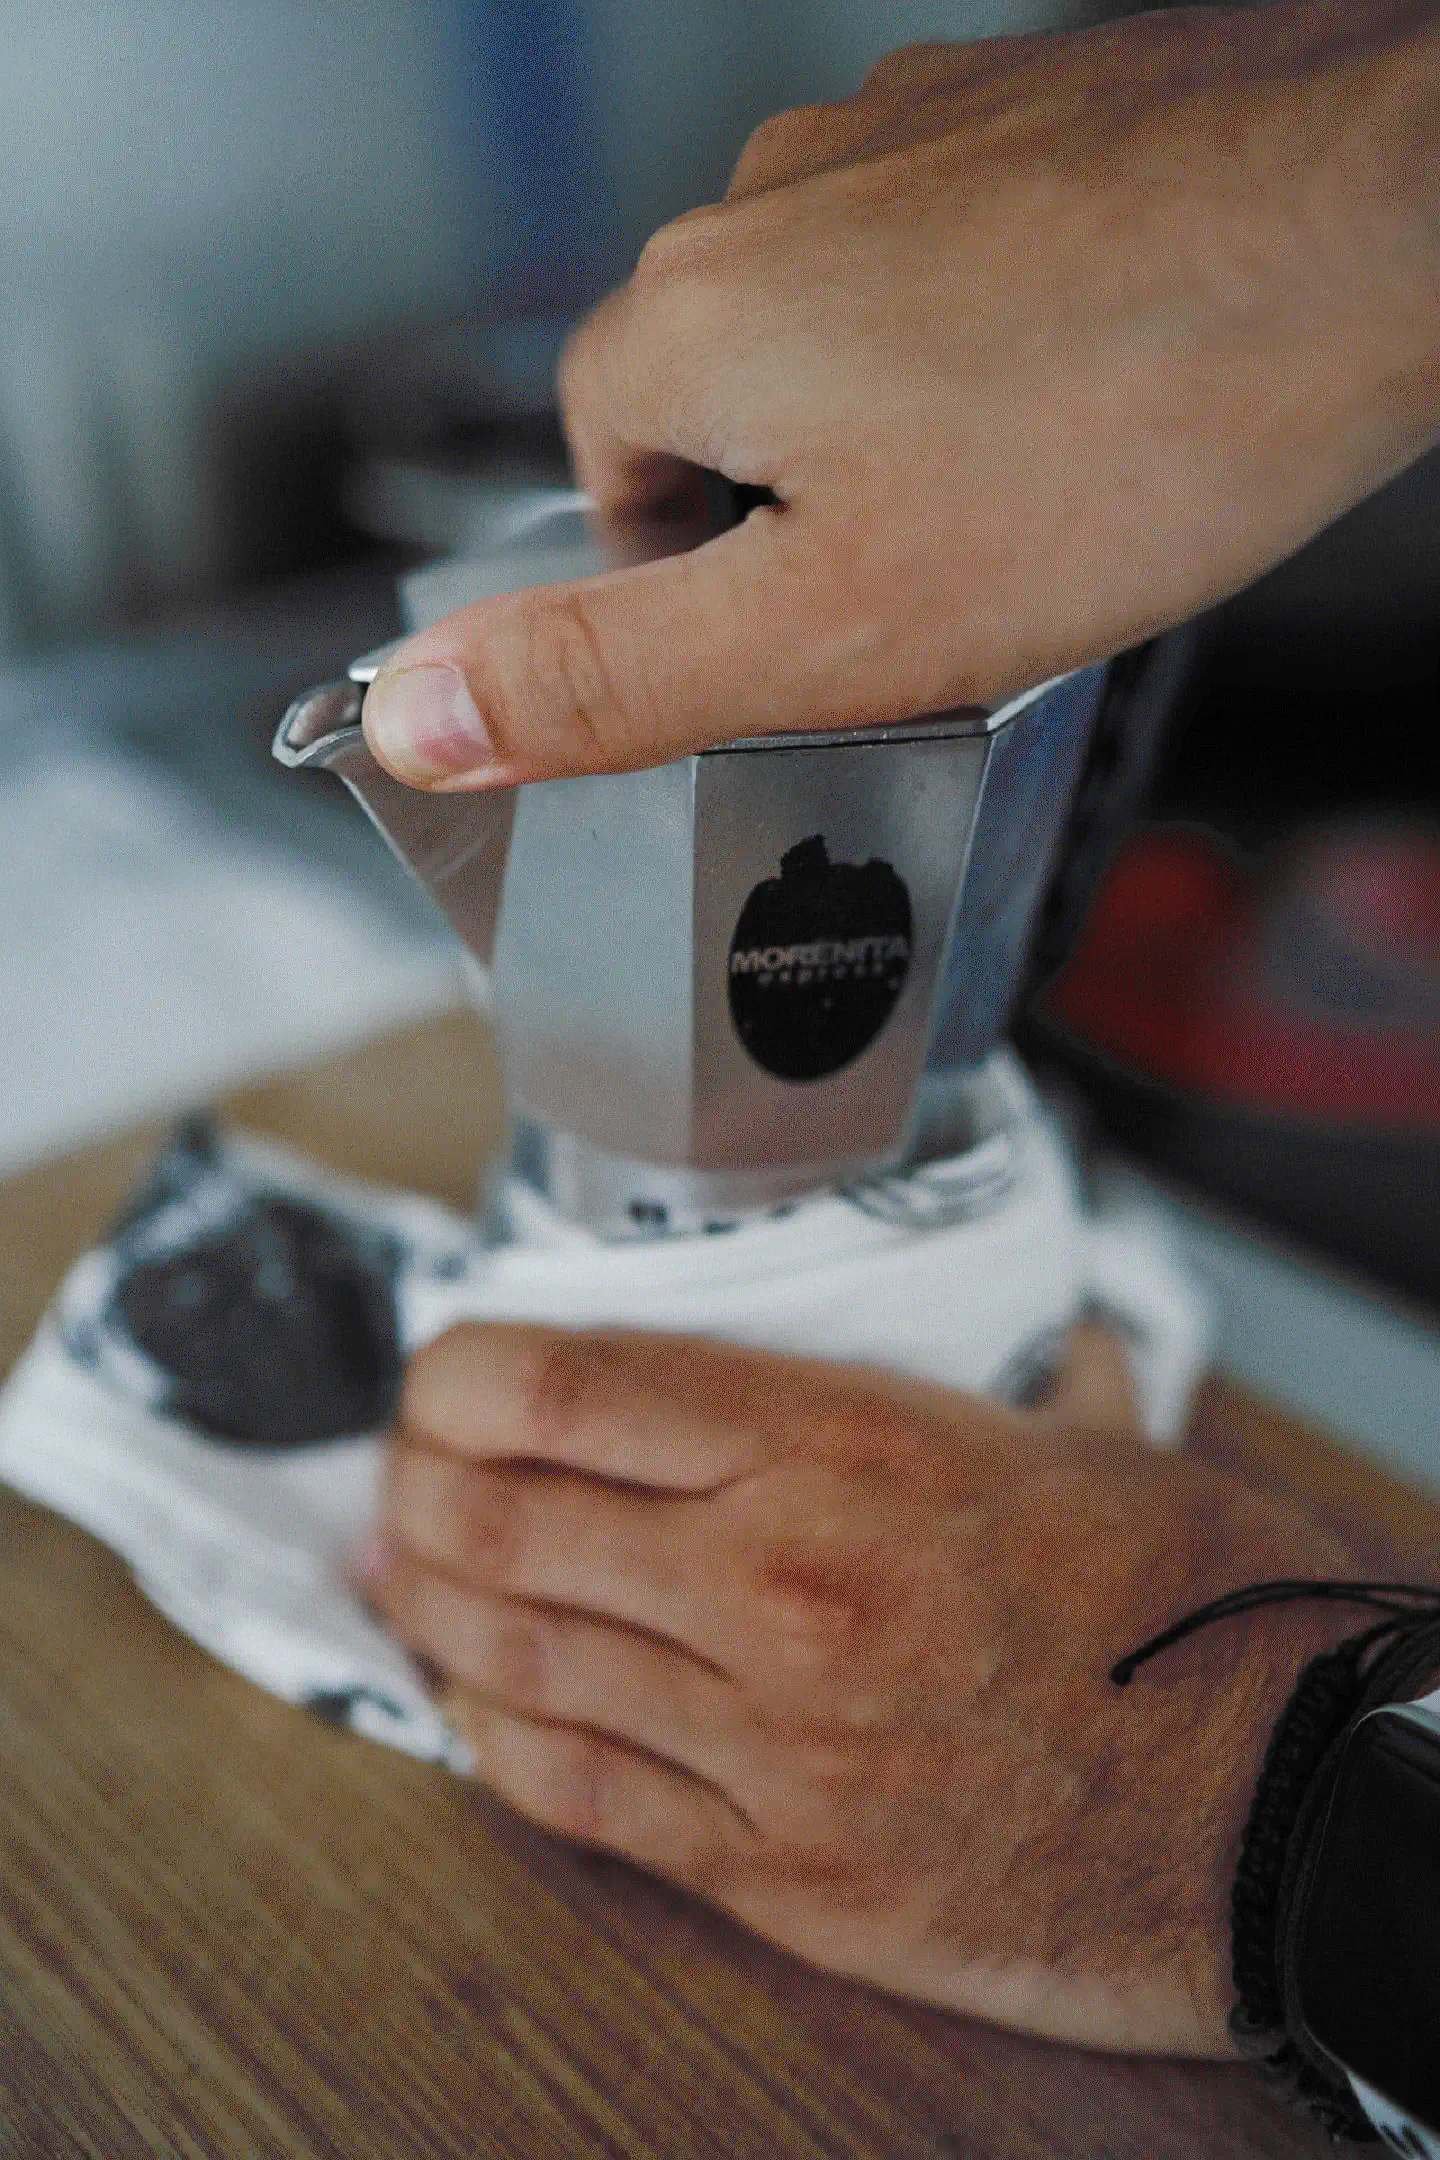
Make sure to use a kitchen towel or an oven cloth to hold the bottom part as it will get uncomfortably hot very quickly. And don’t worry, the brewing process won’t start until you’ve placed the Moka pot onto the hot stove and left it there for a bit. The Moka pot usually absorbs some heat from the boiling water, making it cool off a bit. If you’d want to further optimise the process you could try to pre-heat the bottom chamber before pouring in the boiling water. In that case make sure you’re operating quickly, since the brewing process is likely to start instantly.
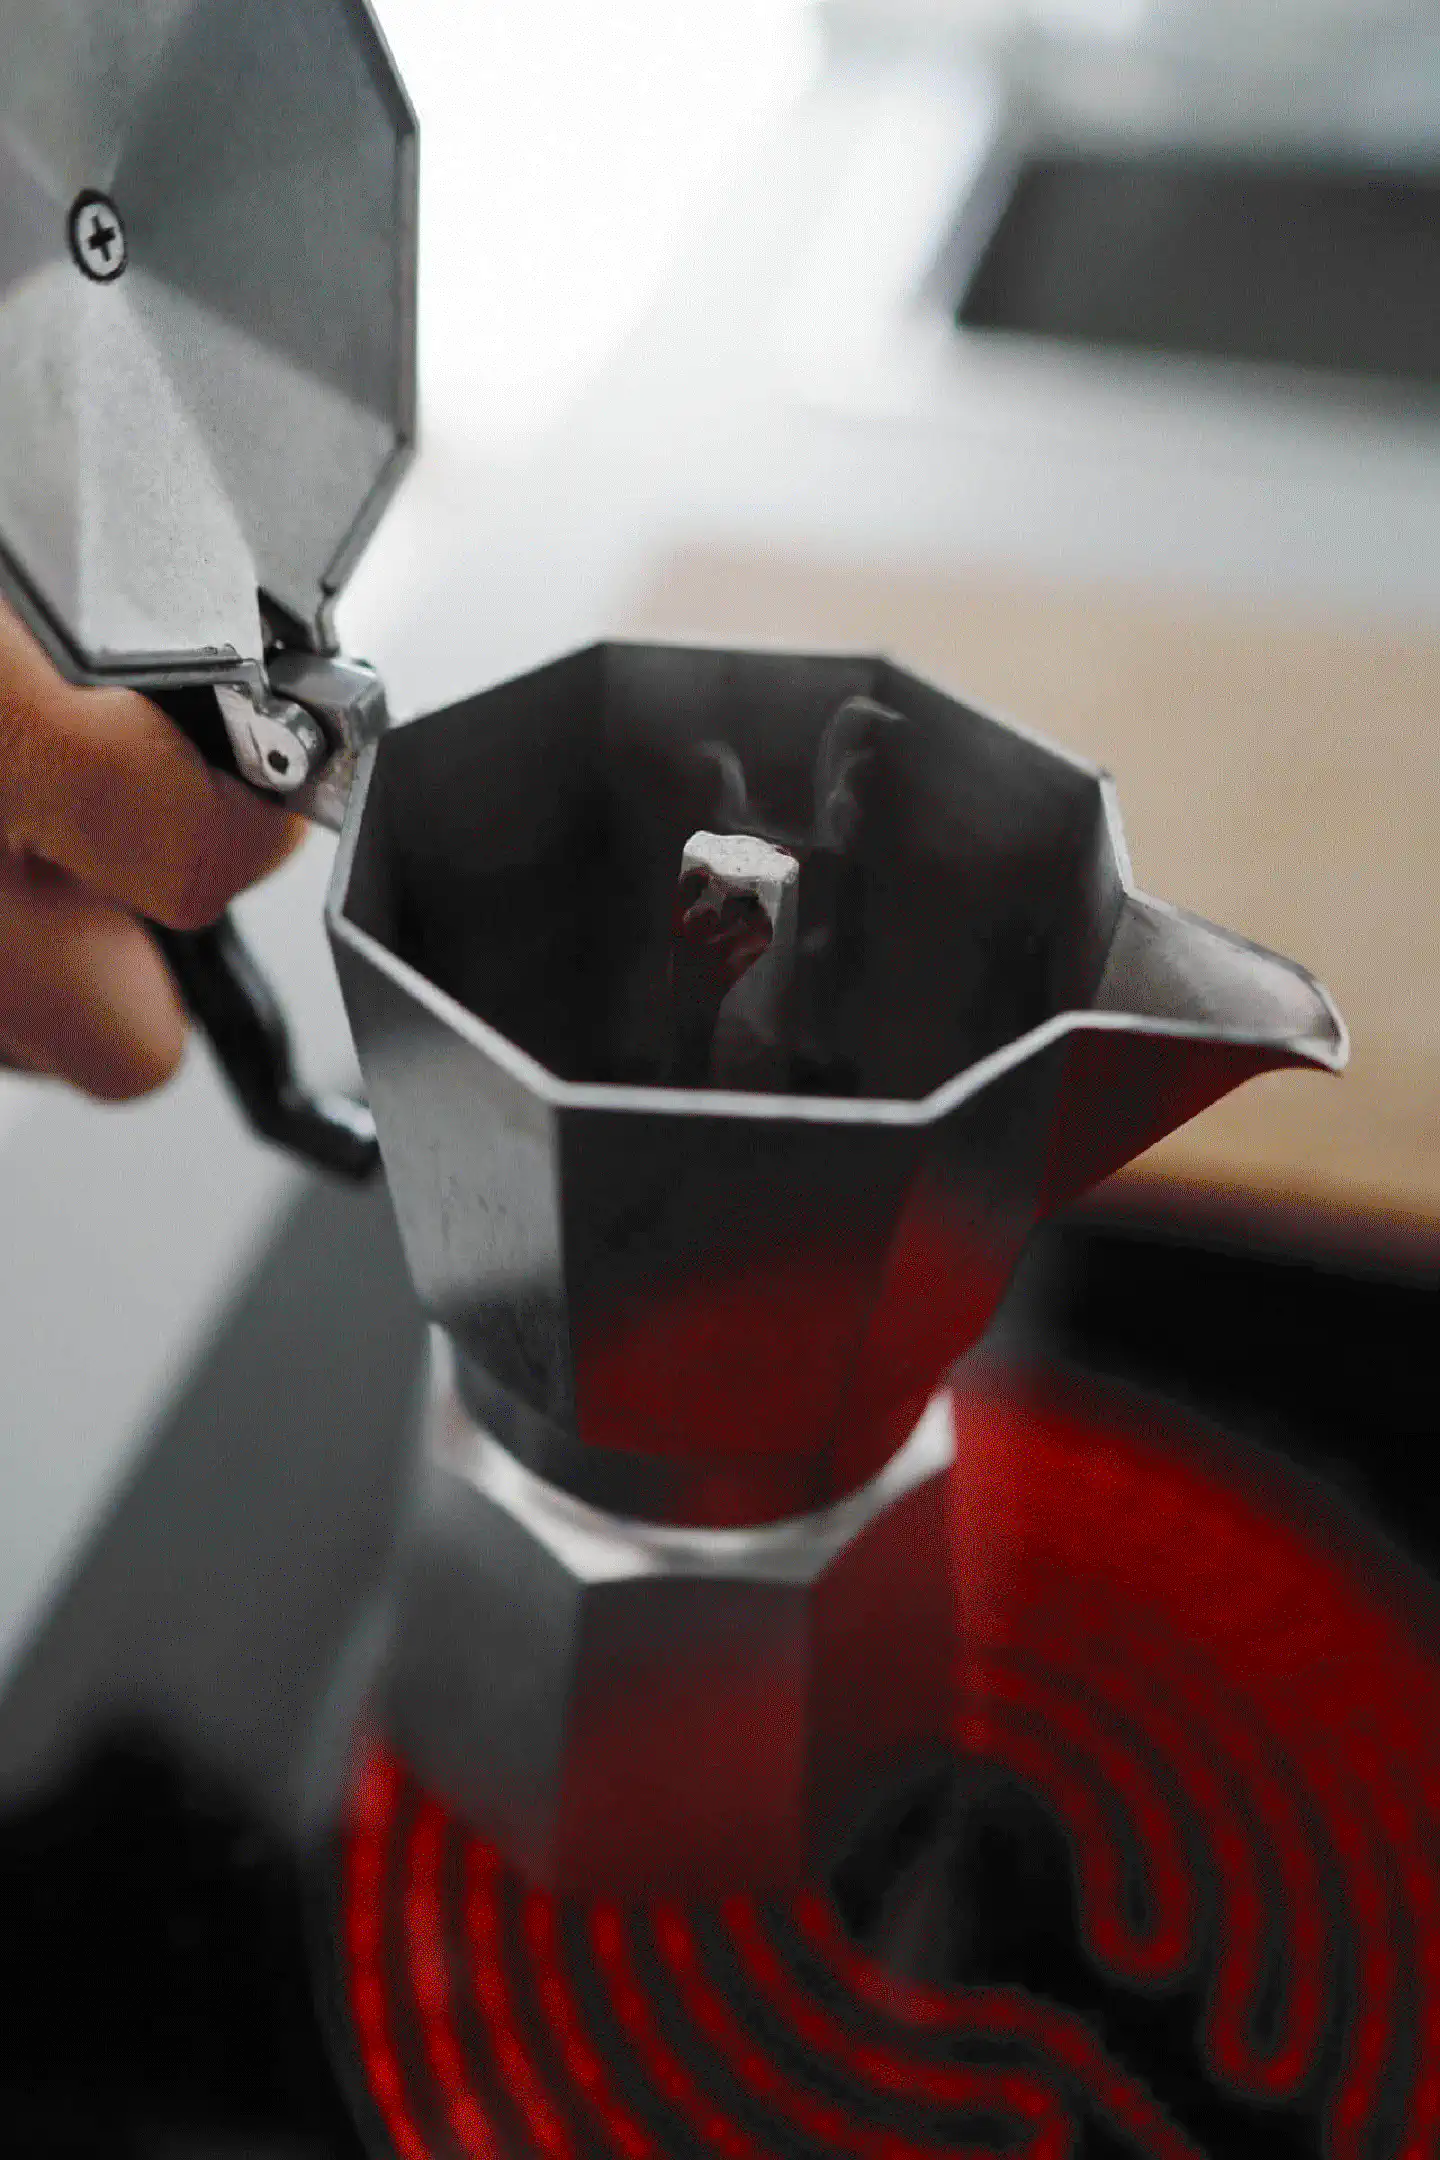
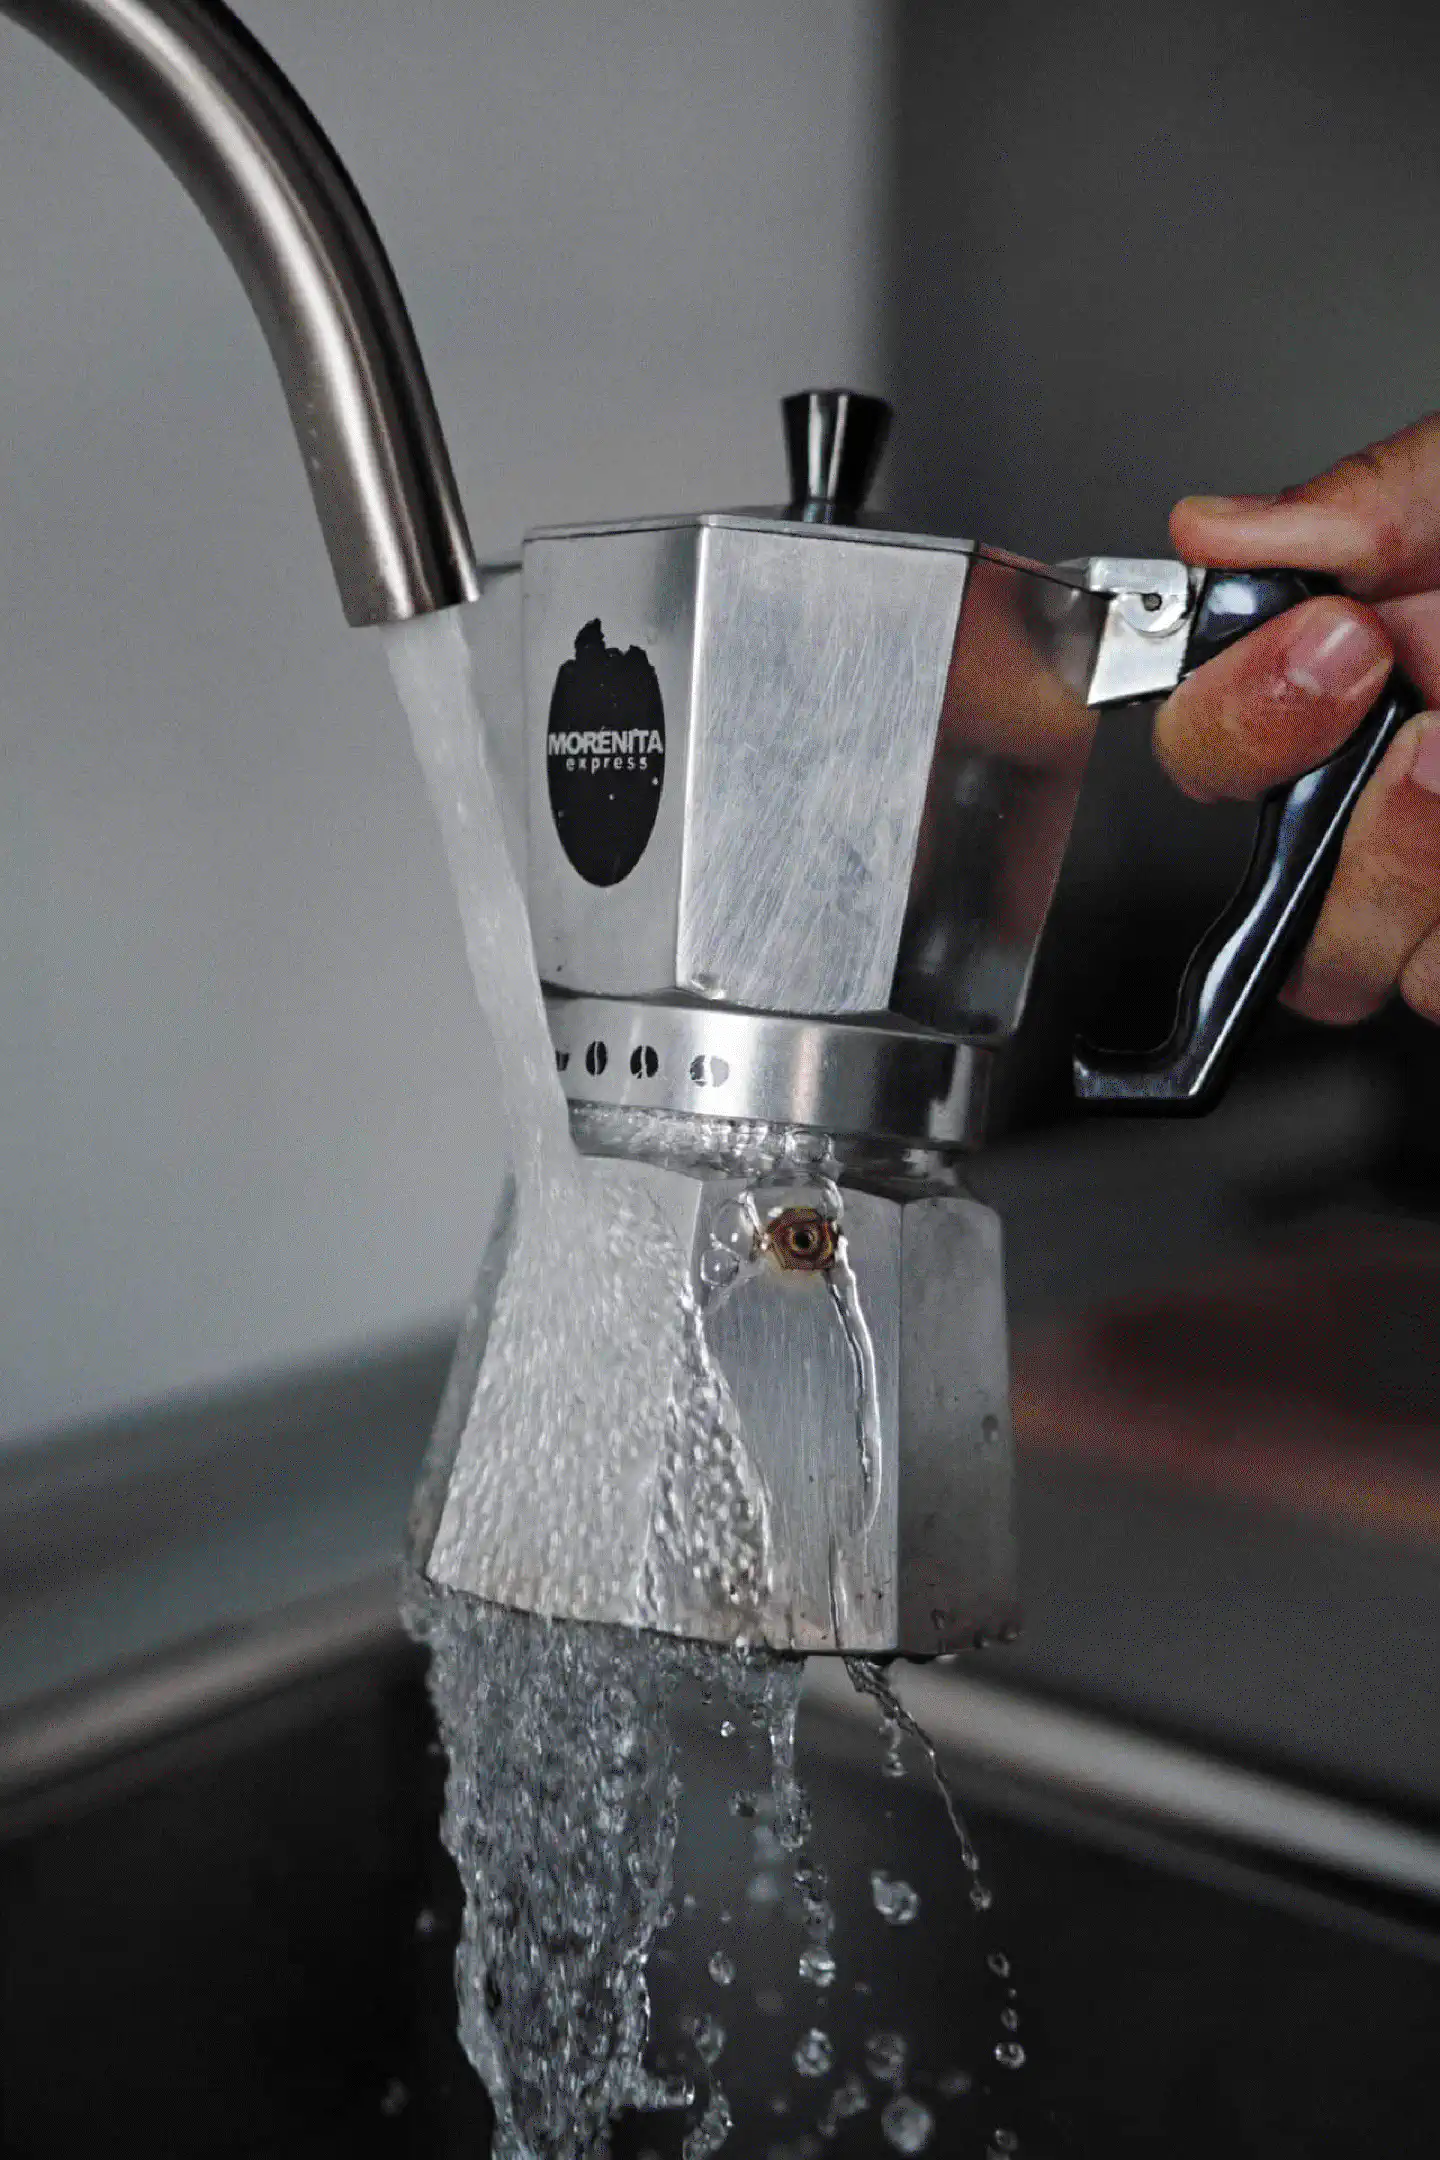
As soon as you see the coffee stream getting lighter and the amount of liquid becoming more, forming what looks like a small fountain, quickly take off the Moka pot, turn off the stove and plunge the bottom part under cold water to stop the brewing process and cool off the pot.
You’re ready to enjoy a freshly brewed cup of Moka coffee. Maybe those hints helped you in getting a cup that’s less bitter and more like something you’d want to do every now and then. I, for one, will experiment with this brewing process for a little longer, as I’m still under lock-down on this tiny island on the northeast of the African continent, waiting for the situation worldwide to cool off. However, while I learned to prepare a decent and very enjoyable cup of coffee using the Moka pot, I definitely miss a good cup of espresso. As soon as I can continue my travels, a portable espresso maker is going to be the next thing that will occupy space in my backpack. I’m specifically interested in the Aram Coffee Maker and will write down a lengthy review as soon as I could get my hands on one.
Until then, cheers!

Enjoyed this? Support me via Monero, Bitcoin or Ethereum! More info.