Run a Nostr Relay as Tor Hidden Service on OpenBSD
Let’s set up and run our own “private Twitter” on Nostr, a simple, open protocol that enables truly censorship-resistant publishing on the web!

Nostr, or “Notes and Other Stuff Transmitted by Relays”, is an open protocol that is designed for simplicity and censorship resistance, enabling decentralized publishing on the web. Even though the protocol allows publishing various content types, its most prominent use case so far have been social media status posts. Using client applications like Amethyst, Damus, and Iris, people can easily create a Nostr identity and join the flock of predominantly cryptocurrency enthusiasts.
Today we’re going to set up our own, private Nostr relay, as a Tor Hidden Service, on OpenBSD, and connect to it using the Amethyst Android client, allowing us to run our own “private Twitter” for us and our like-minded tinfoil hatter friends.
Preparation
Usually, when I build an OpenBSD-based infrastructure, I use a Vultr VPS instance. Even though Vultr allows running Tor on their service unless it’s an exit node, for this setup I’d suggest taking a look at a different infrastructure provider that is more focused on privacy and ideally accepts payments via XMR.
Note: I won’t explicitly mention under which user I’m running each command, hence please read carefully. When the prompt shows
bsdstr#, I’m acting asrootuser, otherwise, when it showsbsdstr%, I’m the using the_nostruser.
As soon as the OpenBSD VPS has booted, we can log in via SSH and perform a quick update of the system:
bsdstr# syspatch
bsdstr# pkg_add -u
After that, let’s begin by installing some handy tools:
bsdstr# pkg_add git zsh neovim wget mosh rsync htop
What I like to do is link nvim to vim, because typing vim is in my muscle
memory. I also like to use zsh as shell. Since that’s all preference, these
steps are optional:
bsdstr# ln -s /usr/local/bin/nvim /usr/local/bin/vim
bsdstr# chsh -s /usr/local/bin/zsh root
Another optional but useful thing that I like to do is to change the SSH port
and disable password authentication / enable pubkey authentication. Make sure
you have an authorized_keys entry with your pubkey in place before applying
this change:
bsdstr# sed -i 's/^#Port 22/Port 31231/g;\
              s/^#PubkeyAuthentication .*/PubkeyAuthentication yes/g;\
              s/^#PasswordAuthentication .*/PasswordAuthentication no/g' \
                /etc/ssh/sshd_config
bsdstr# rcctl restart sshd
Afterwards, disconnect from SSH, and re-connect, ideally using mosh, and
launch tmux for the sake of comfort.
See this post
on how to make the mosh experience even smoother.
Tor
We begin by installing and configuring the Tor hidden service:
bsdstr# pkg_add tor
bsdstr# cat /etc/tor/torrc
Log notice syslog
RunAsDaemon 1
DataDirectory /var/tor
HiddenServiceDir /var/tor/hidden_service/
HiddenServicePort 80 127.0.0.1:8080
User _tor
Next, enable the Tor hidden service:
bsdstr# rcctl enable tor
bsdstr# rcctl start tor
We can now check the hidden service’s Onion address:
bsdstr# cat /var/tor/hidden_service/hostname
xyz.onion
This is the address that our hidden service will be available at.
Nostr Relay
For the Nostr Relay we’re going to use the
strfry implementation.
Nope, we won’t, because it’s a PITA to compile on OpenBSD, since some
dependencies are not easily installable through pkg_add.
For the Nostr Relay we’re going to use the
nostr-rs-relay implementation.
Nope, we won’t either, because
it won’t build.
Update 2024-08-16
nostr-rs-relay has
fixed the OpenBSD build,
meaning it could be used instead of rnostr as well. Given the project’s
activity, it’s probably a wiser choice, hence I suggest looking into it.
For the Nostr Relay we’re going to use the
nostream implementation.
Nope, we won’t use that either, because screw Typescript, Node.js and NPM, as
those became the soy version of Spring, Java and Maven, and are a PITA
to deal with these days; Let alone the security issues of half-baked or
intentionally compromised NPM packages.
For the Nostr Relay we’re going to use the
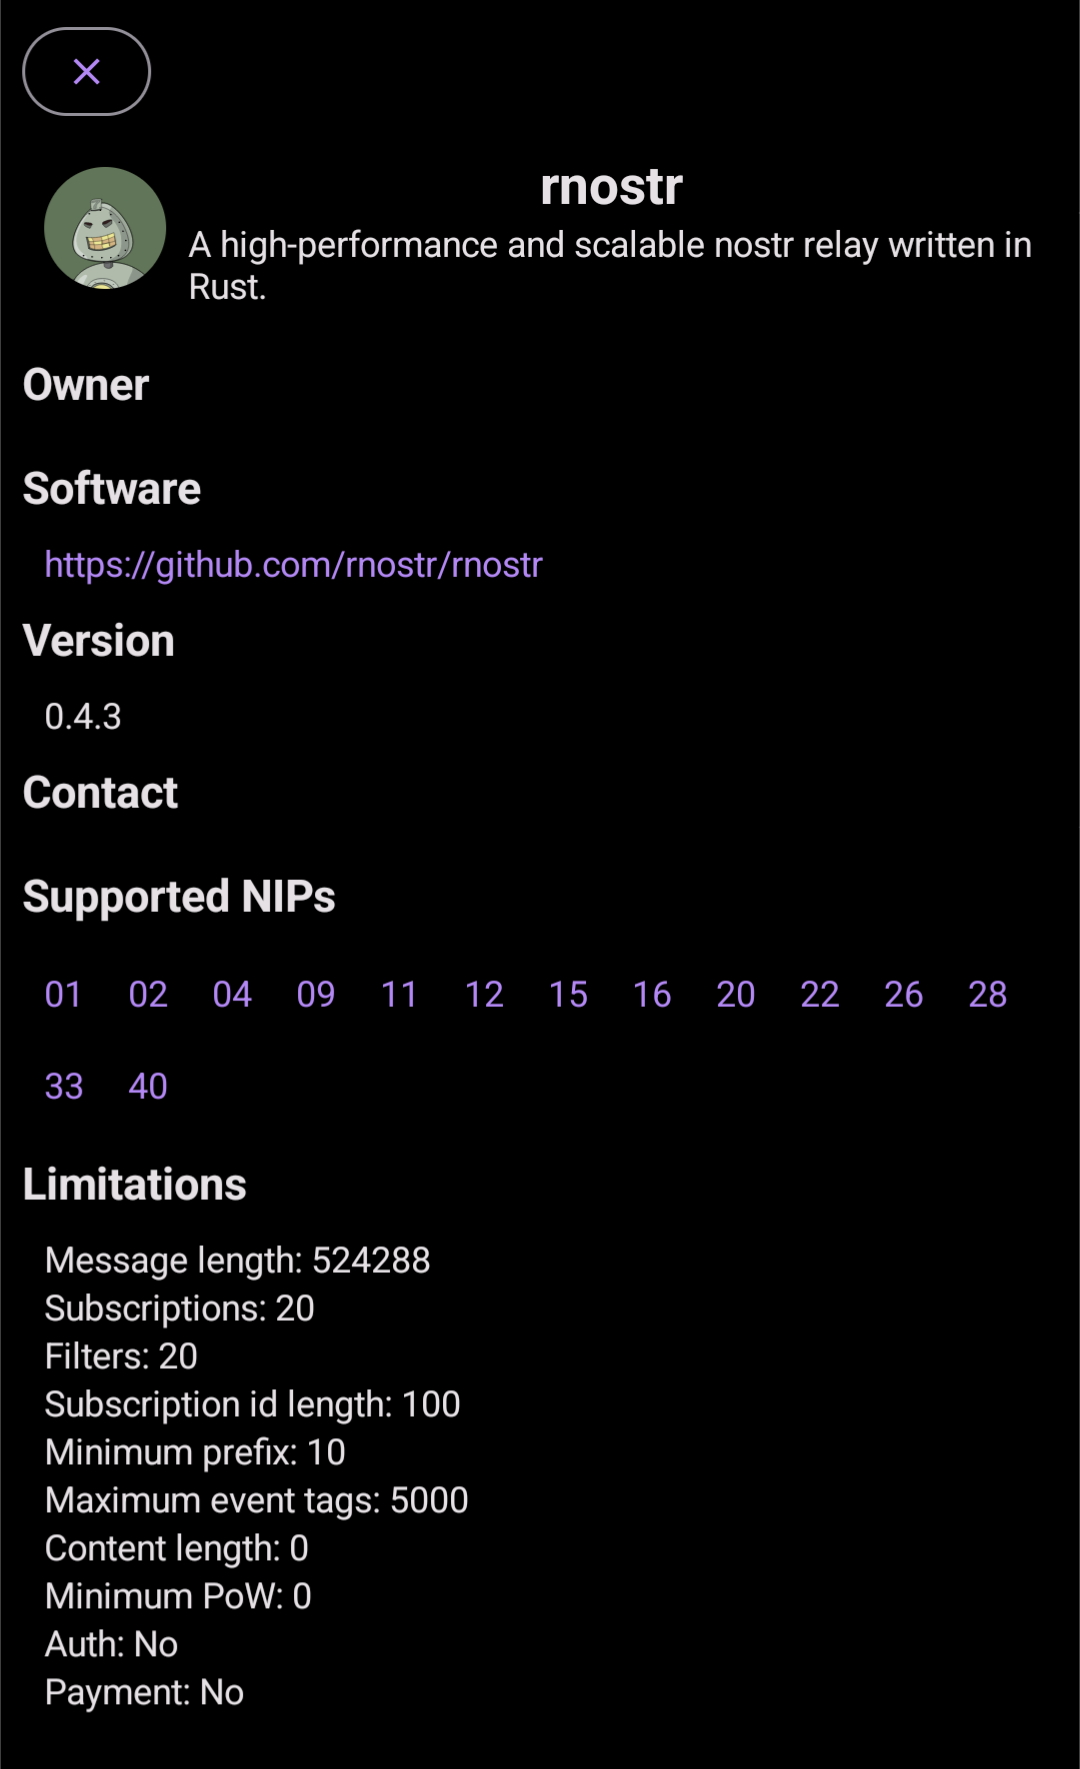
rnostr implementation. Mainly because it’s
fairly up-to-date and supports a couple more NIPs than my other choice,
Nex. #elixir #ftw
First, let’s install the required software to build the relay:
bsdstr# pkg_add git rust
Next, we can git clone and build it:
bsdstr# git clone https://github.com/rnostr/rnostr.git && cd rnostr
bsdstr# mkdir config
bsdstr# cp ./rnostr.example.toml ./config/rnostr.toml
bsdstr# #https://github.com/rust-lang/cargo/issues/11435#issuecomment-1740163332
bsdstr# ulimit -n 1024
bsdstr# cargo build -r
Note: Feel free to adjust ./config/rnostr.toml to your needs. Make sure
rnostr listens on 127.0.0.1:8080, by setting the following configuration:
[network]
host = "127.0.0.1"
port = 8080
Then we’re going to install the binary and the configuration:
bsdstr# cp ./target/release/rnostr /usr/local/bin/
bsdstr# cp ./config/rnostr.toml /etc
Next we create the _nostr group and user on the system:
bsdstr# groupadd _nostr
bsdstr# useradd -d /home/_nostr -m -c "Nostr" -g _nostr -L daemon -s /sbin/nologin _nostr
Now, create the rc.d file and adjust the permissions:
bsdstr# cat /etc/rc.d/rnostr
#!/bin/ksh

daemon="/usr/local/bin/rnostr relay -c /etc/rnostr.toml"
daemon_user="_nostr"

. /etc/rc.d/rc.subr

rc_cmd $1
bsdstr# chmod 555 /etc/rc.d/rnostr
Then make sure to enable and start the service:
bsdstr# rcctl enable rnostr
bsdstr# rcctl start rnostr
Nostr Client

You should now be able to tell your client to connect to your .onion address
by entering it as relay into your relays list. Depending on the client, you will
probably have to configure Tor first. For my favorite client,
Amethyst, you have to first install
Orbot, activate it and then select “Tor/Orbot setup” in
the hamburger menu to configure access through Orbot.
Note: For Amethyst, make sure to enter the Onion address of the relay with a
ws:// prefix (e.g. ws://xyz.onion) until
this issue is resolved.
Your own private Nostr relay is now ready to go! At this point you can begin looking into more advanced configuration, e.g. for NIP-42 (auth), rate limiting and metrics. For securing/hardening the setup, I would recommend having a look at the Darknet Opsec Bible.
Enjoyed this? Support me via Monero, Bitcoin, Lightning, or Ethereum! More info.