Kunai Corne V3
This is a follow-up build log on the Corne V3 post, in which I finalize the Kunai case.
After having had the Corne V3 with the Kunai case with me for an extended period throughout my travels, I continued the work on the case as soon as I had access to a Dremel, Tamiya primer, and spray paints.
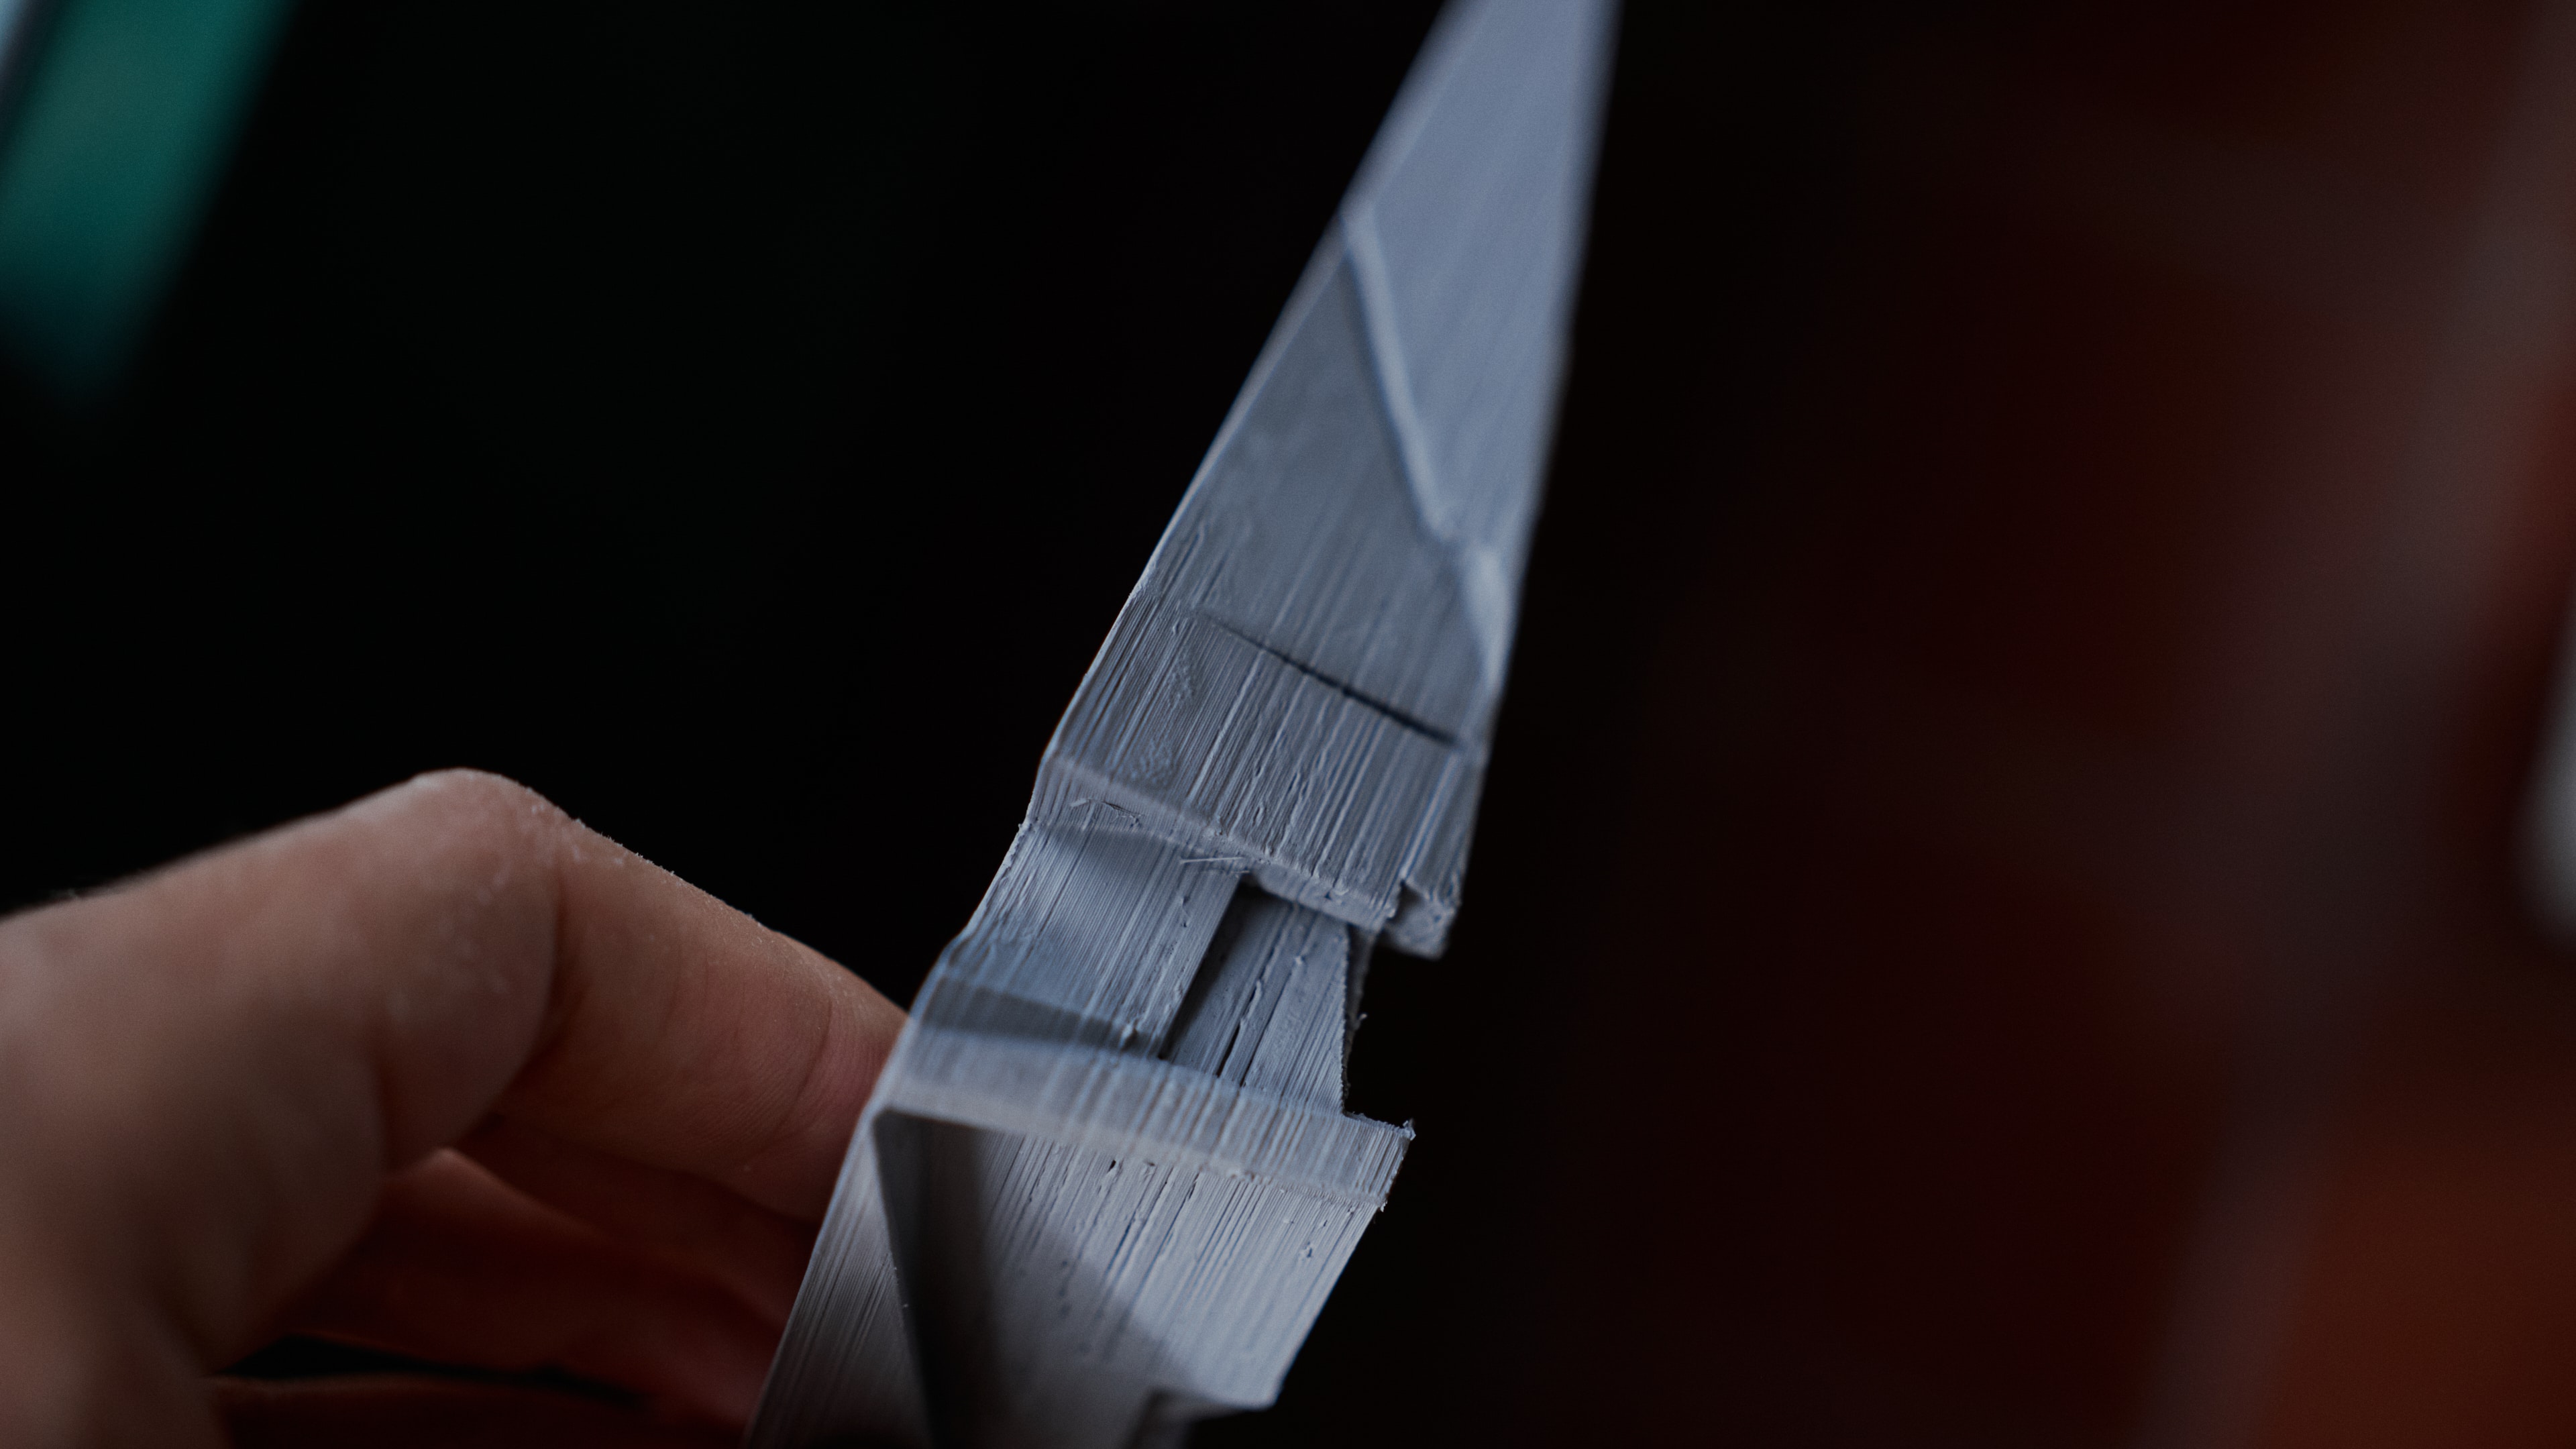
I began the work by sanding the PETg elements using 120 paper, as well as going into the details with a Dremel 7350-5 and the Dremel 84922. After roughing up most of the surface and trying to correct the bad 3D print manually, I cleaned the parts with soap and water, let them dry completely, and sprayed the first layer of Tamiya 87042 (Gray) surface primer.
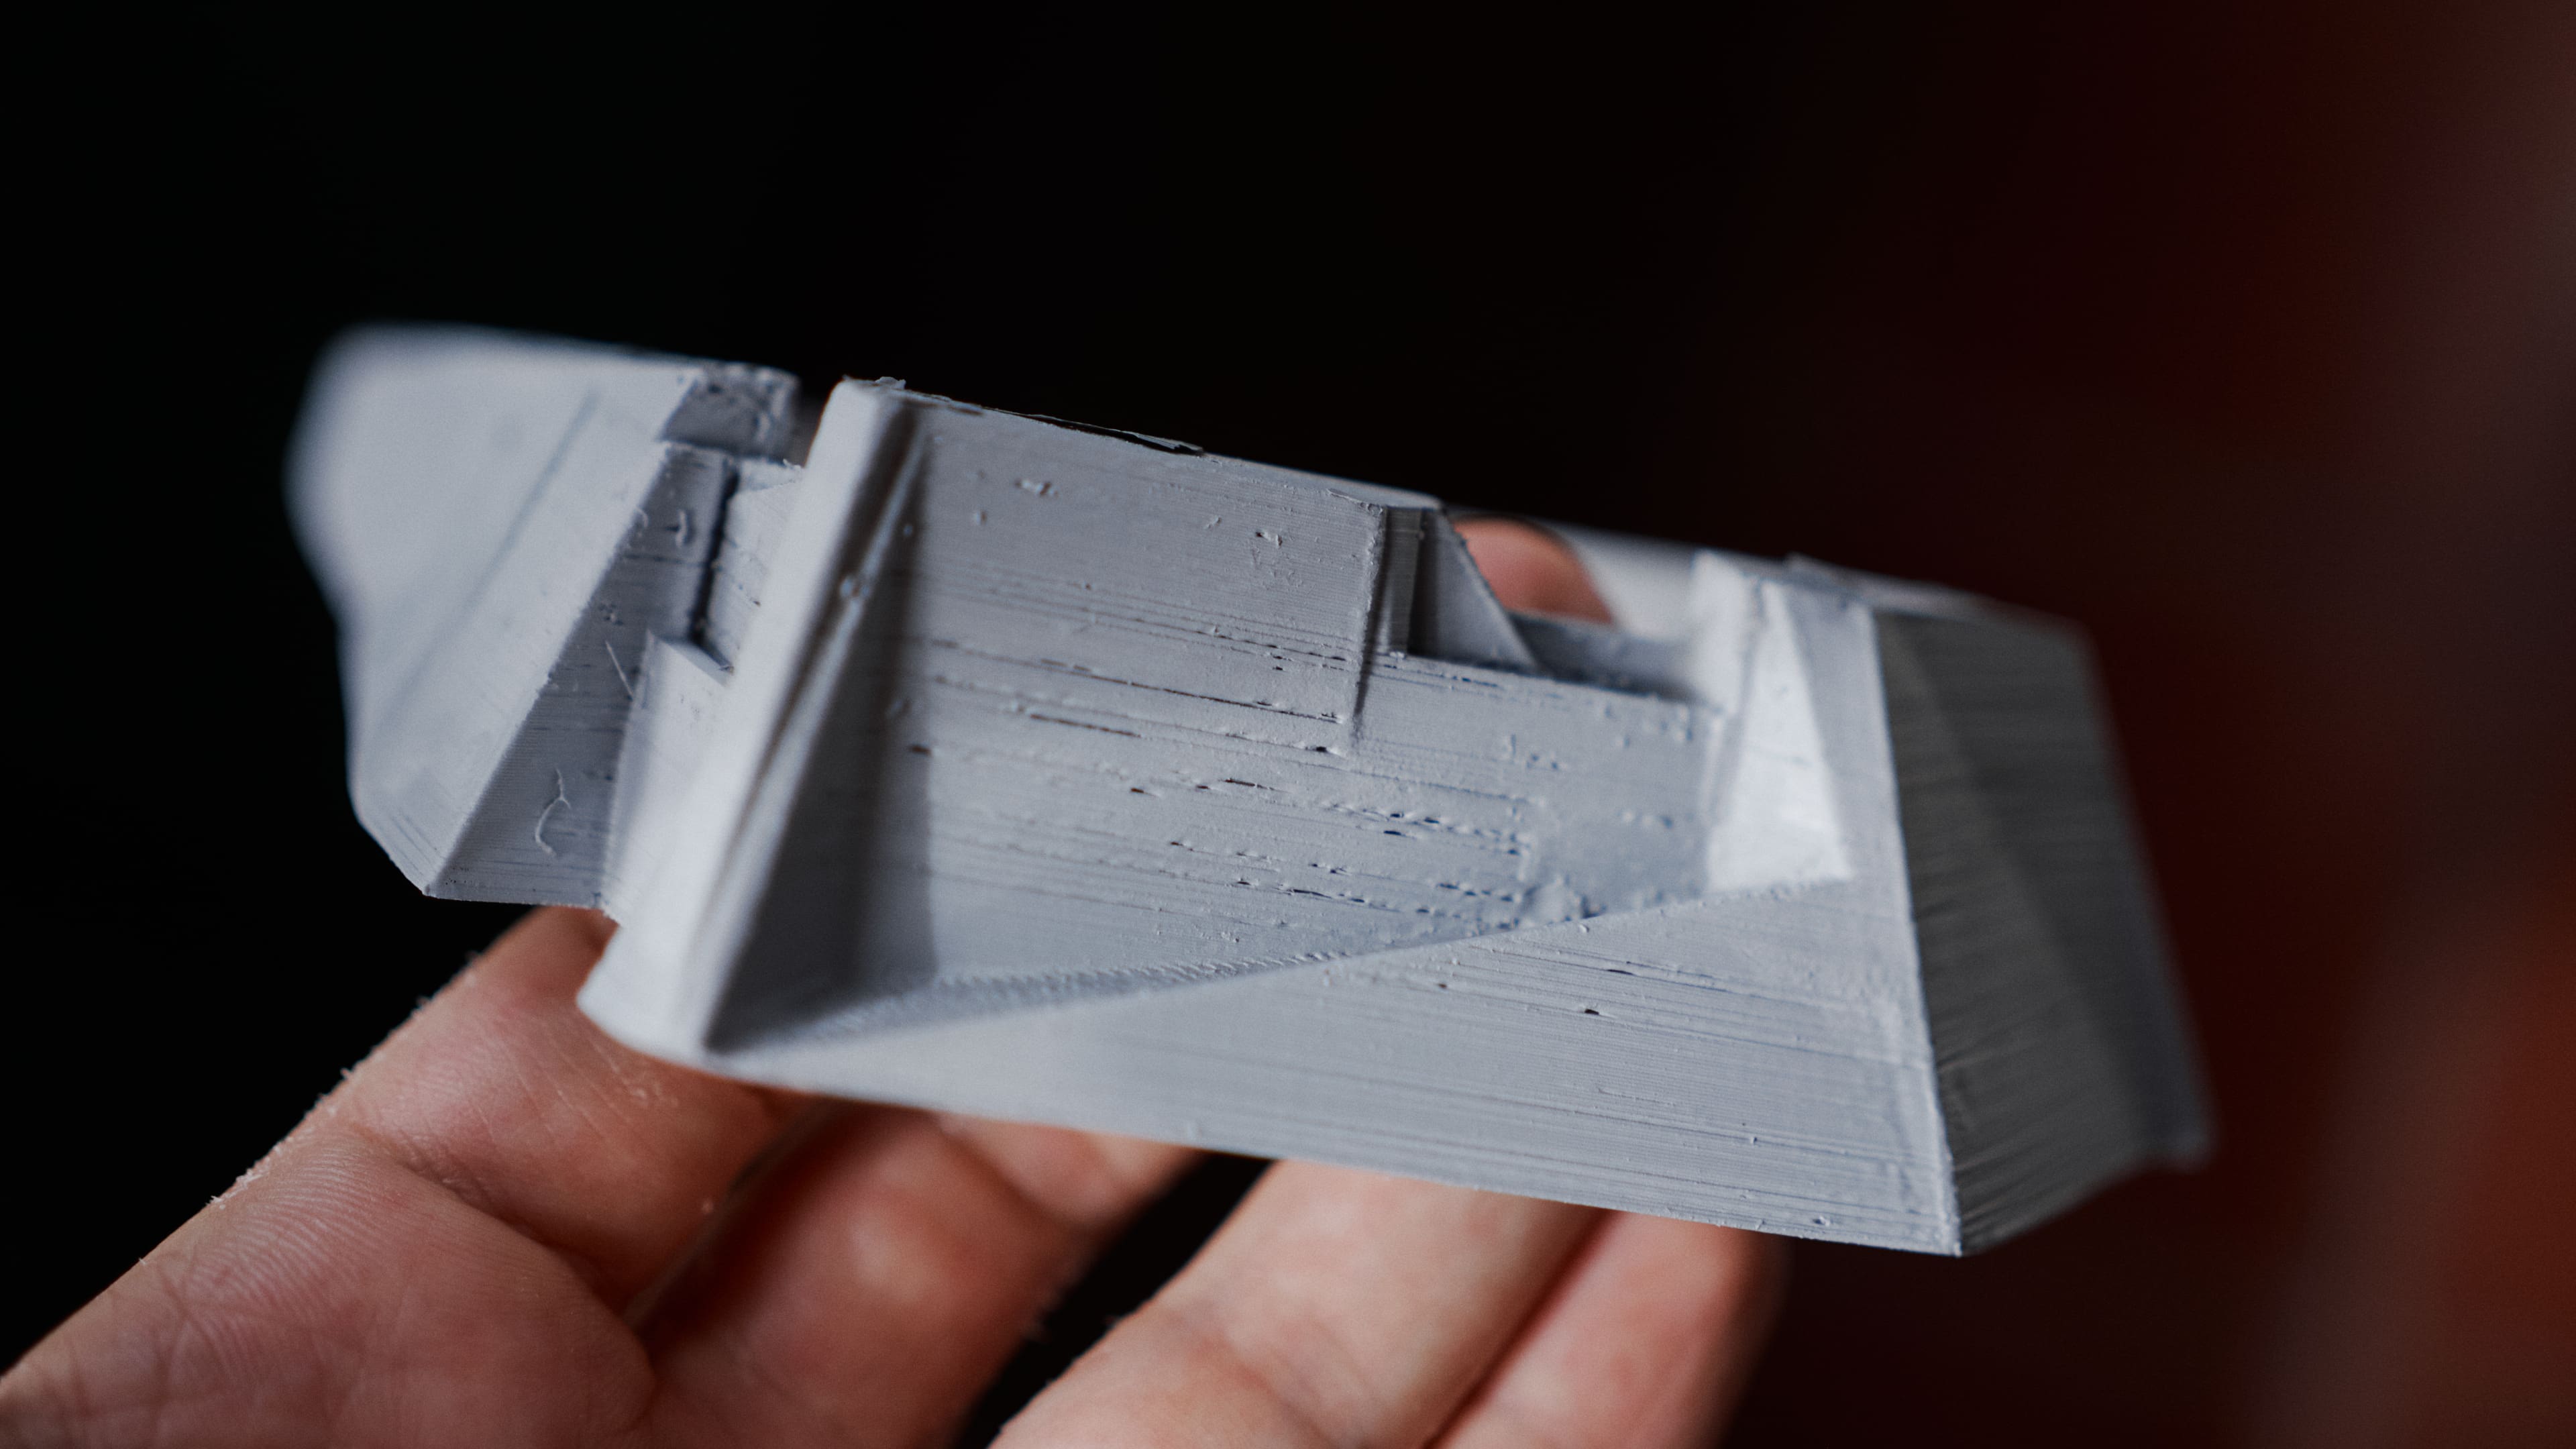
I noticed that the 3D print I received from a local shop was worse than I initially anticipated. Upon applying the primer huge gaps in between individual layers became visible. In theory, I would have used Tamiya Putty to fill the gaps before continuing. However, as I couldn’t get my hands on it within a reasonable amount of time, I decided to continue and try to sand down the surface around the gaps while filling them with thicker layers of primer, in an attempt to even out the area. Unfortunately, the gaps were too big to completely even out.
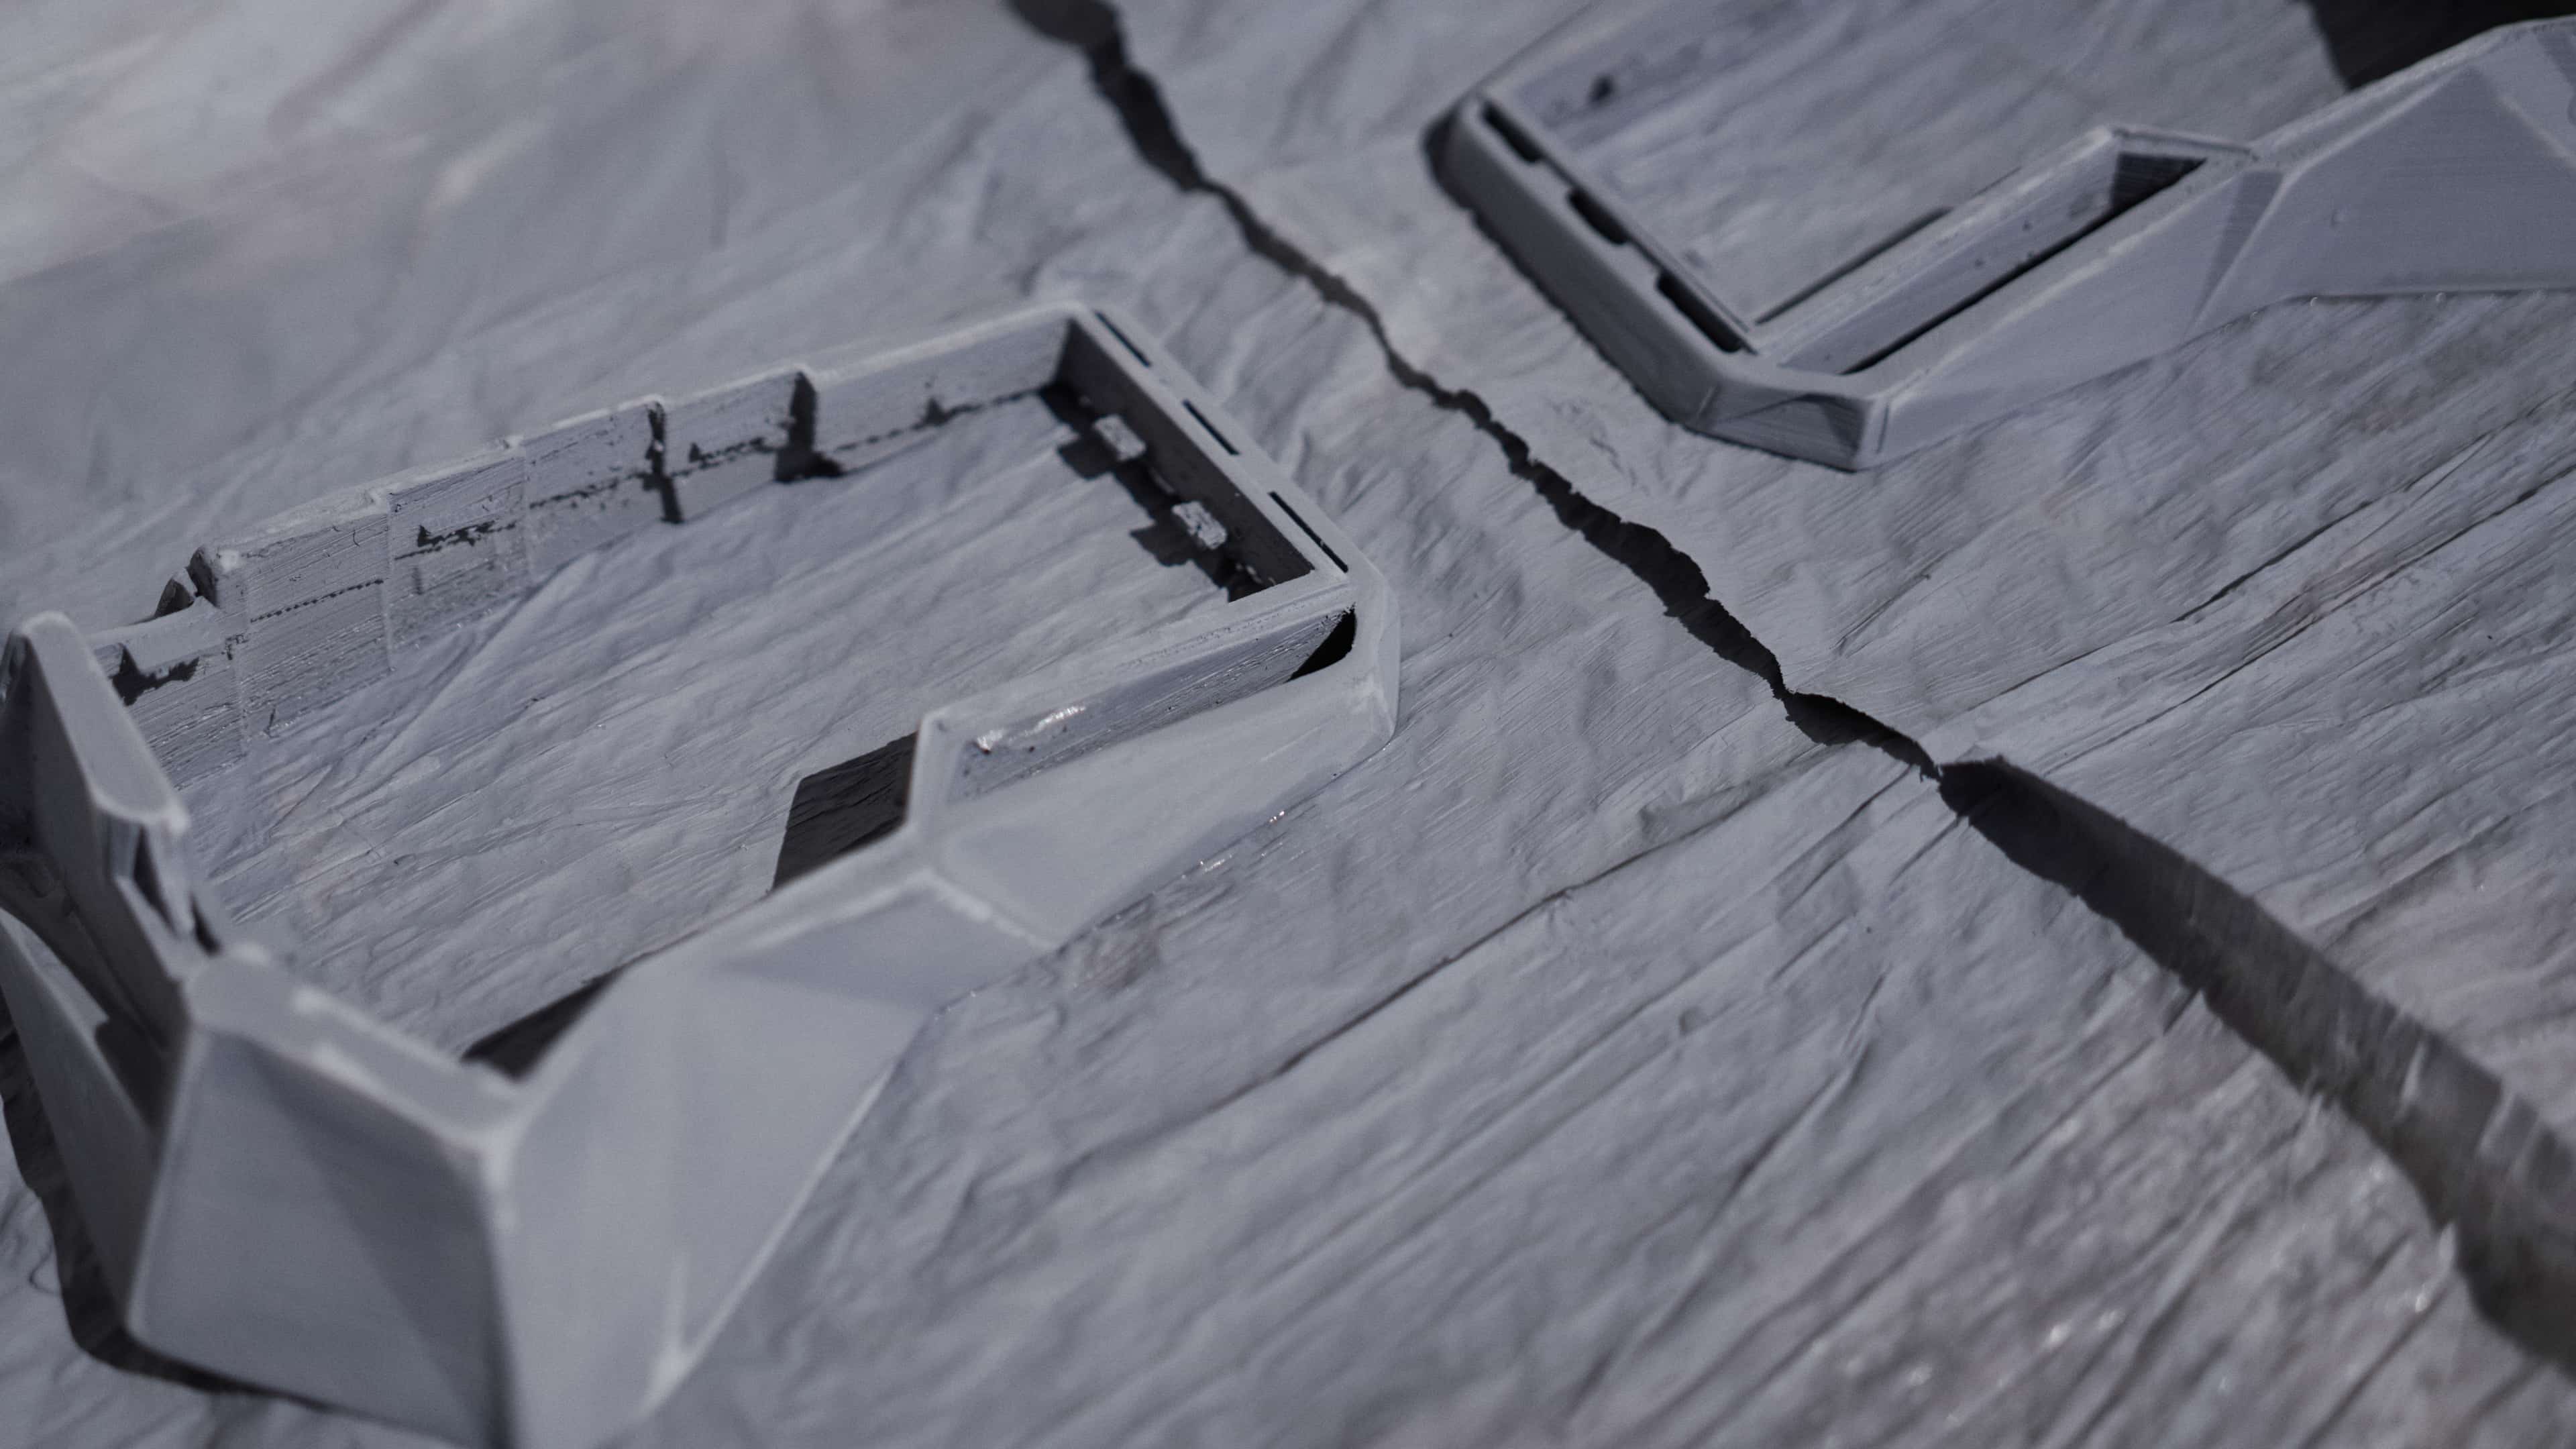
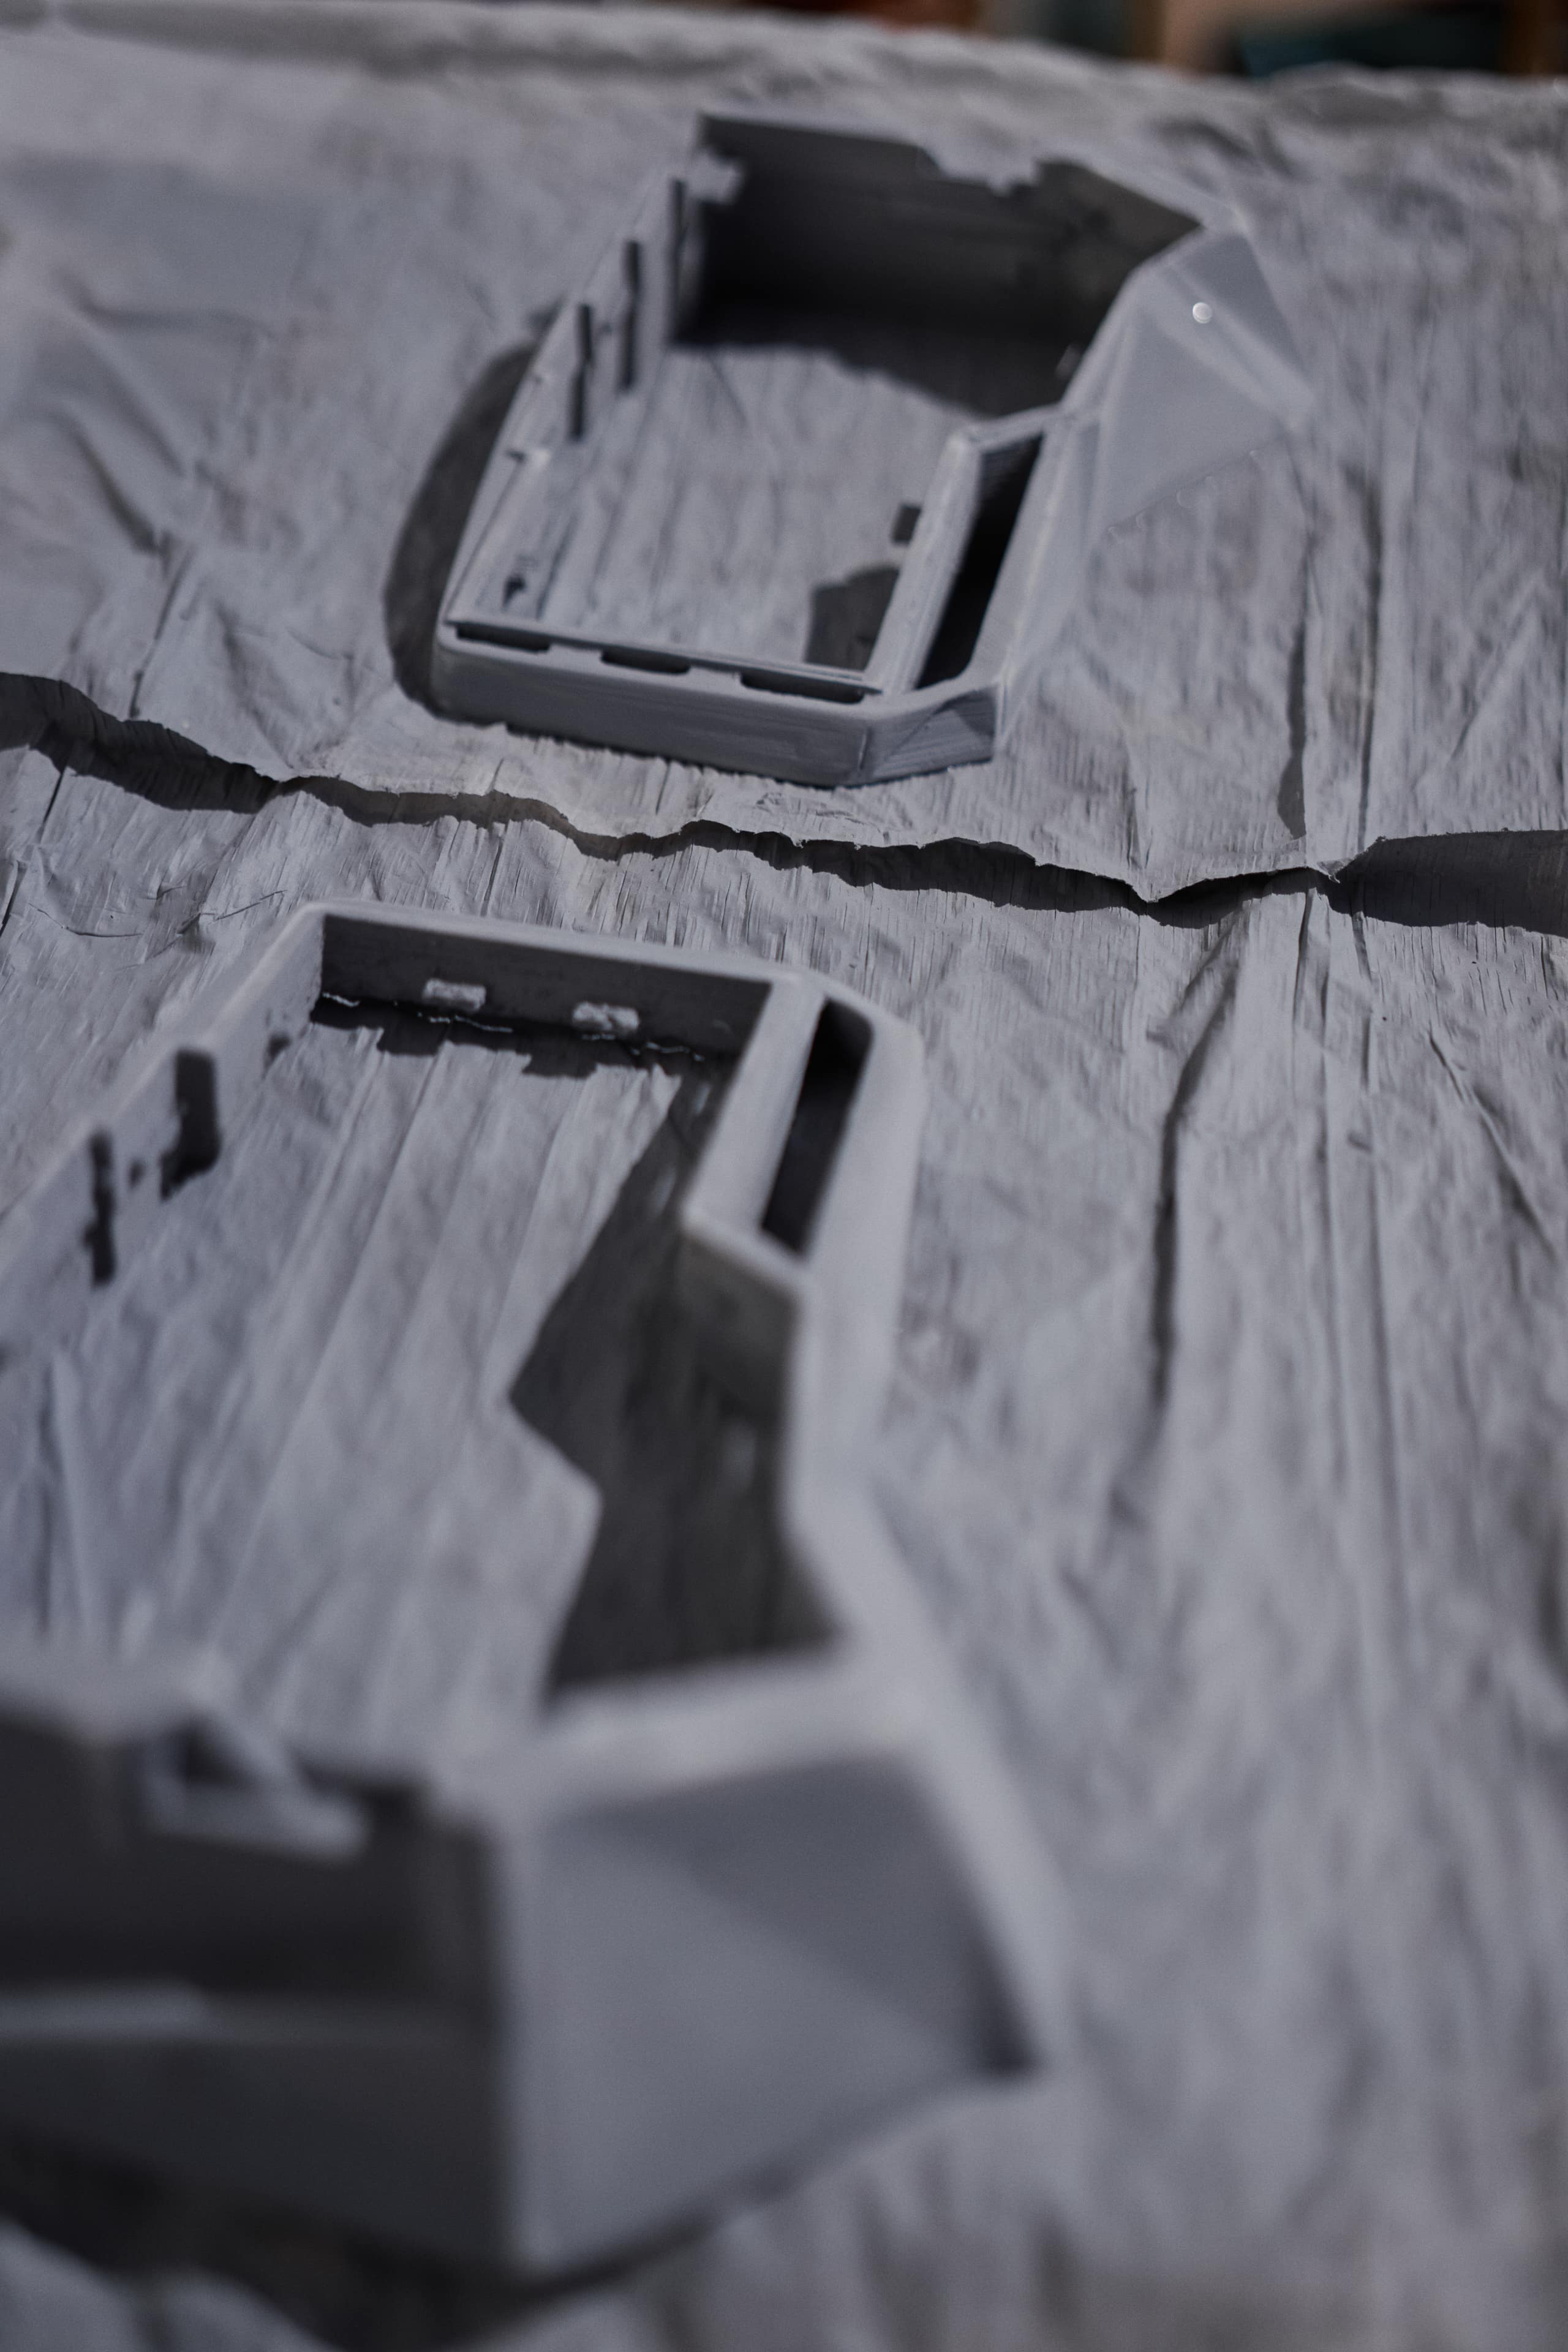
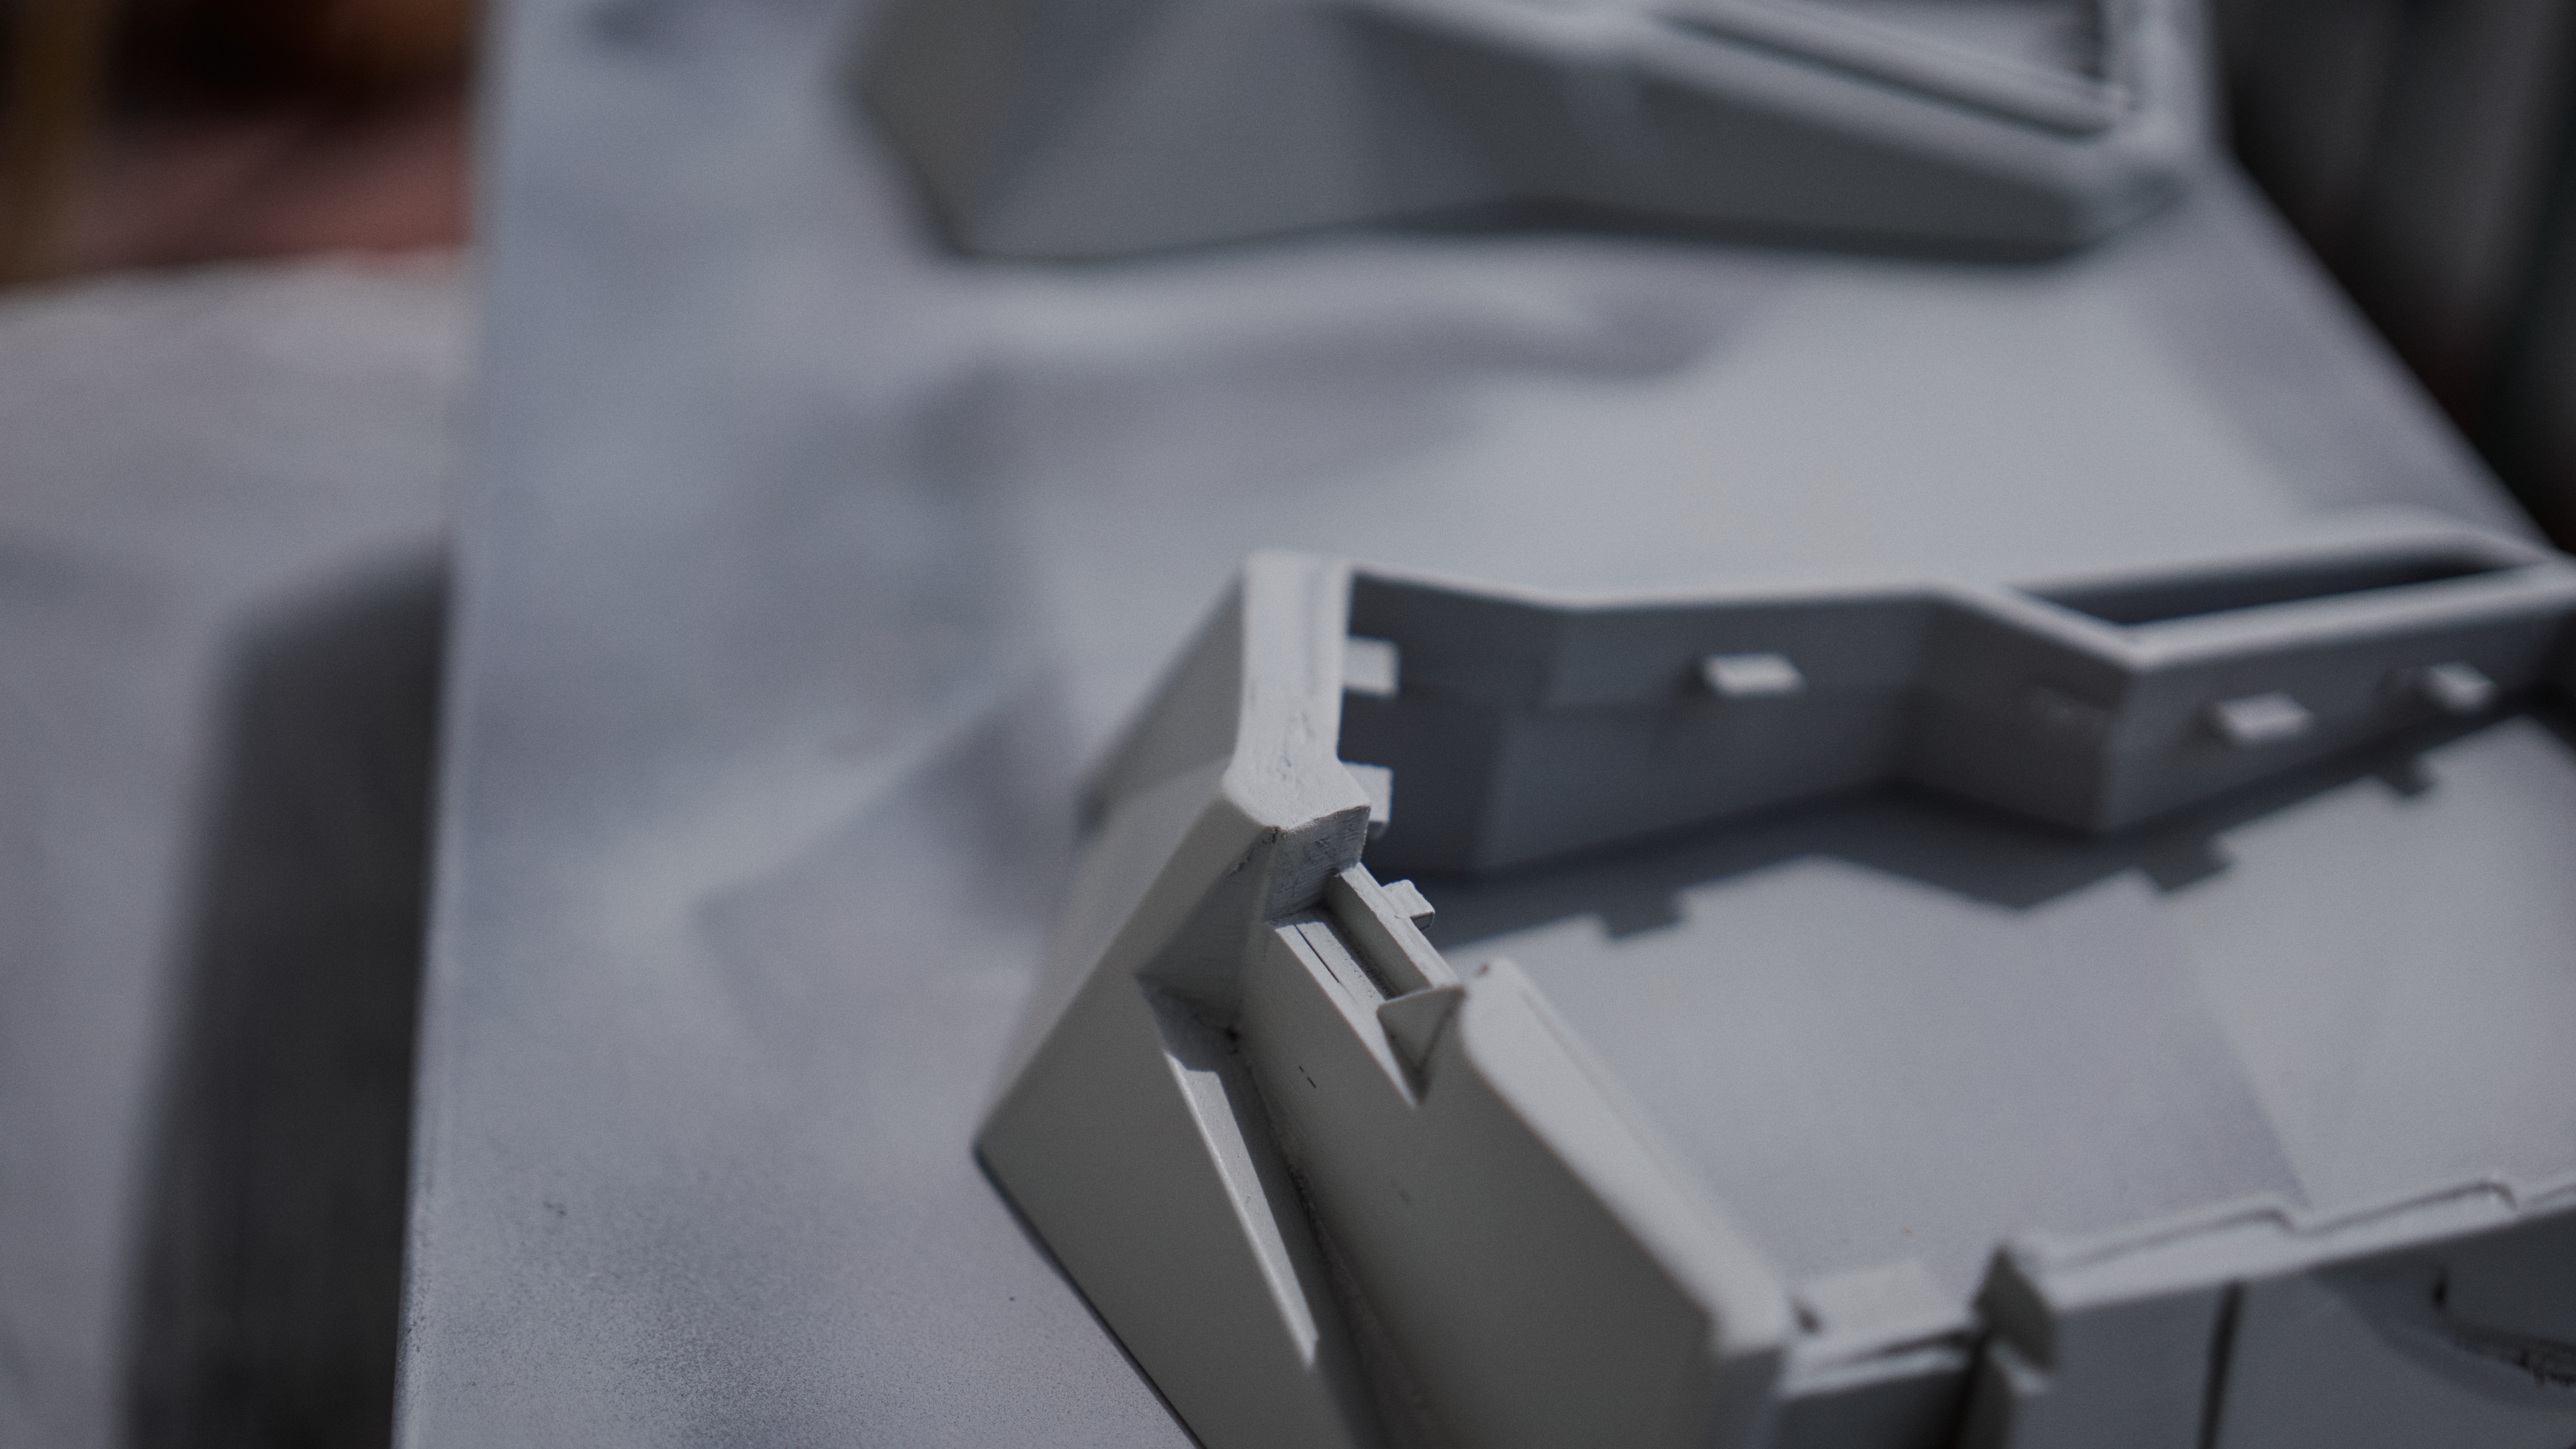
I repeated the priming and sanding process multiple times until I reached a point at which the gaps weren’t as noticeable anymore. Then, I manually sanded the parts again and began applying the TS-81 spray paint. Unfortunately, I lost a lot of details due to the thick layer of primer that I had to apply. I managed to recover some using the Dremel and an inverted cone bit, however the parts nevertheless became a lot more roundish and less edgy.
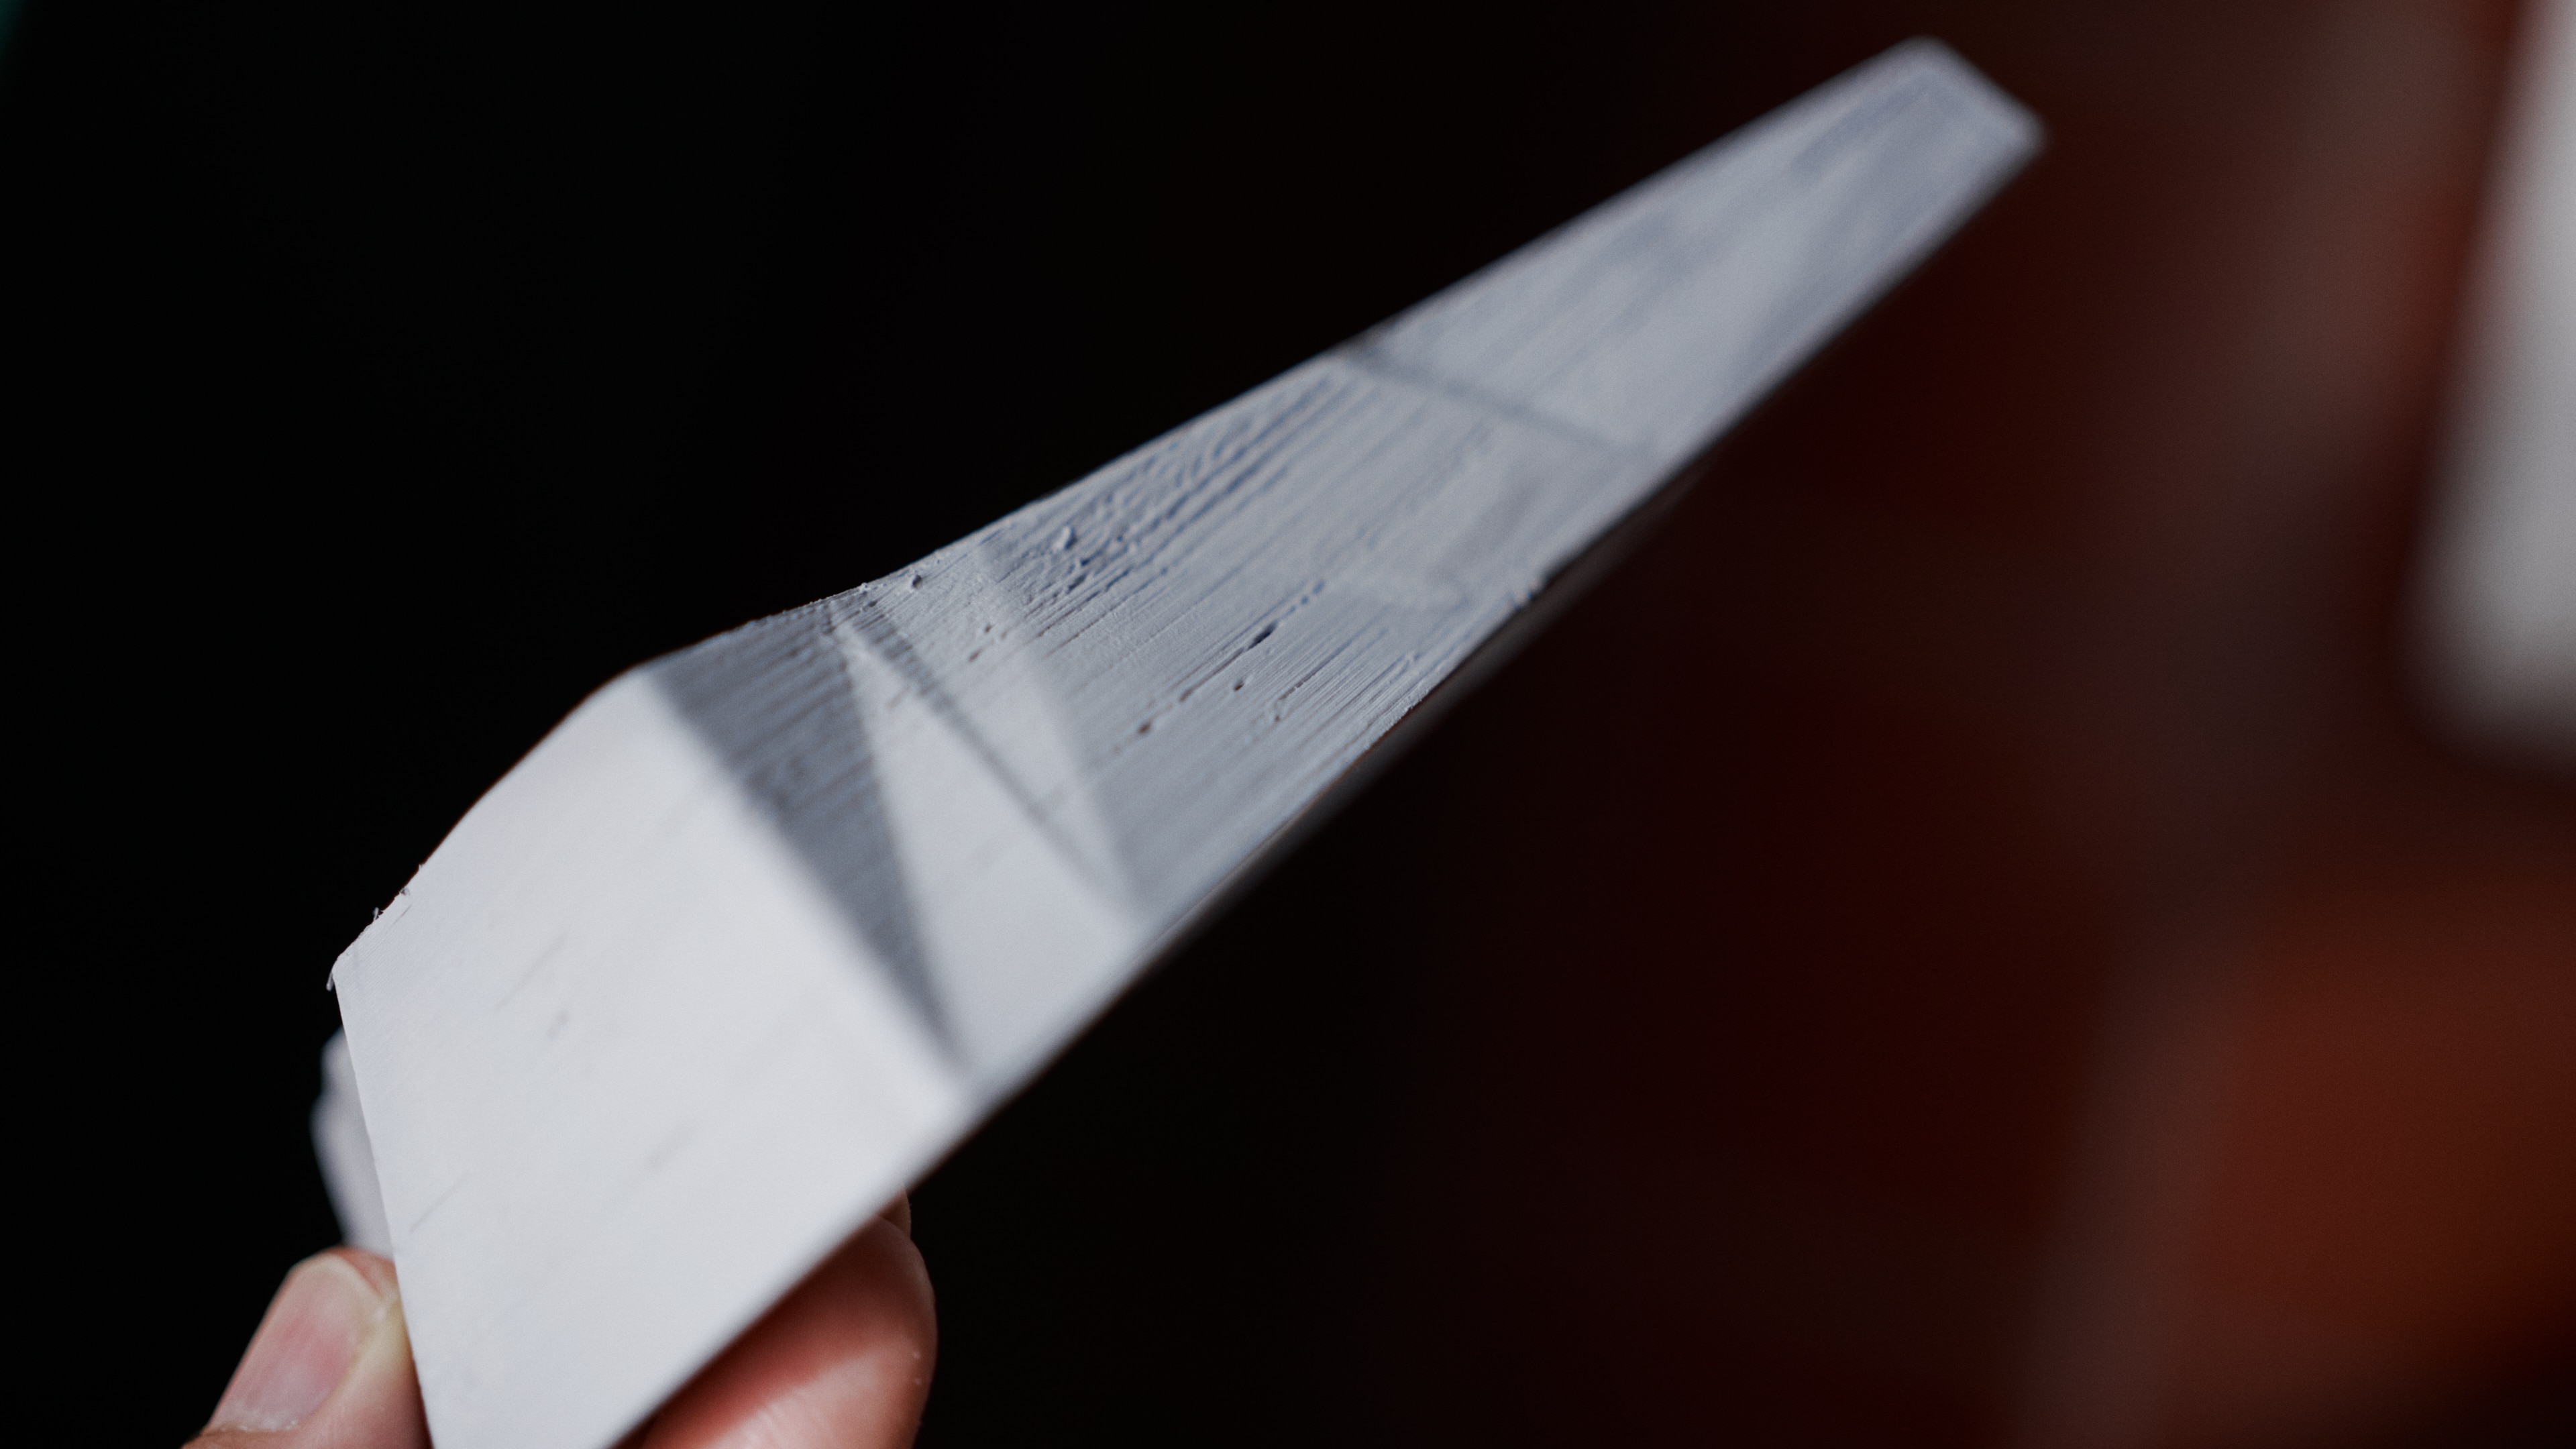
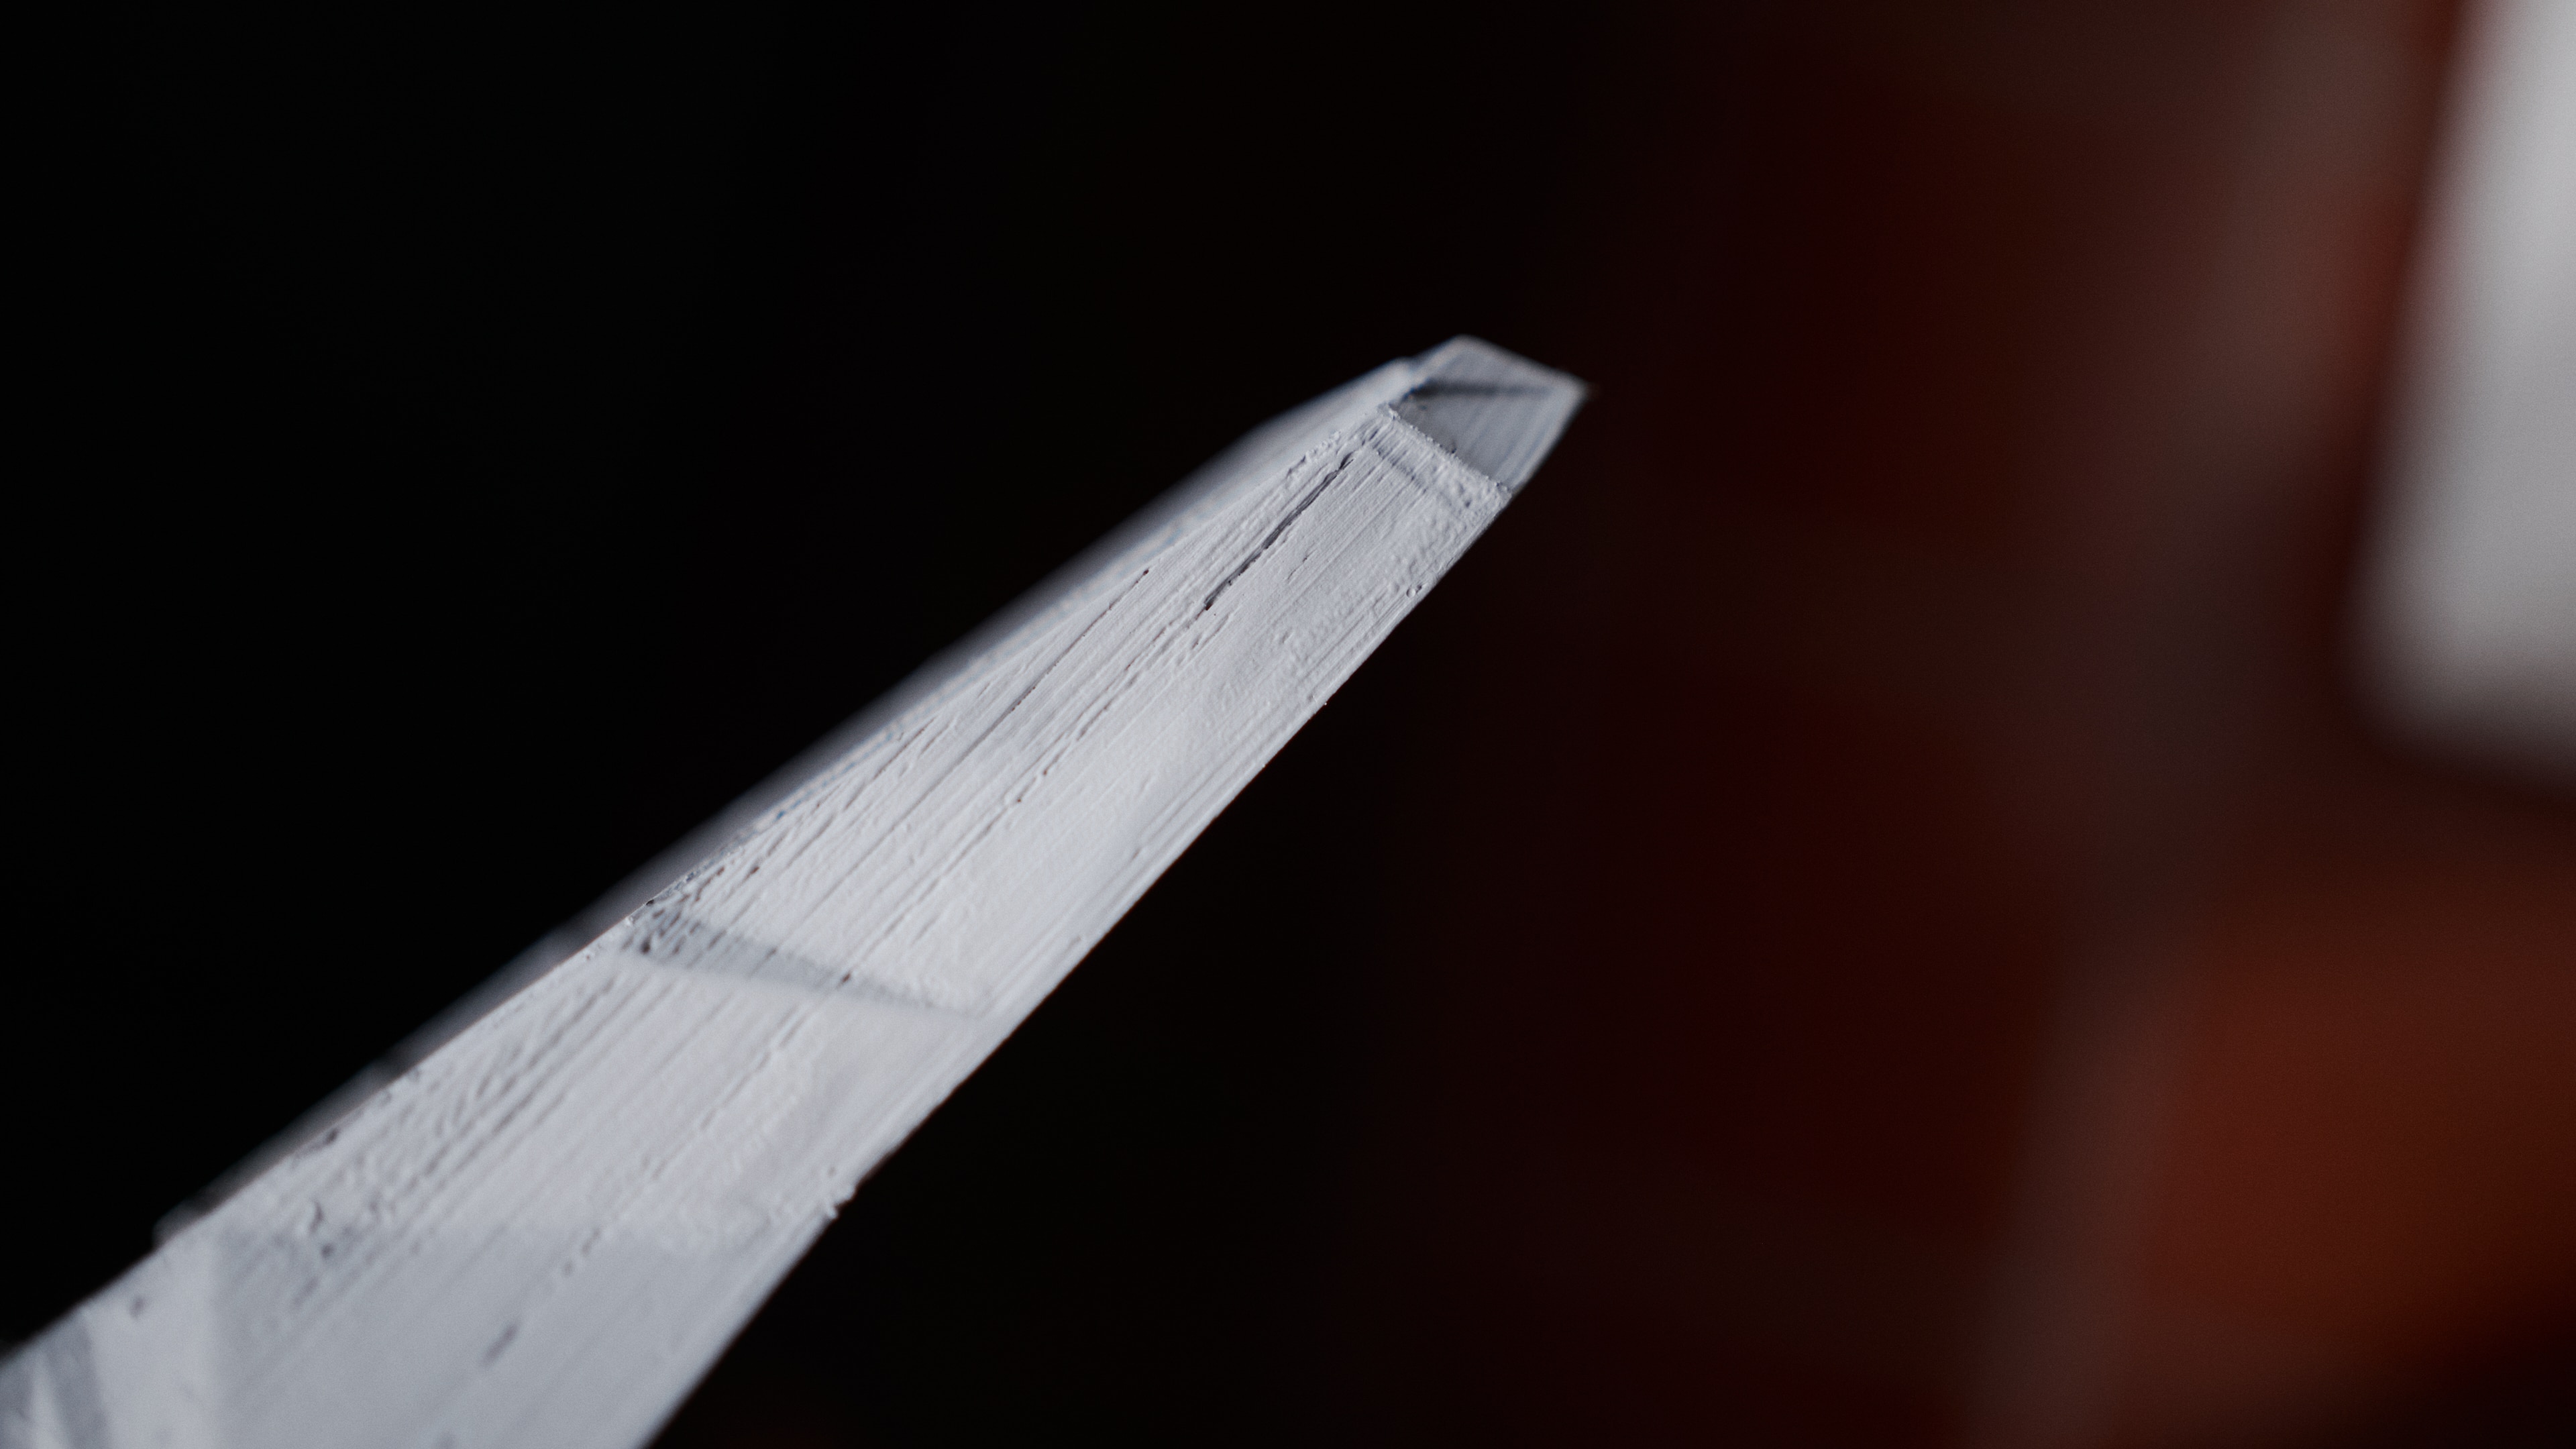


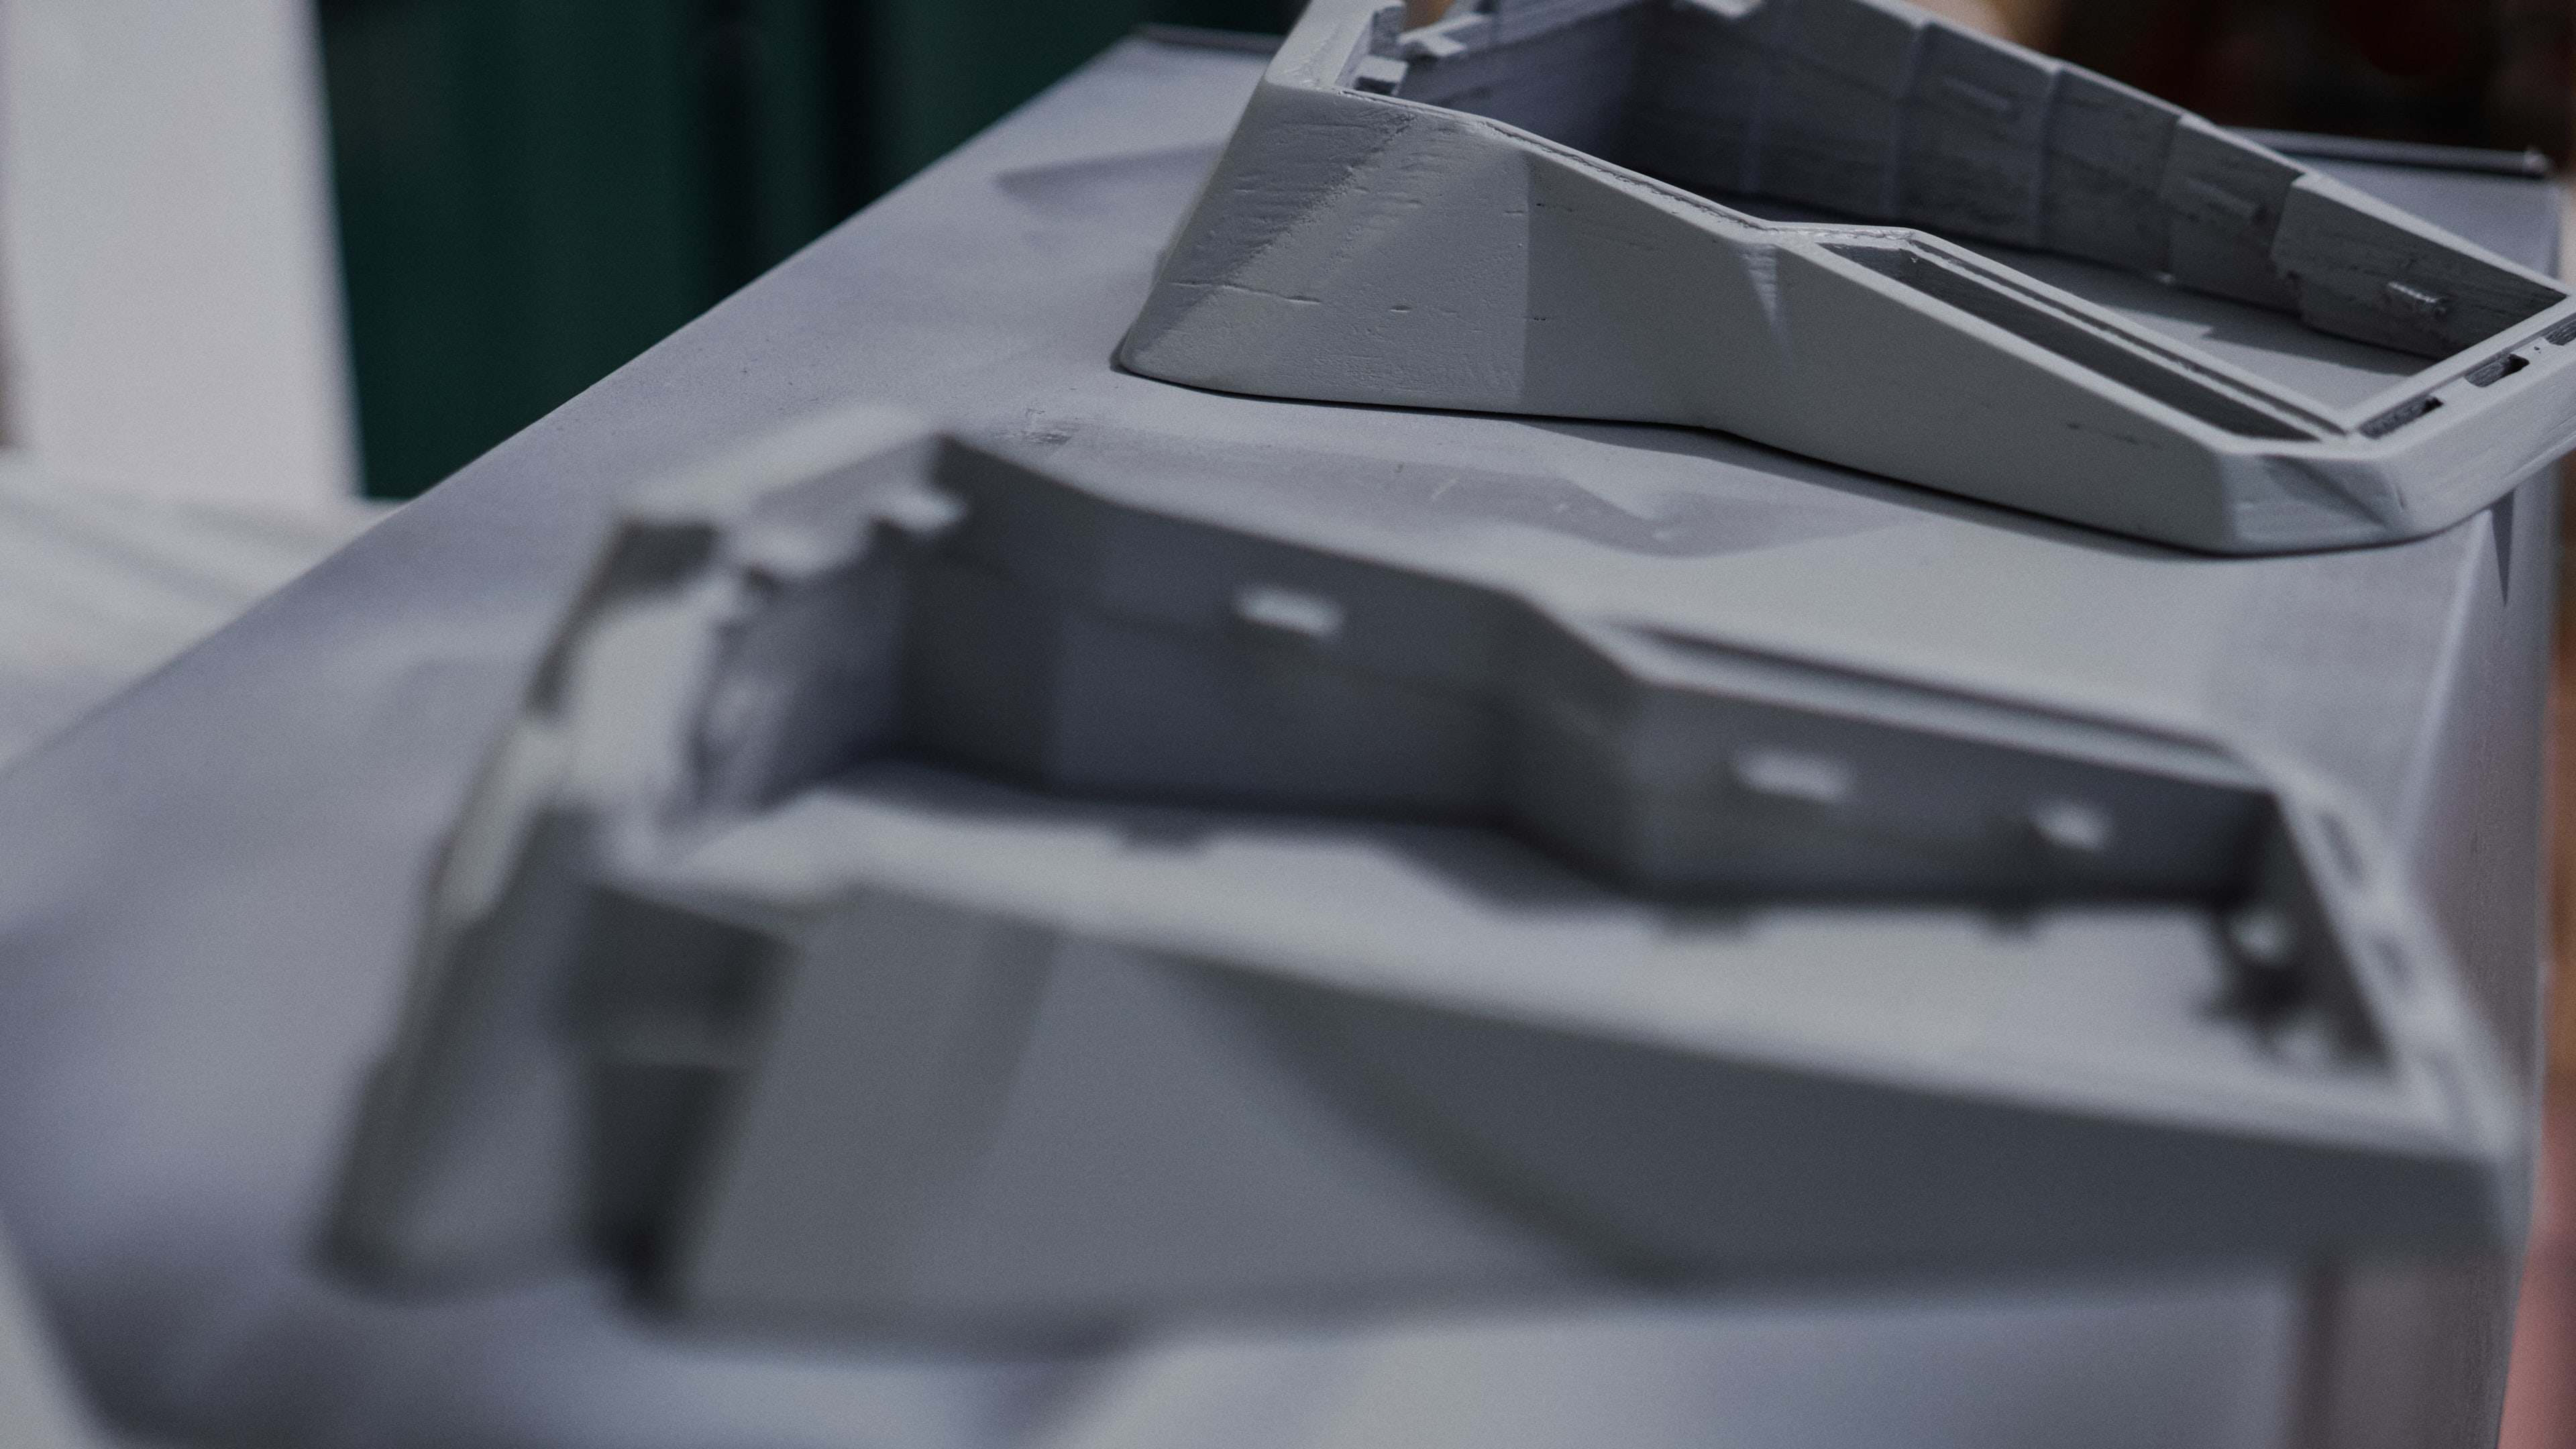
Note: Although the process sounds fairly quick, bear in mind that each application of primer requires at least three hours of drying. In order to not flood the parts with primer, I would hence apply a layer of primer, leave it to dry for around three hours, and then apply another layer. For sanding, I would usually leave the parts to dry overnight. Also, after every round of sanding, I would clean the parts under water and leave them to fully dry for several hours as well. This process can be sped up using a hairdryer.
After blowing through four cans of TS-81 I decided to give it up and finish the case with one round of clear TS-80. I could have continued to iteratively improve on it, however, I came to realize that the 3D print was simply too bad, that I would have needed to have a putty available to correct all the mistakes the 3D printer did, and that continuing would just result in more time, effort and ultimately money being wasted on parts that weren’t a good basis to begin with. As I will be using the Kunai during travel, where it will be tossed around in my hand luggage, it doesn’t matter anyway: The keyboard will end up with dents and scratches very soon, rendering every effort to make it look perfect pointless. As a matter of fact, I might end up stickerbombing it, when wear and tear becomes too noticeable.
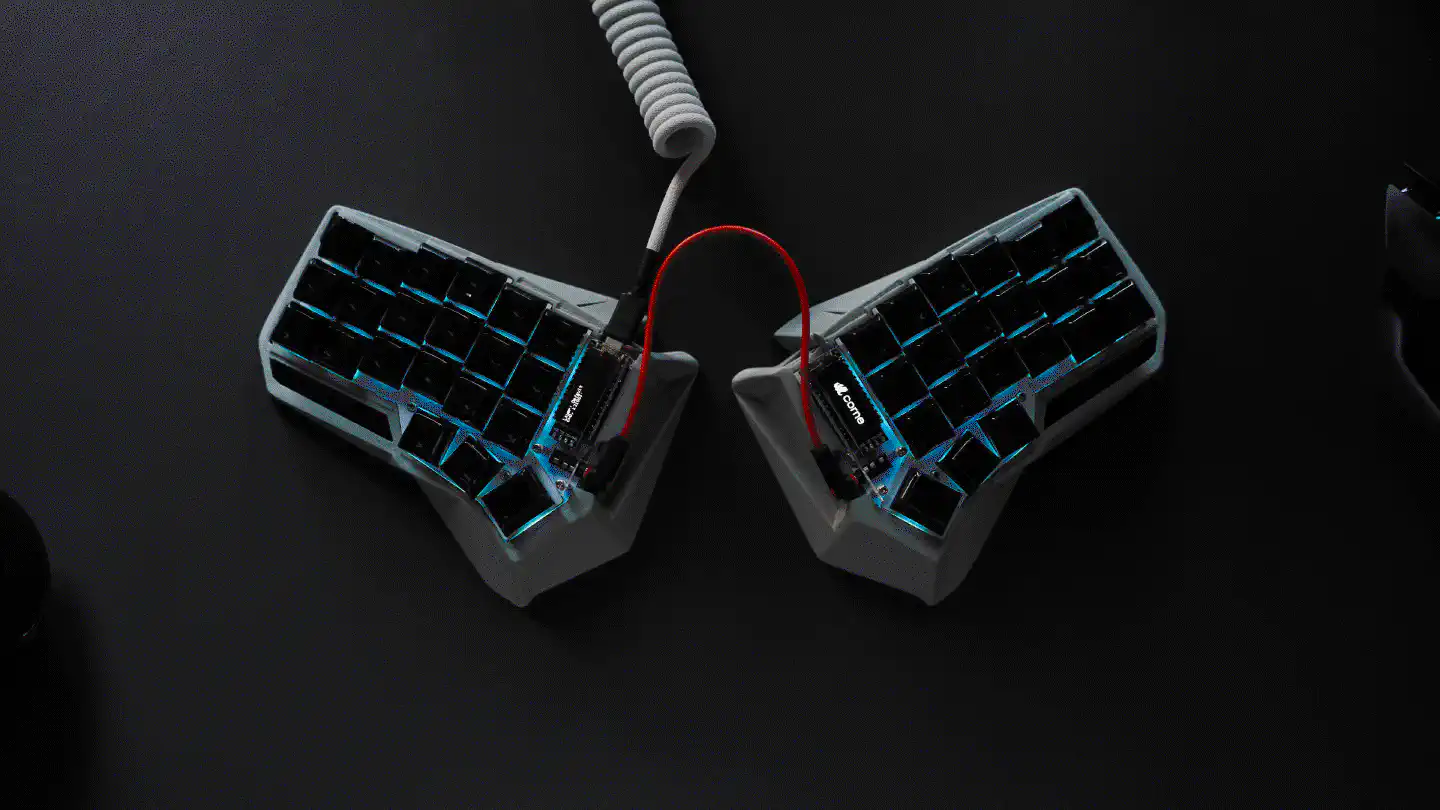
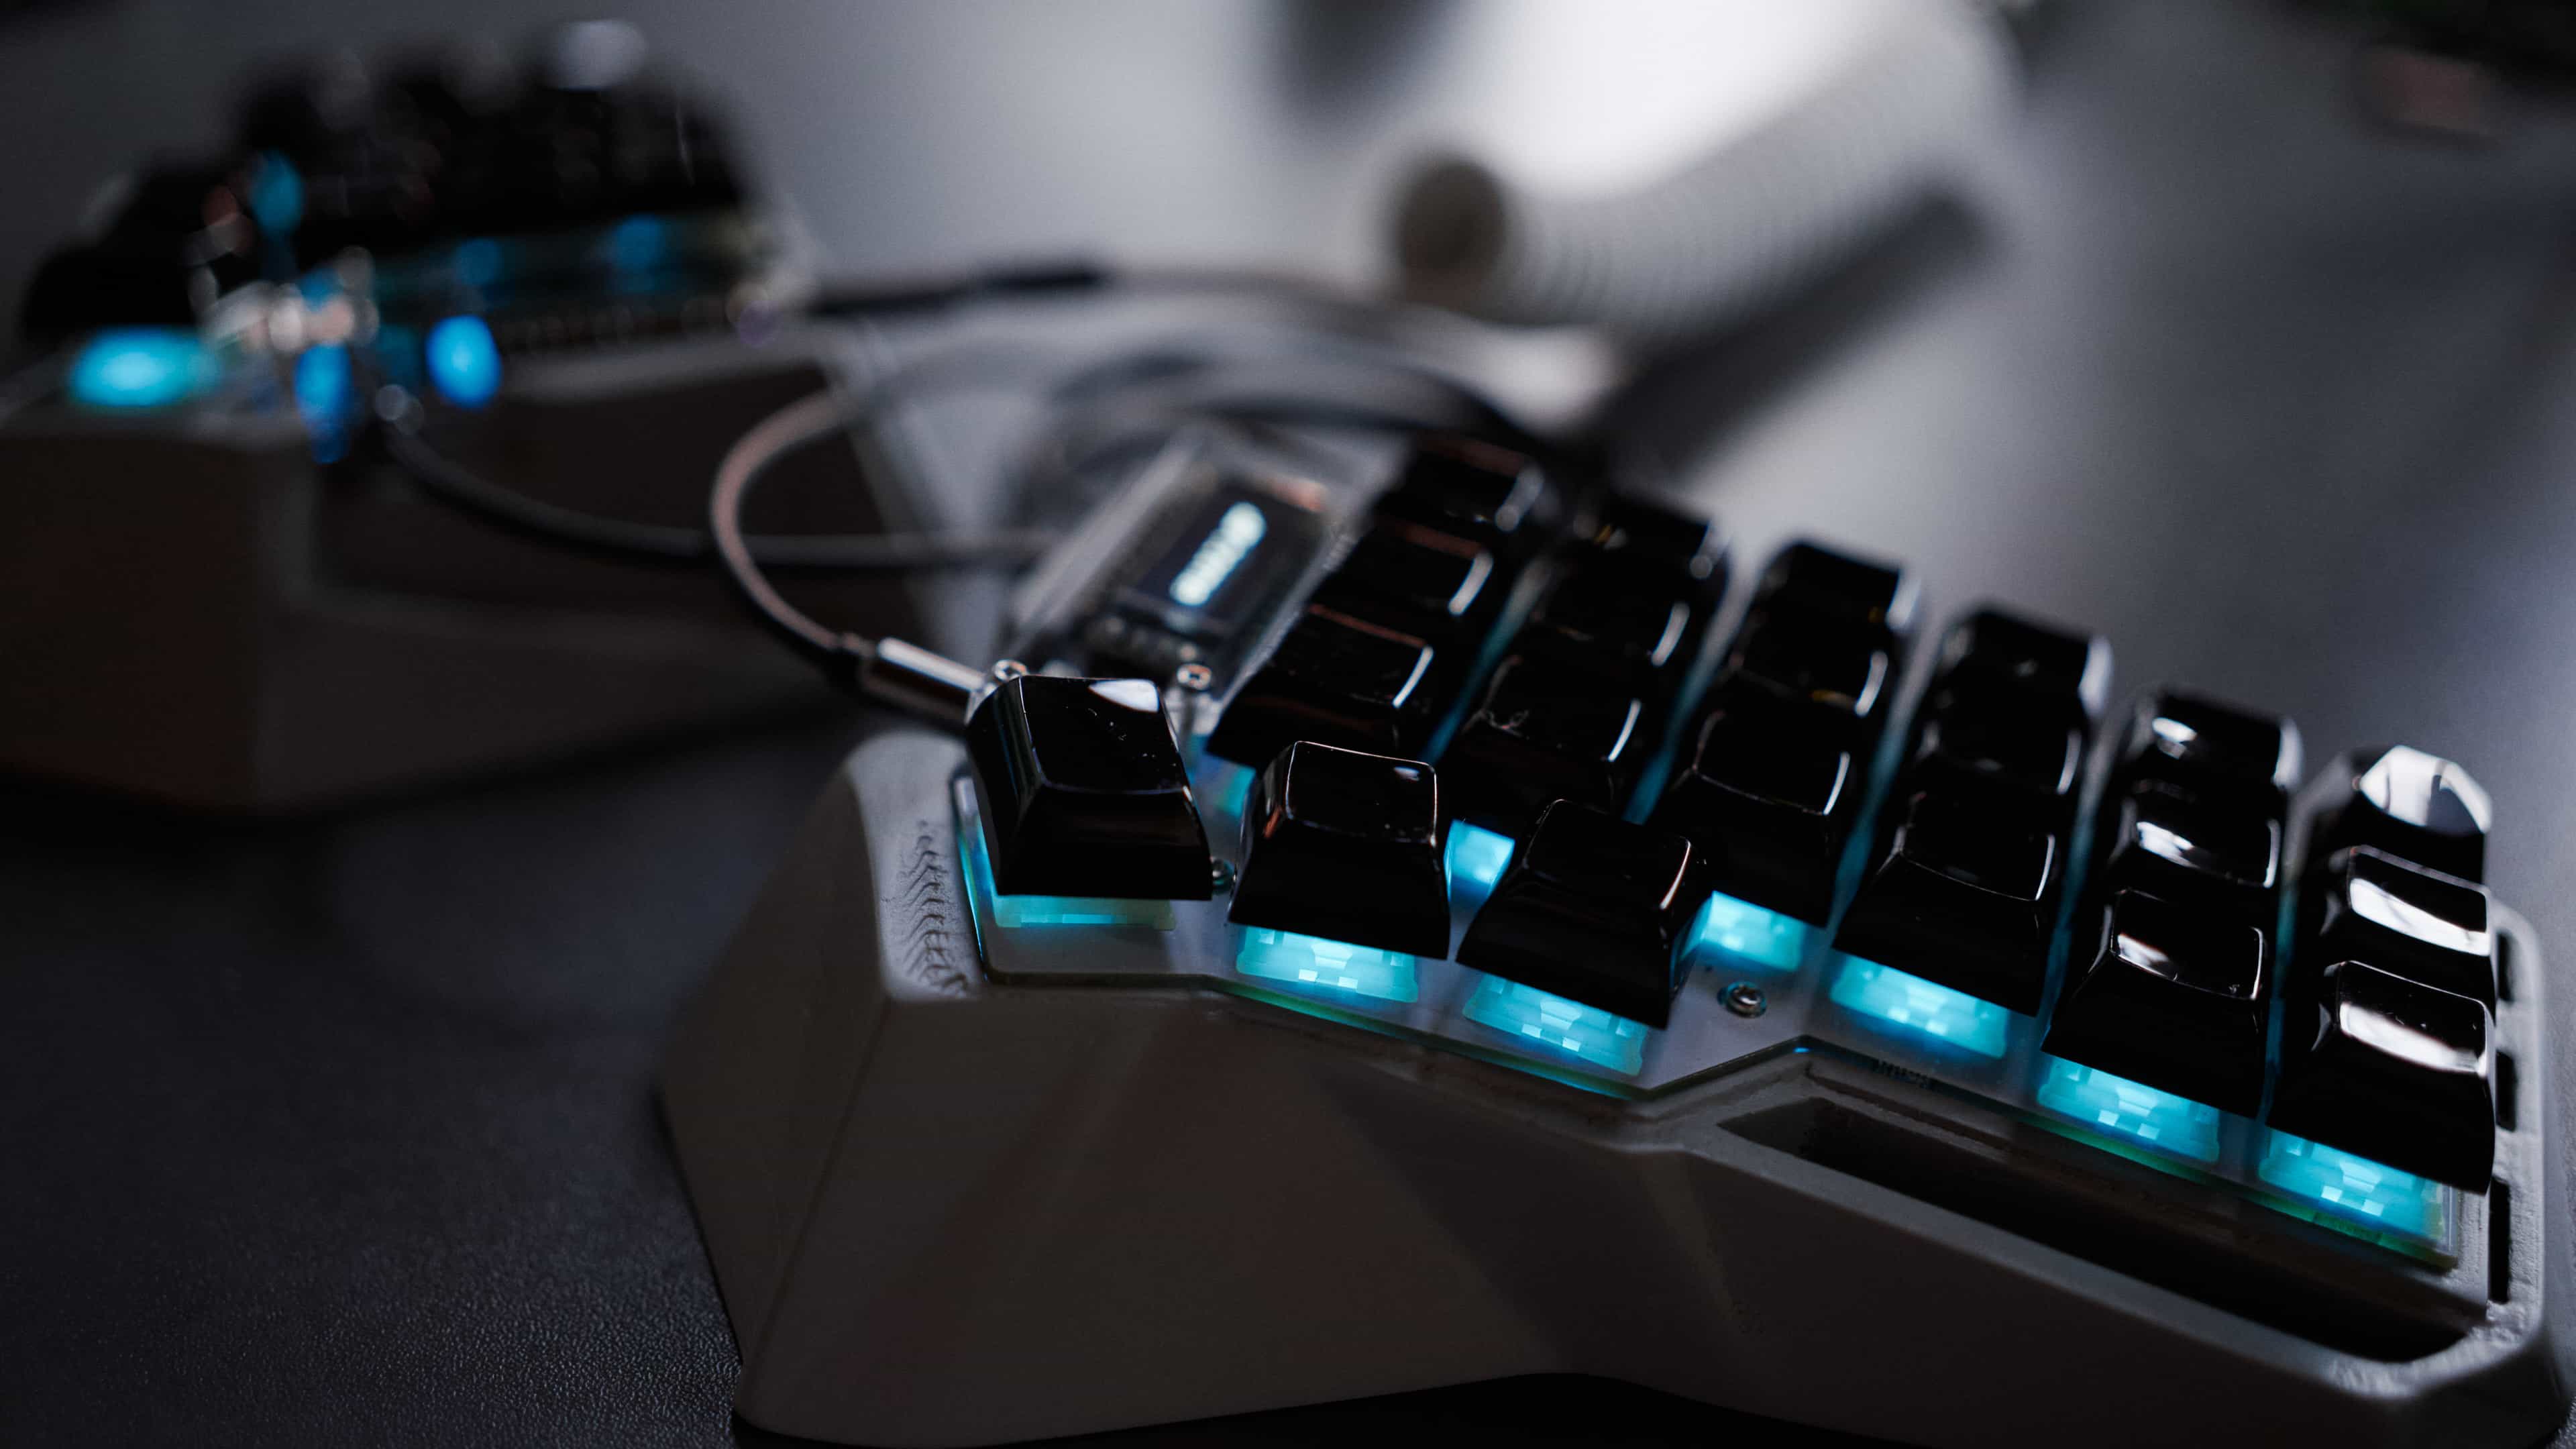
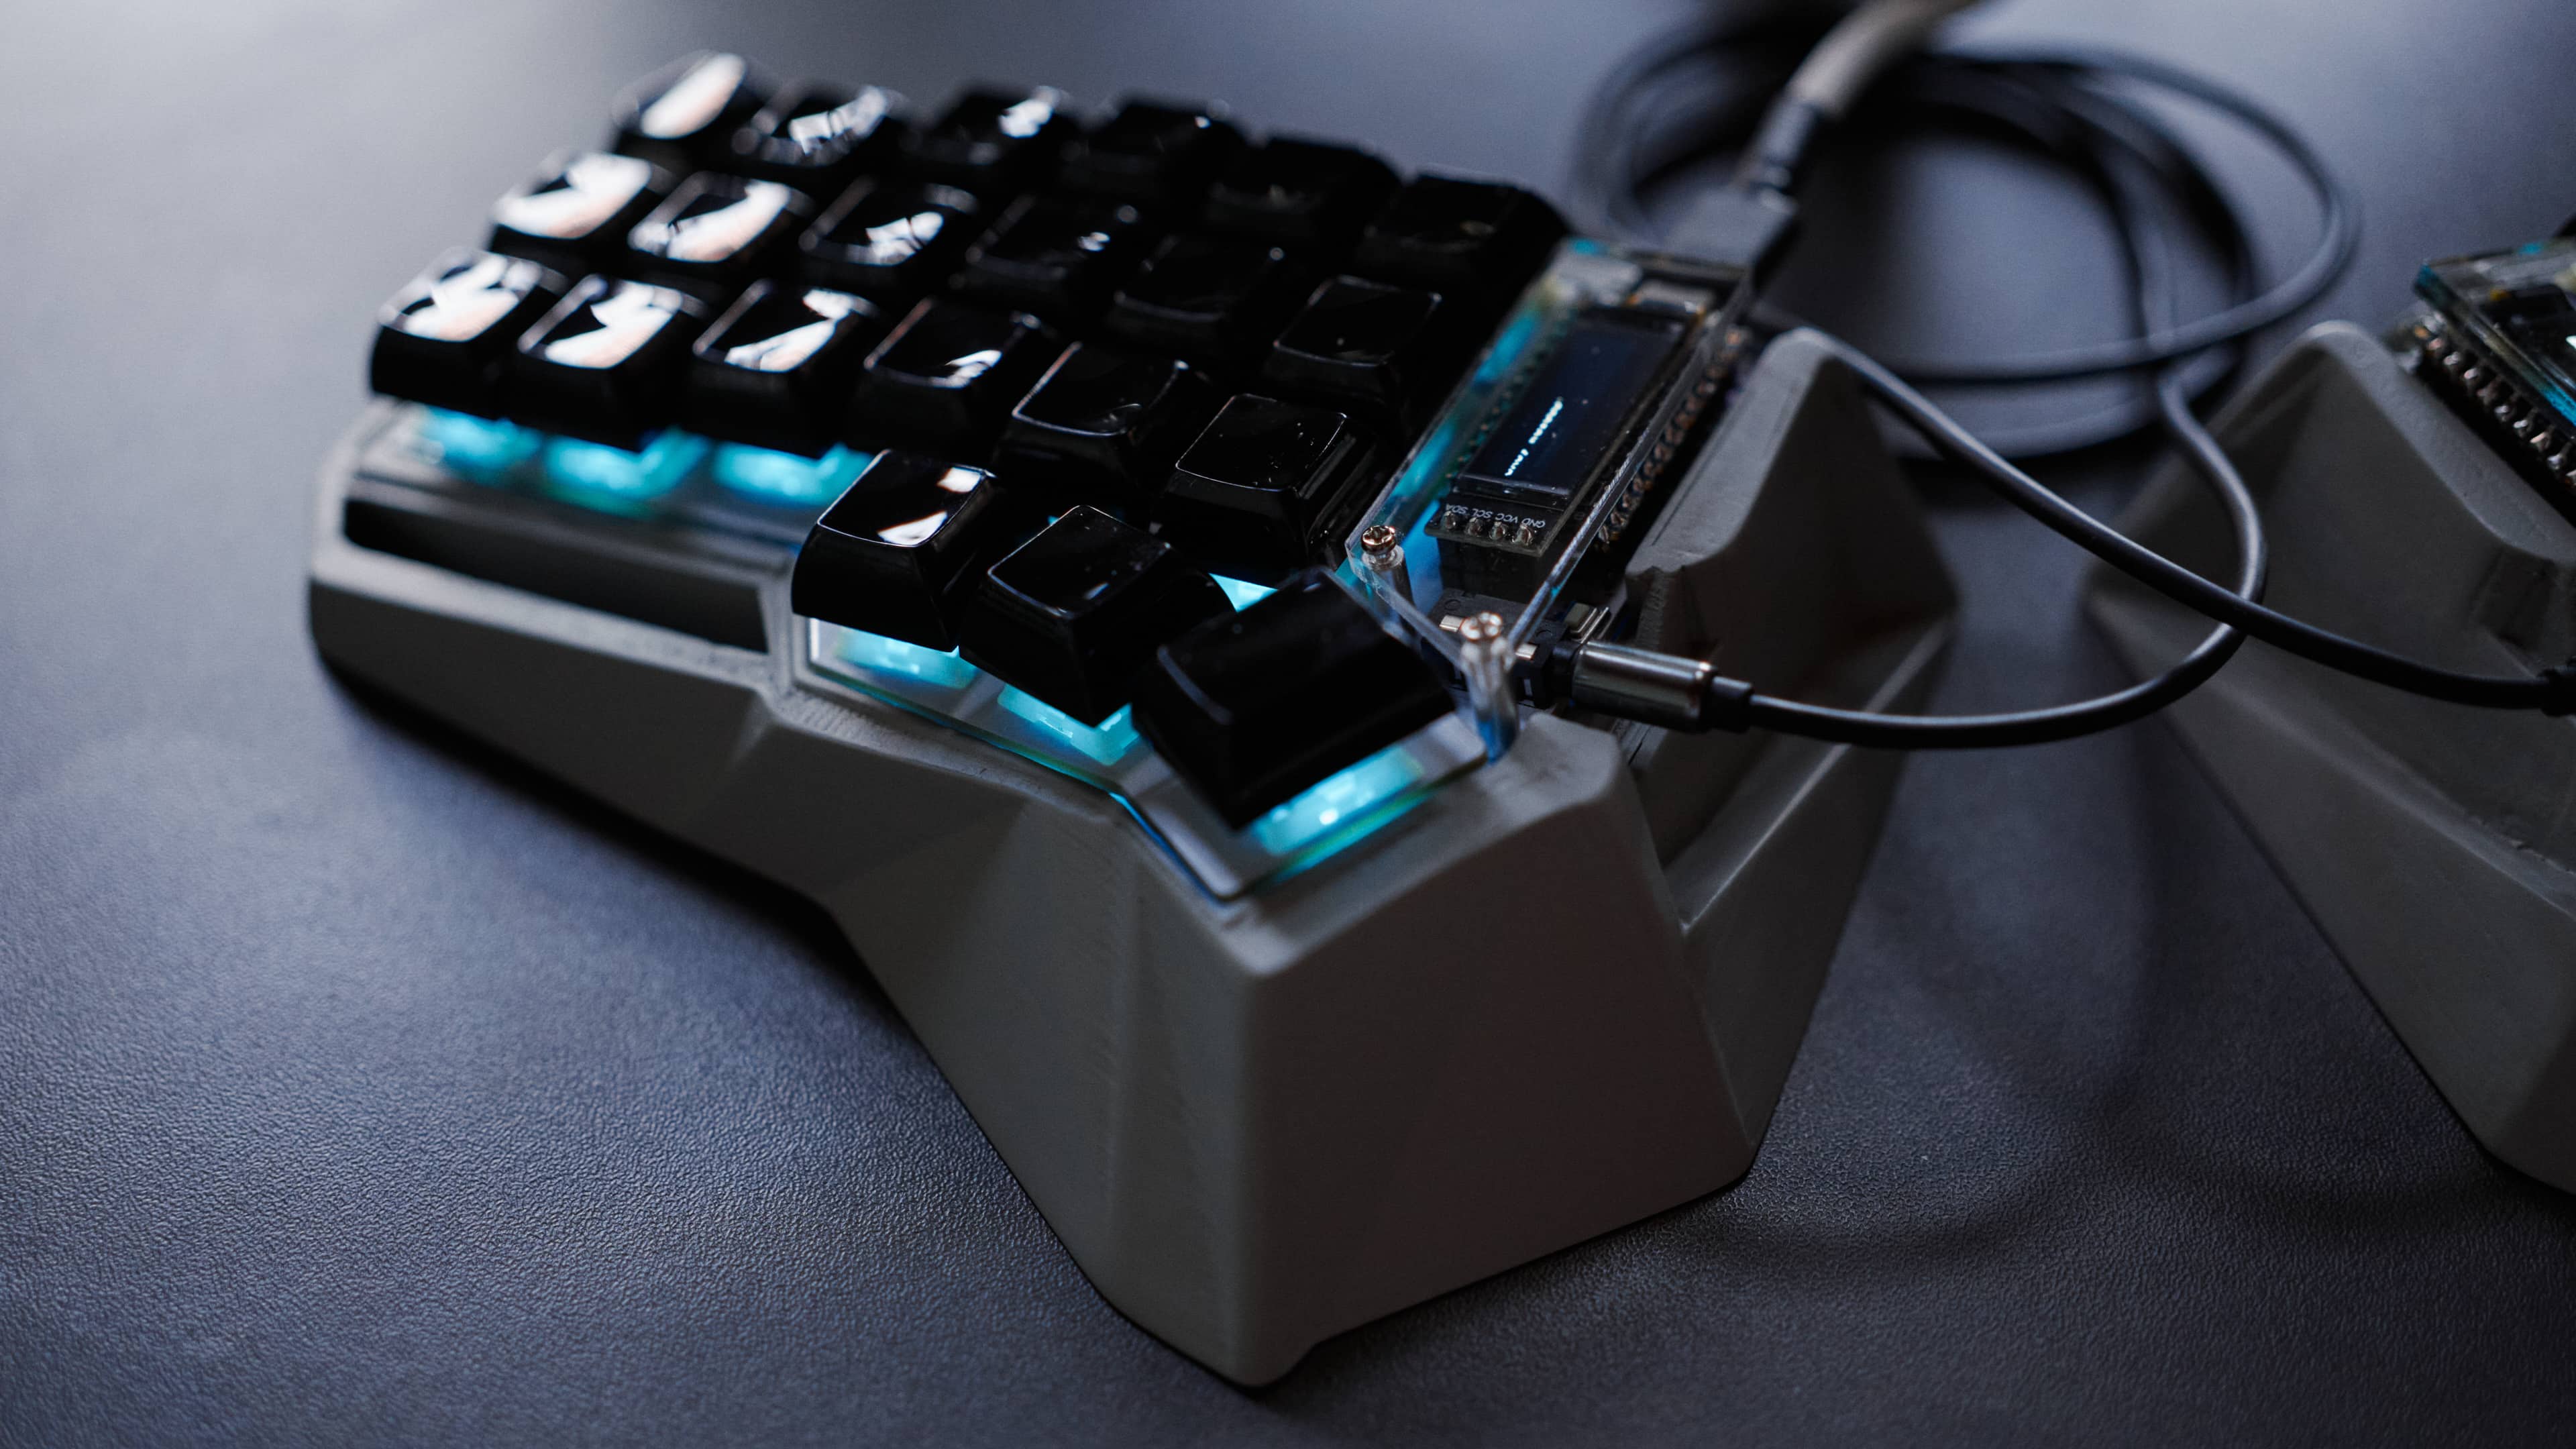
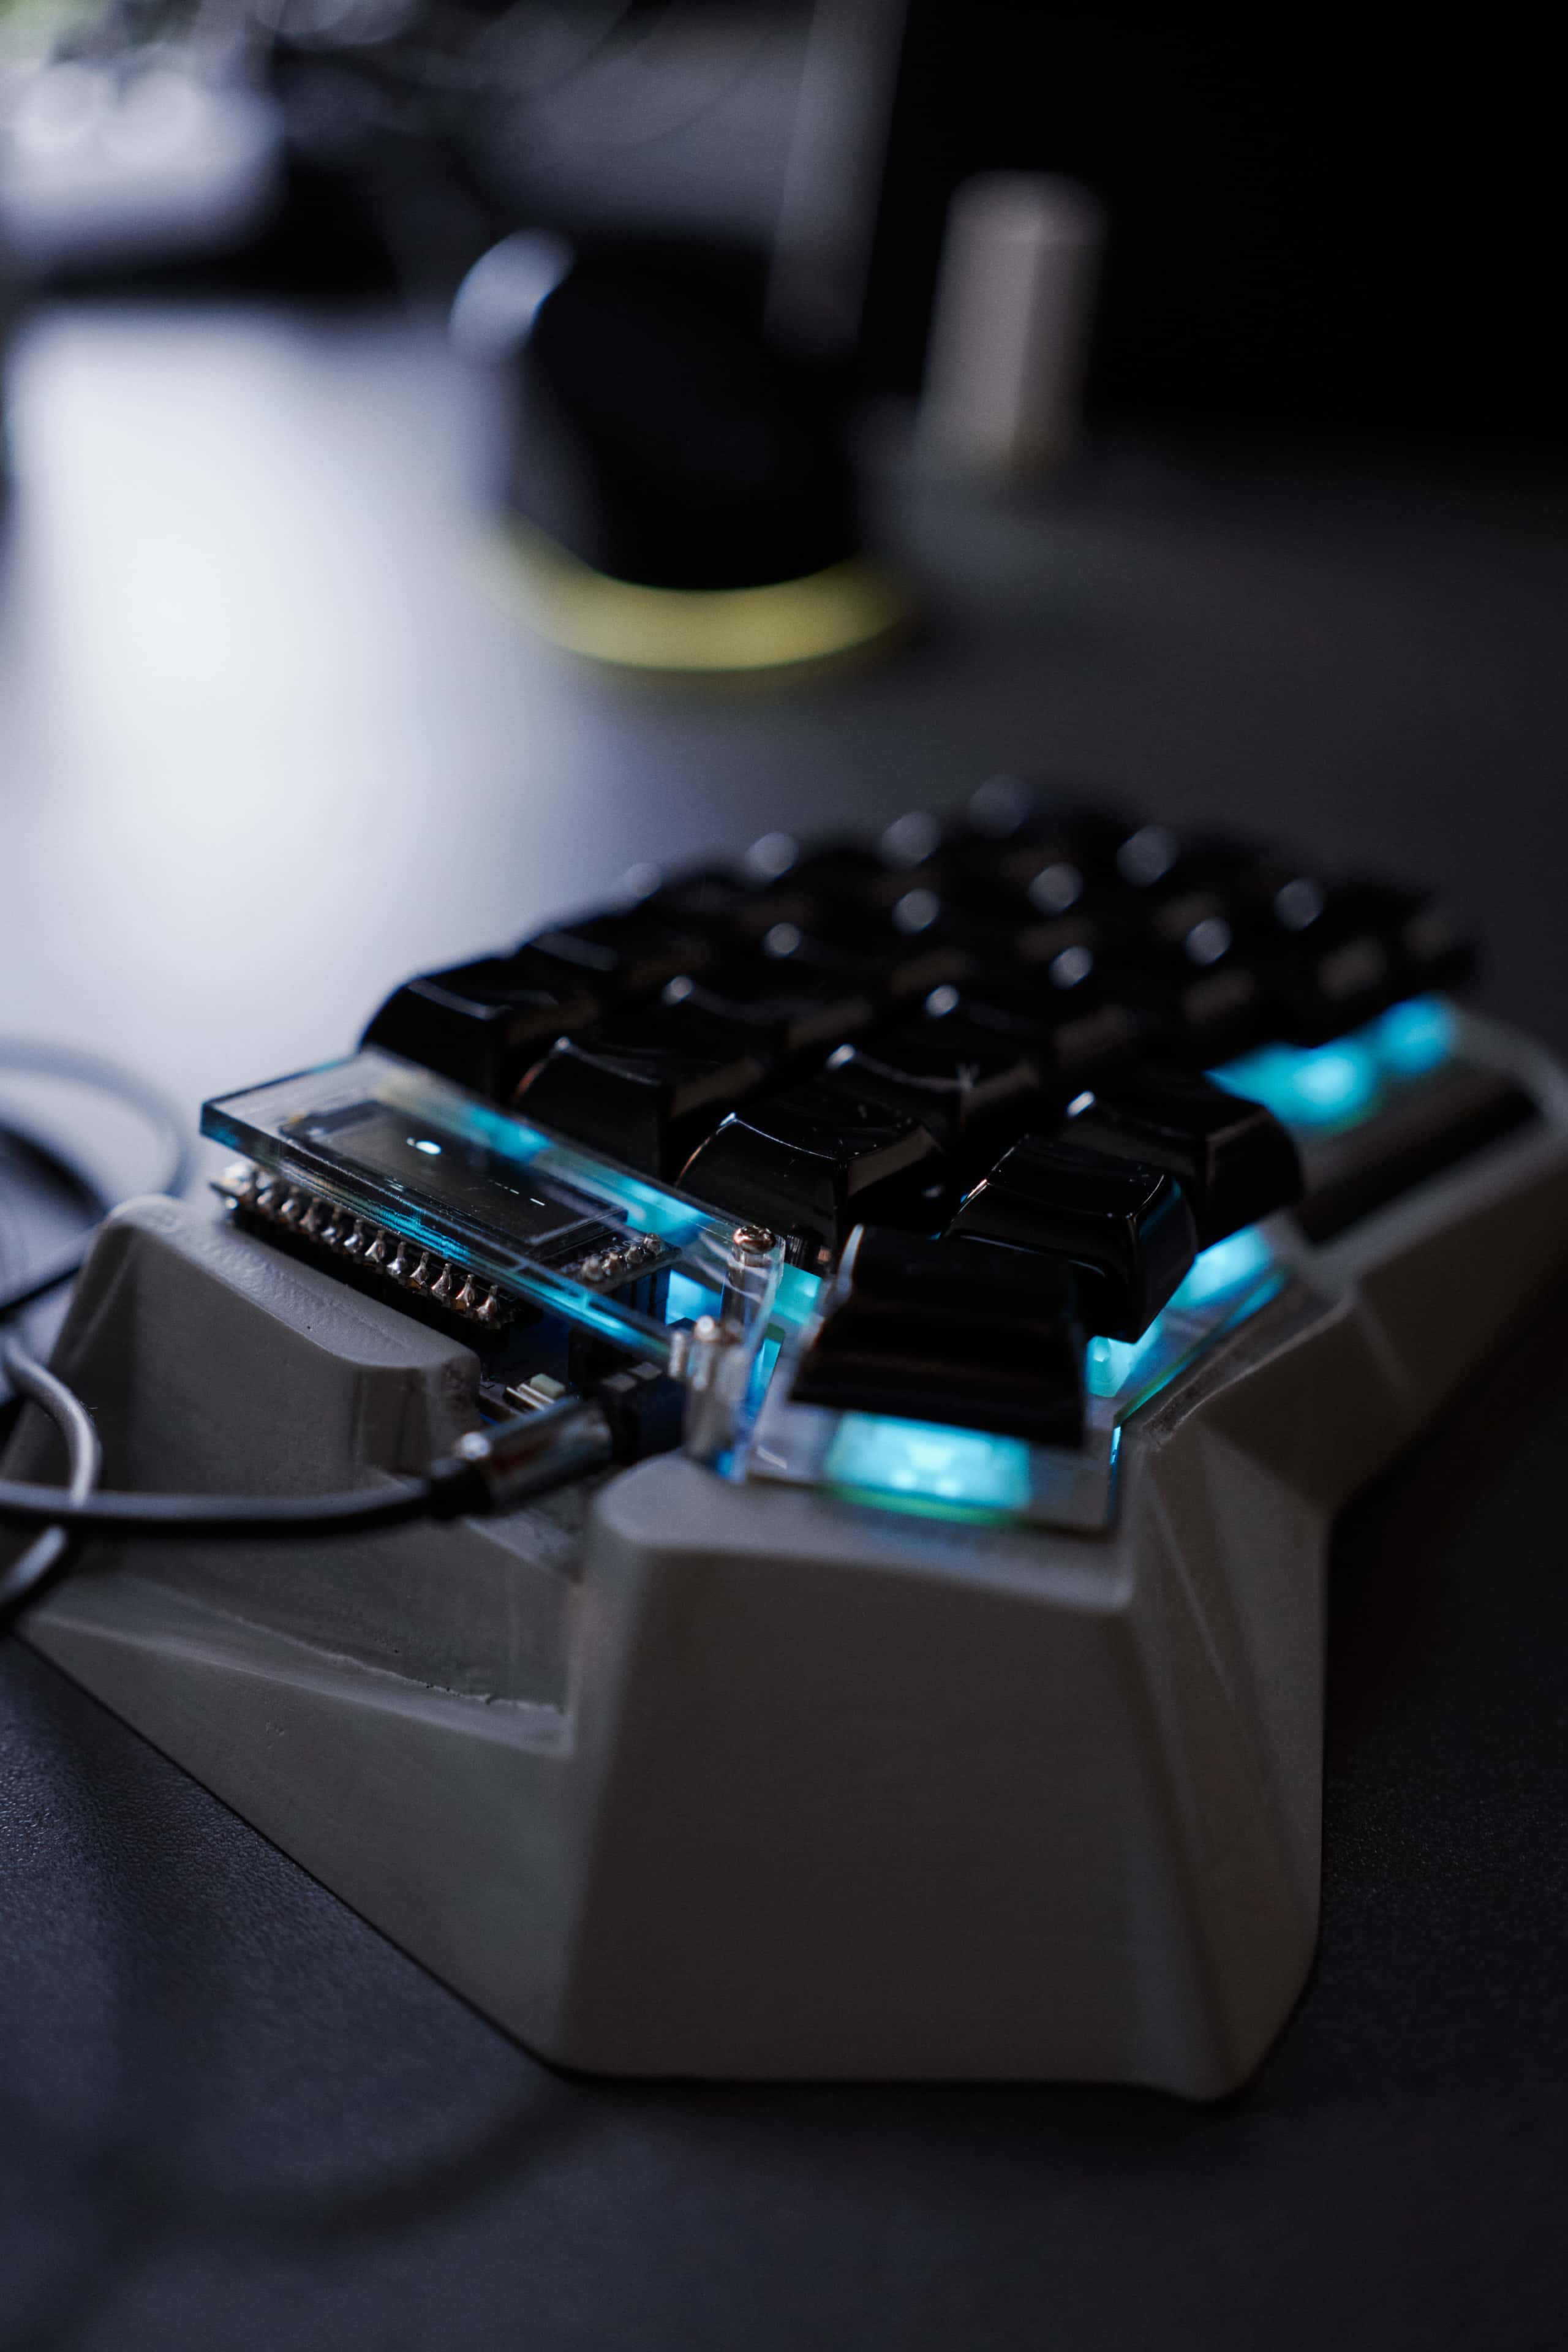
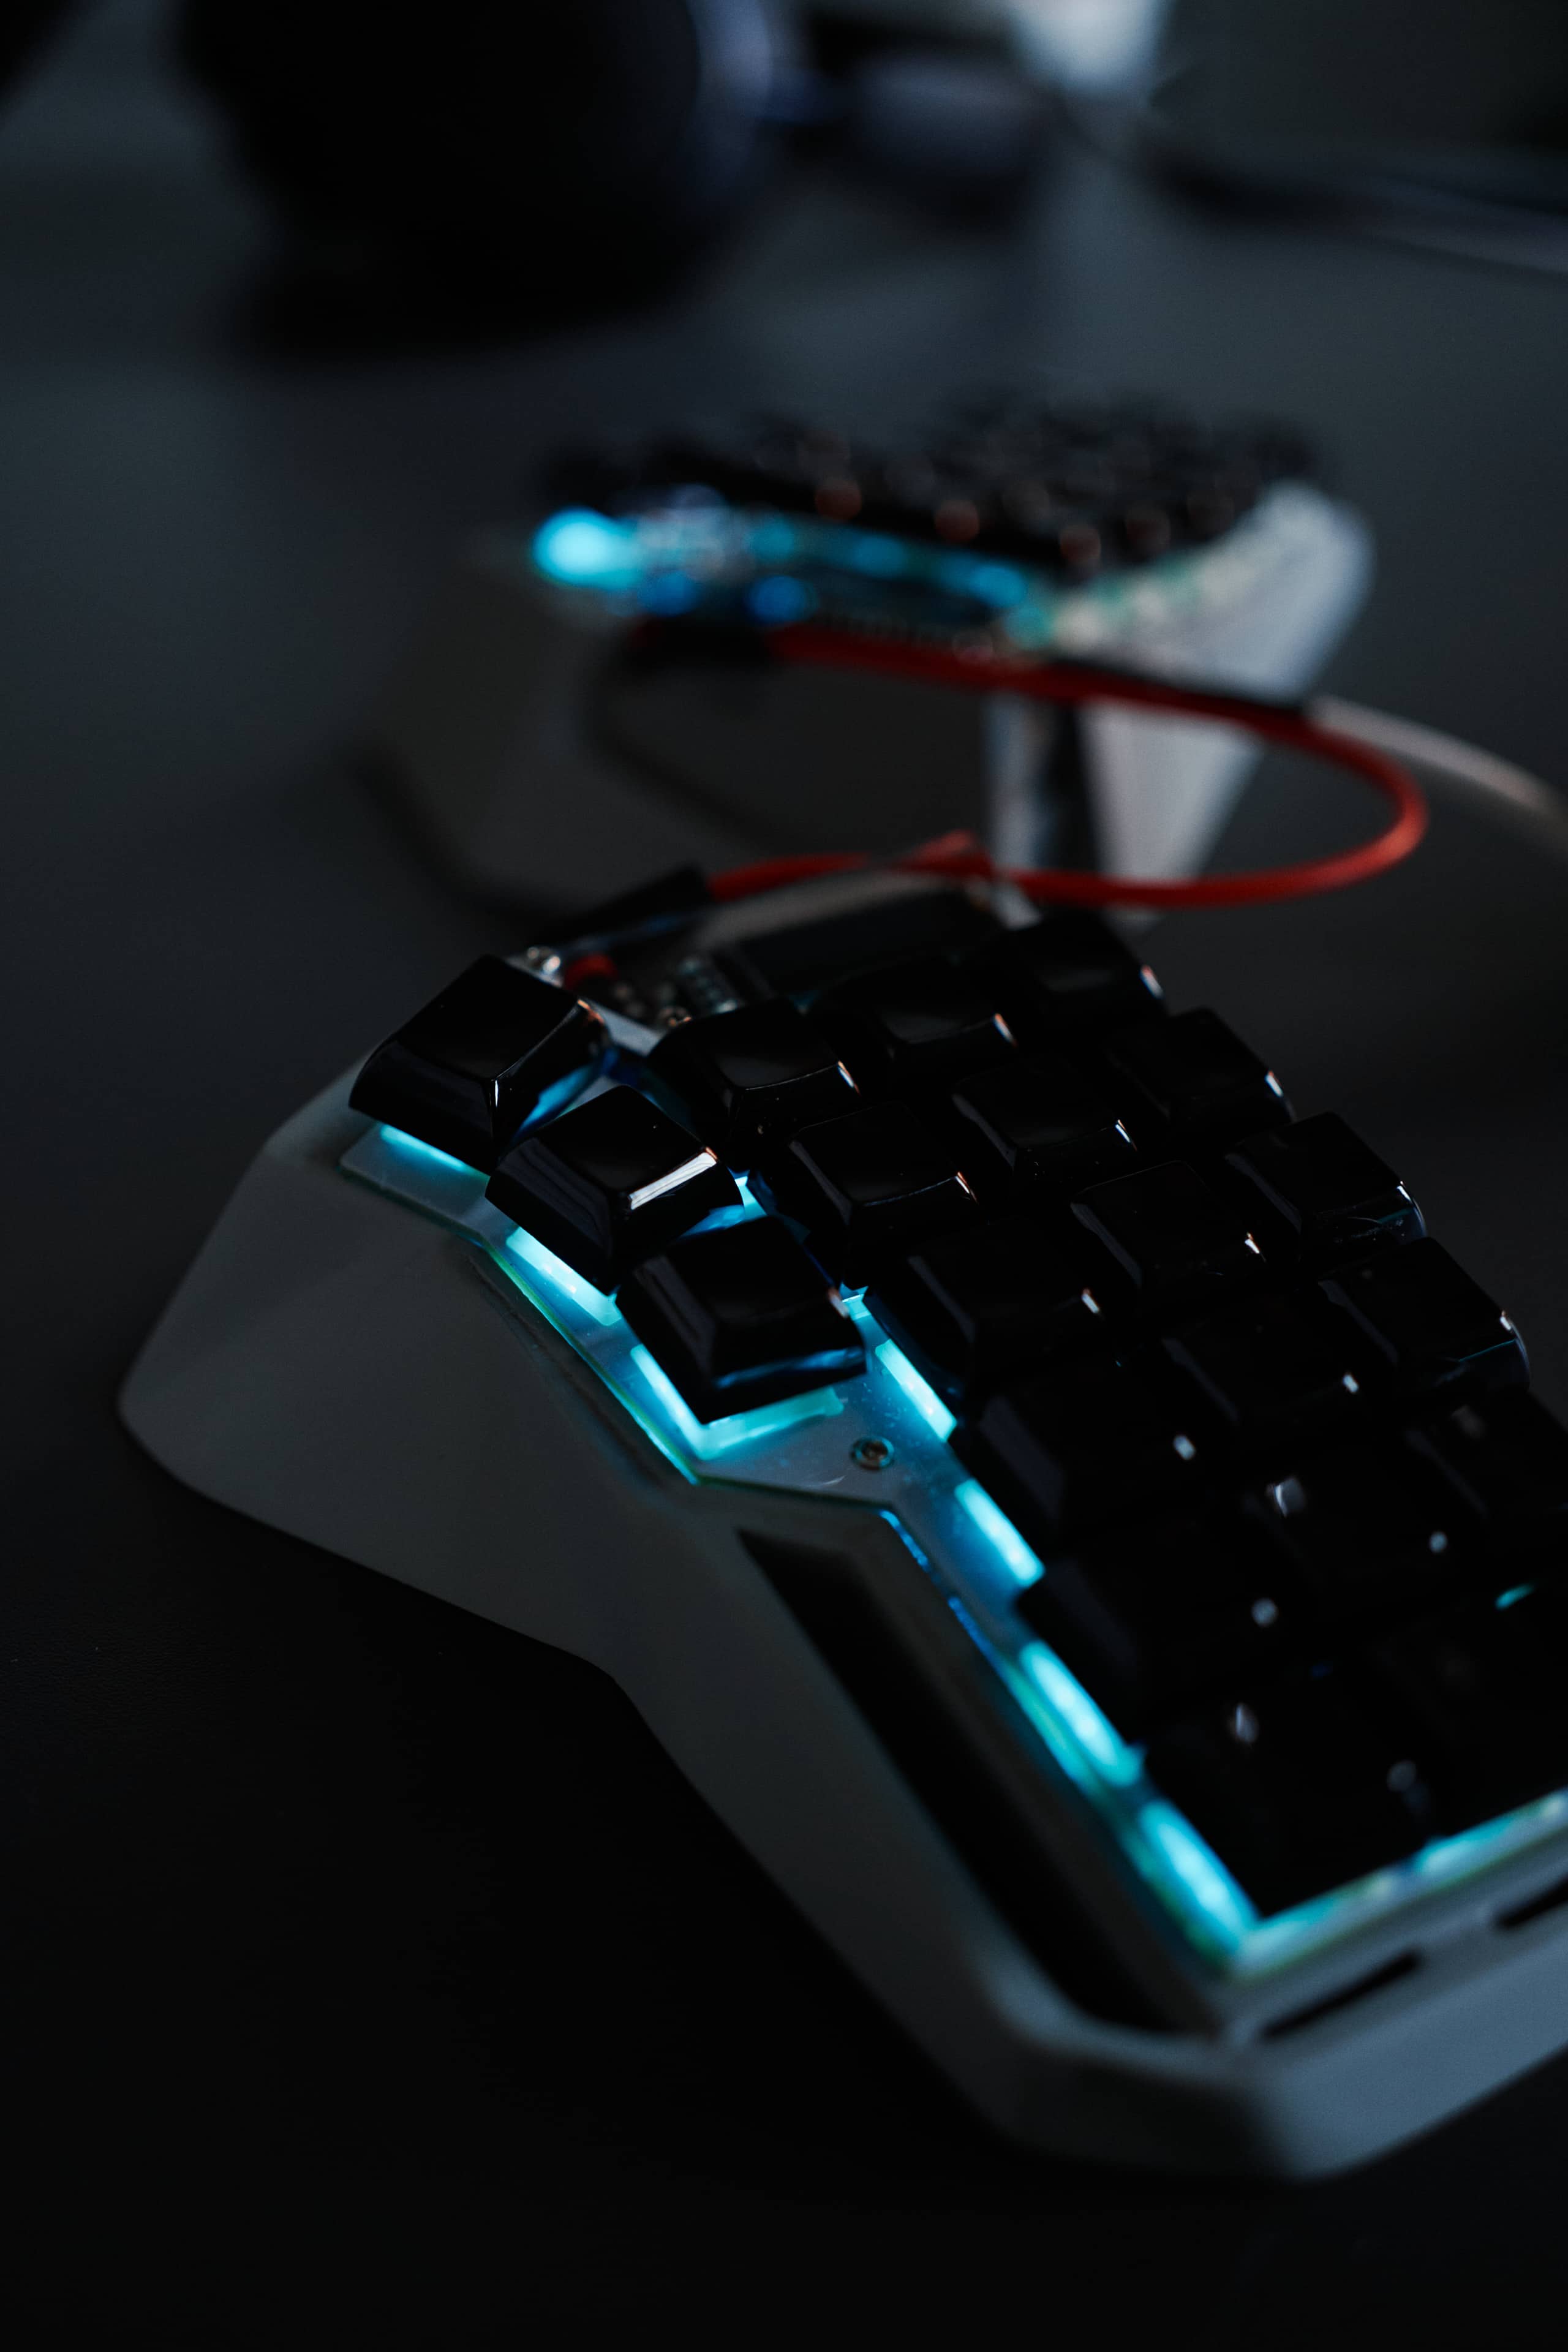
Before mounting the Corne, I replaced the previously used Gazzew Boba U4T (RGB tops) with 78g SPRiT MX Complex springs, which I had lubed with Tribosys 3204, with the more co-working and café friendly Gazzew Boba U4 bottoms with Outemu Sky stems and *nixdork tops, with 72g Gazzew multi-stage springs, lubed with Krytox 205g0. The silent tactile switches are pleasant to type on and a lot stealthier for public environments.
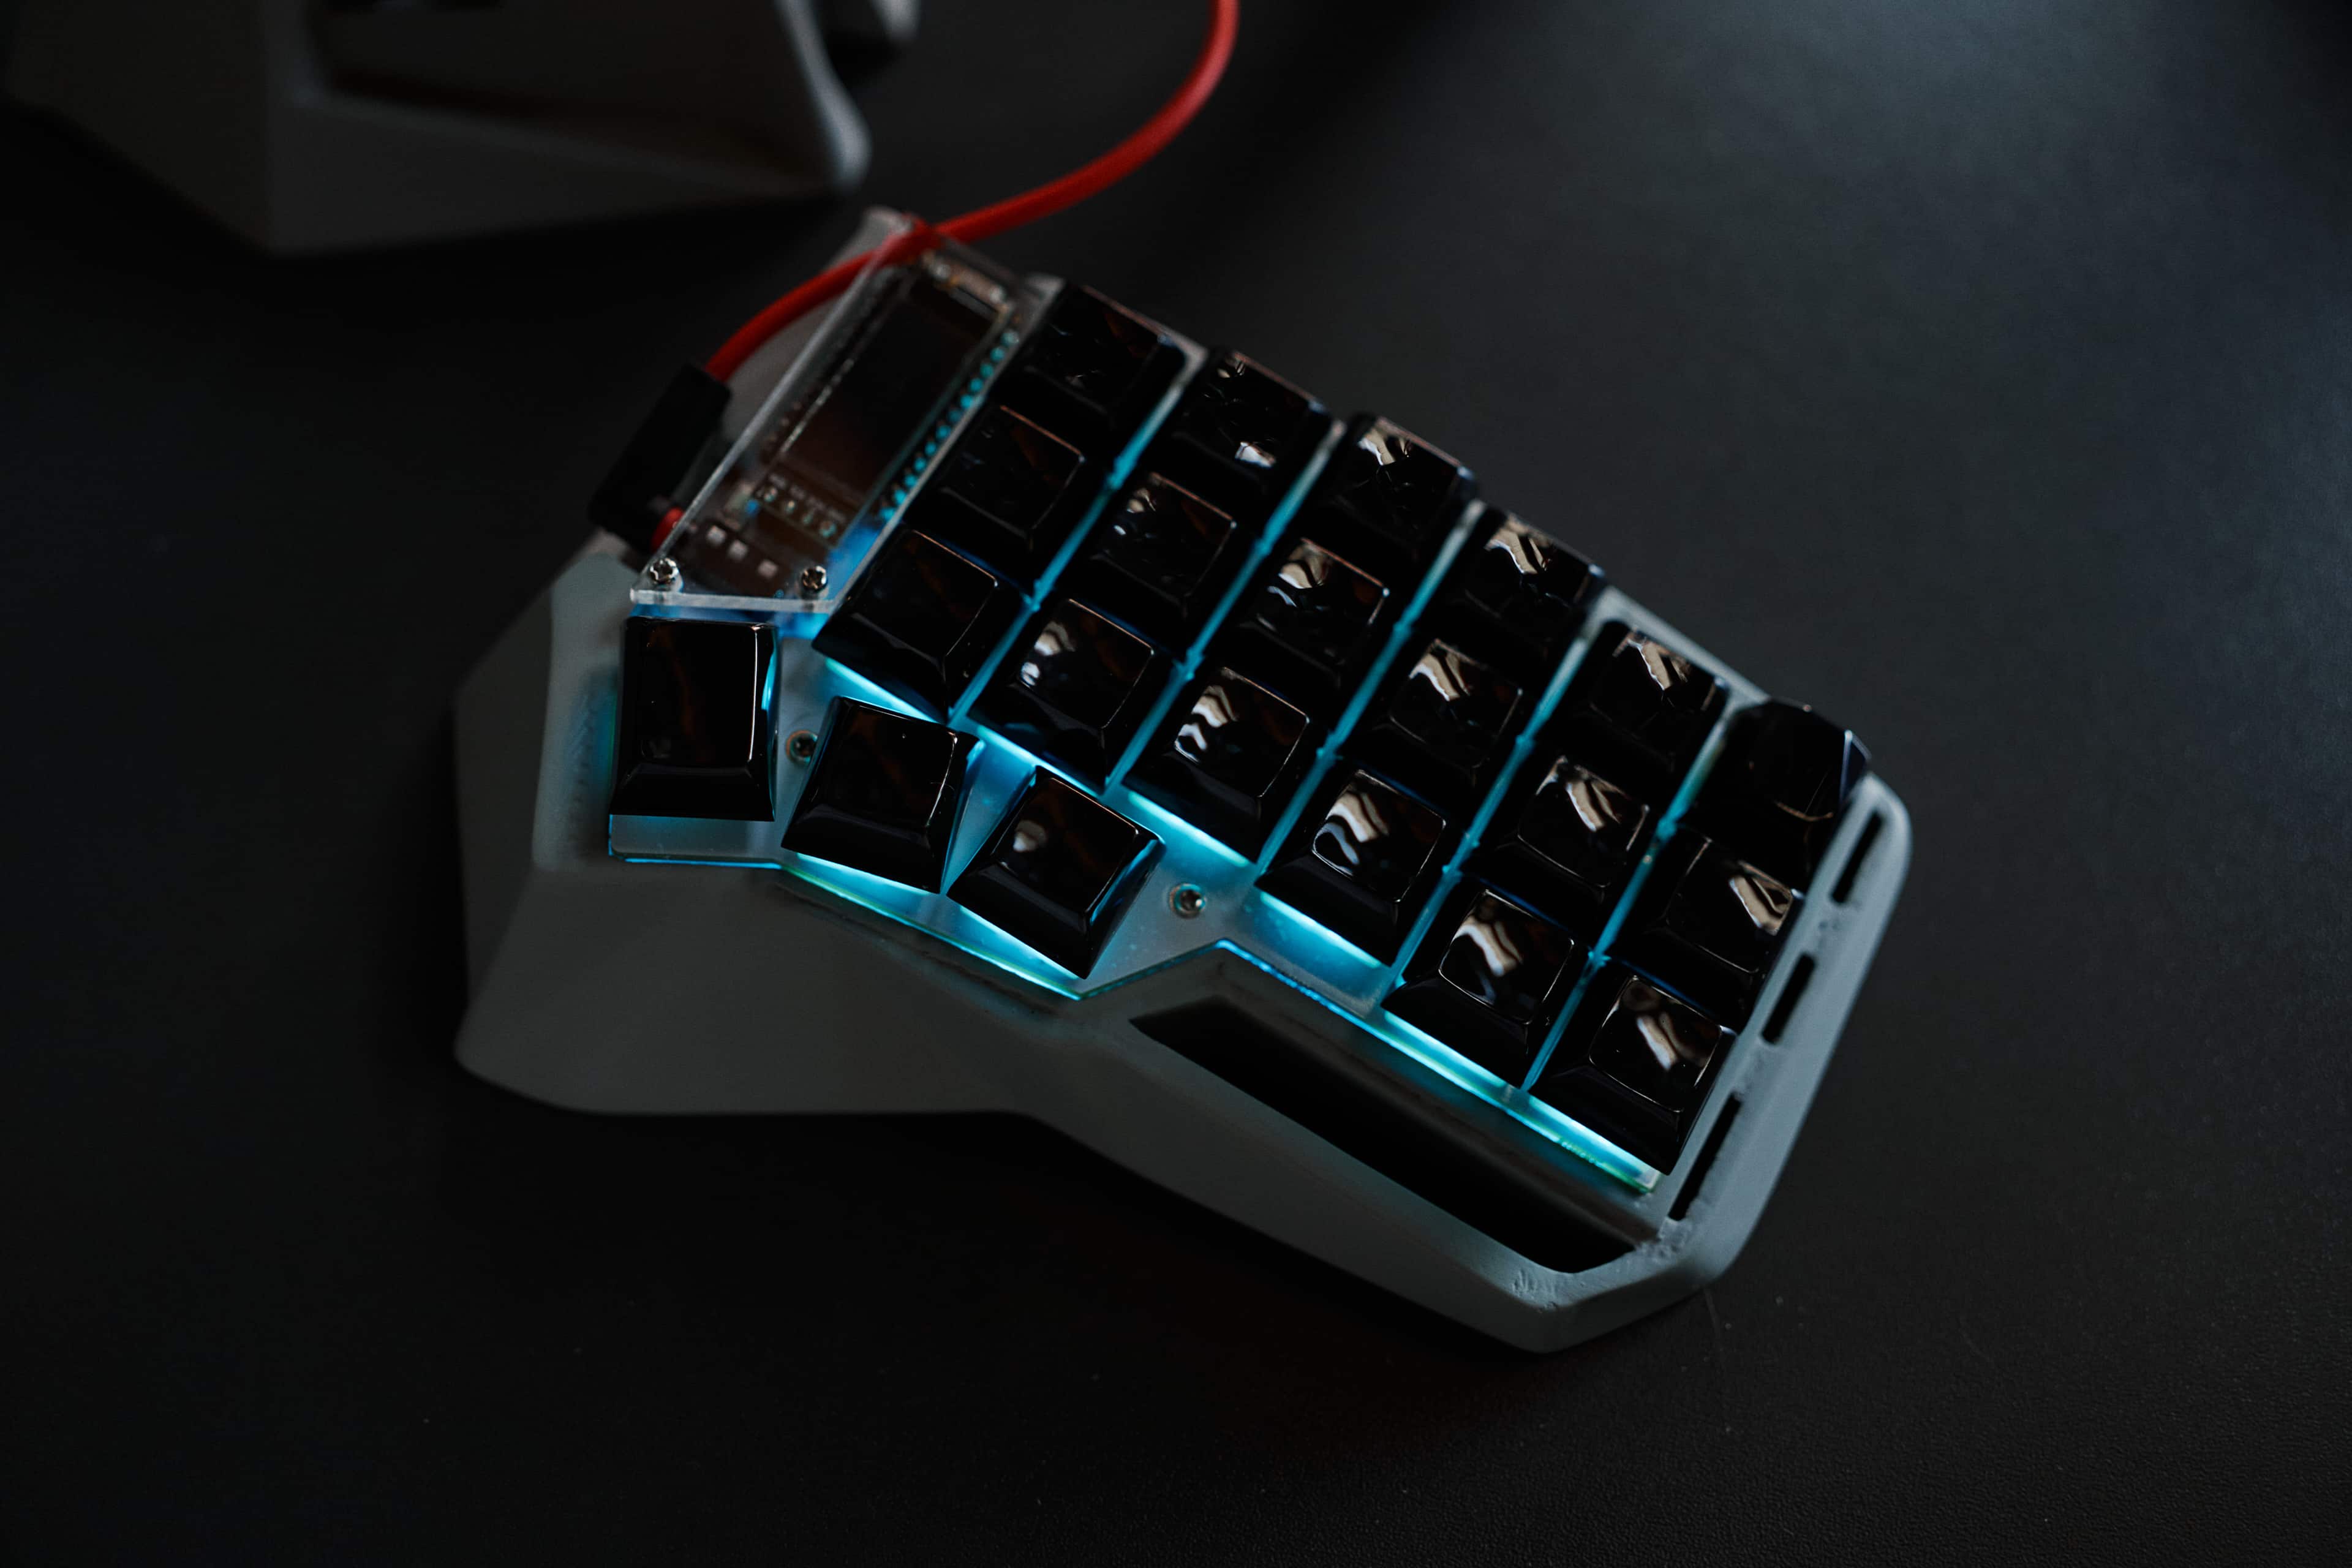
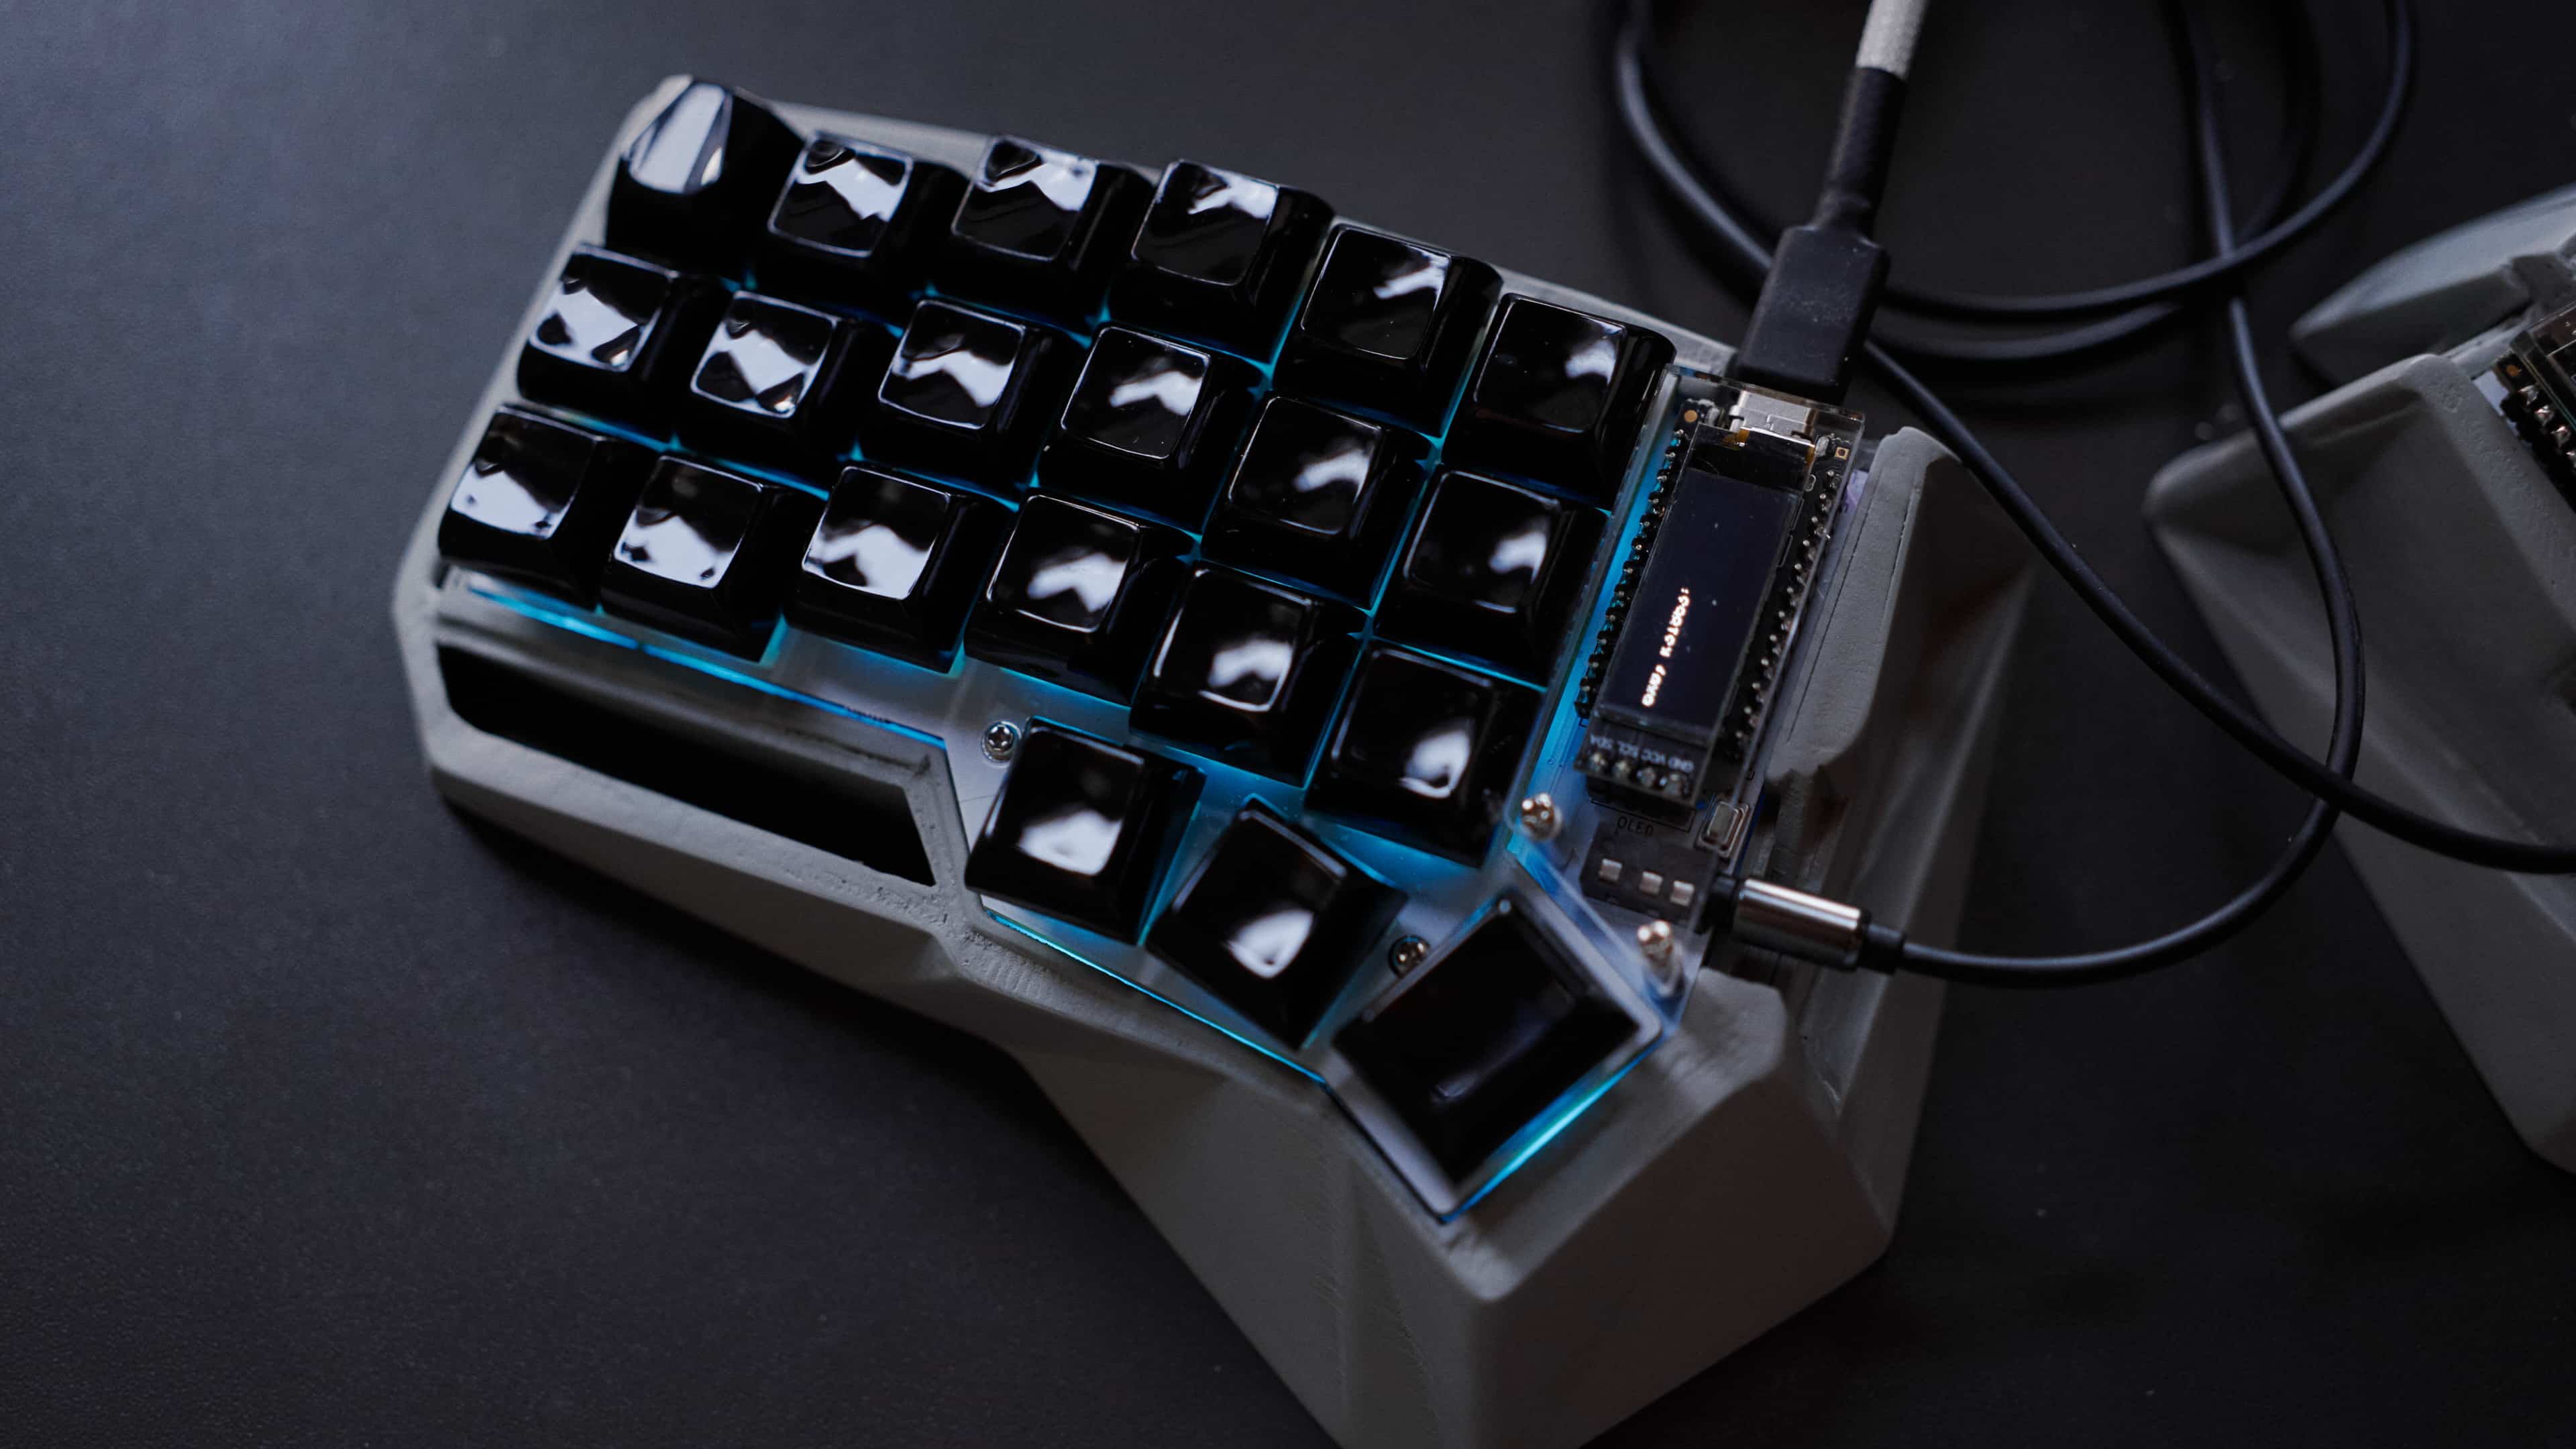
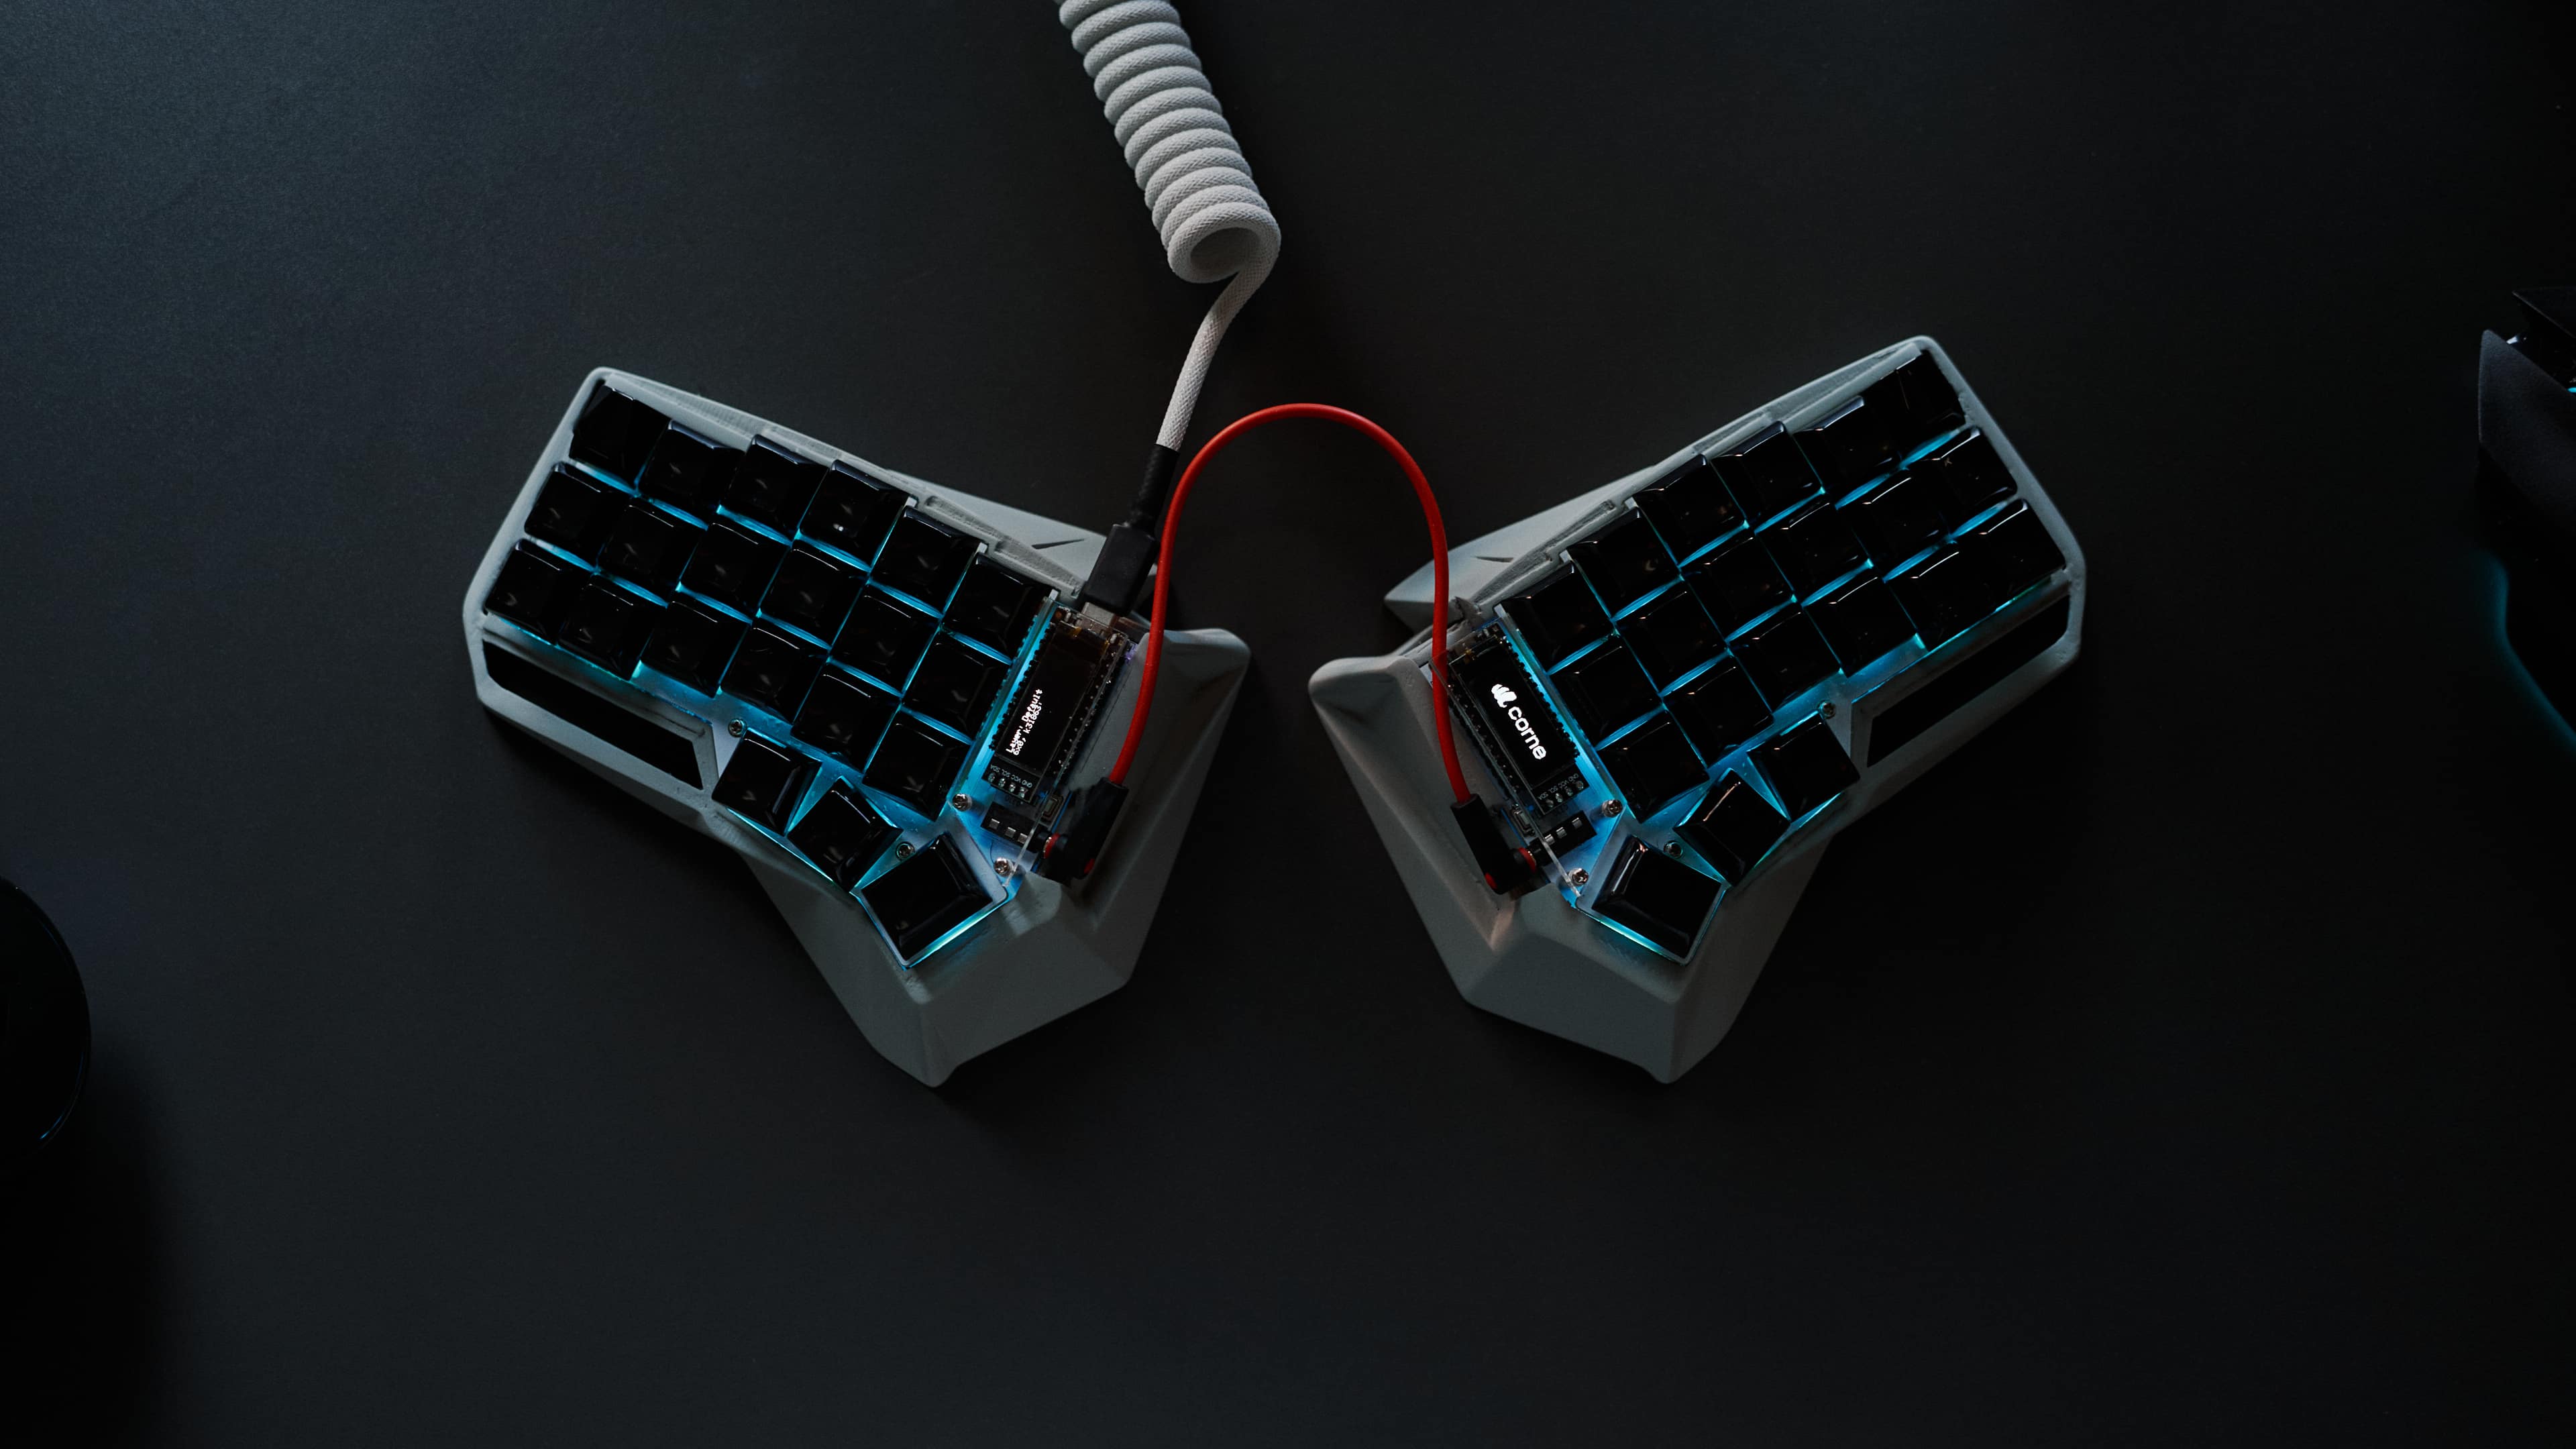
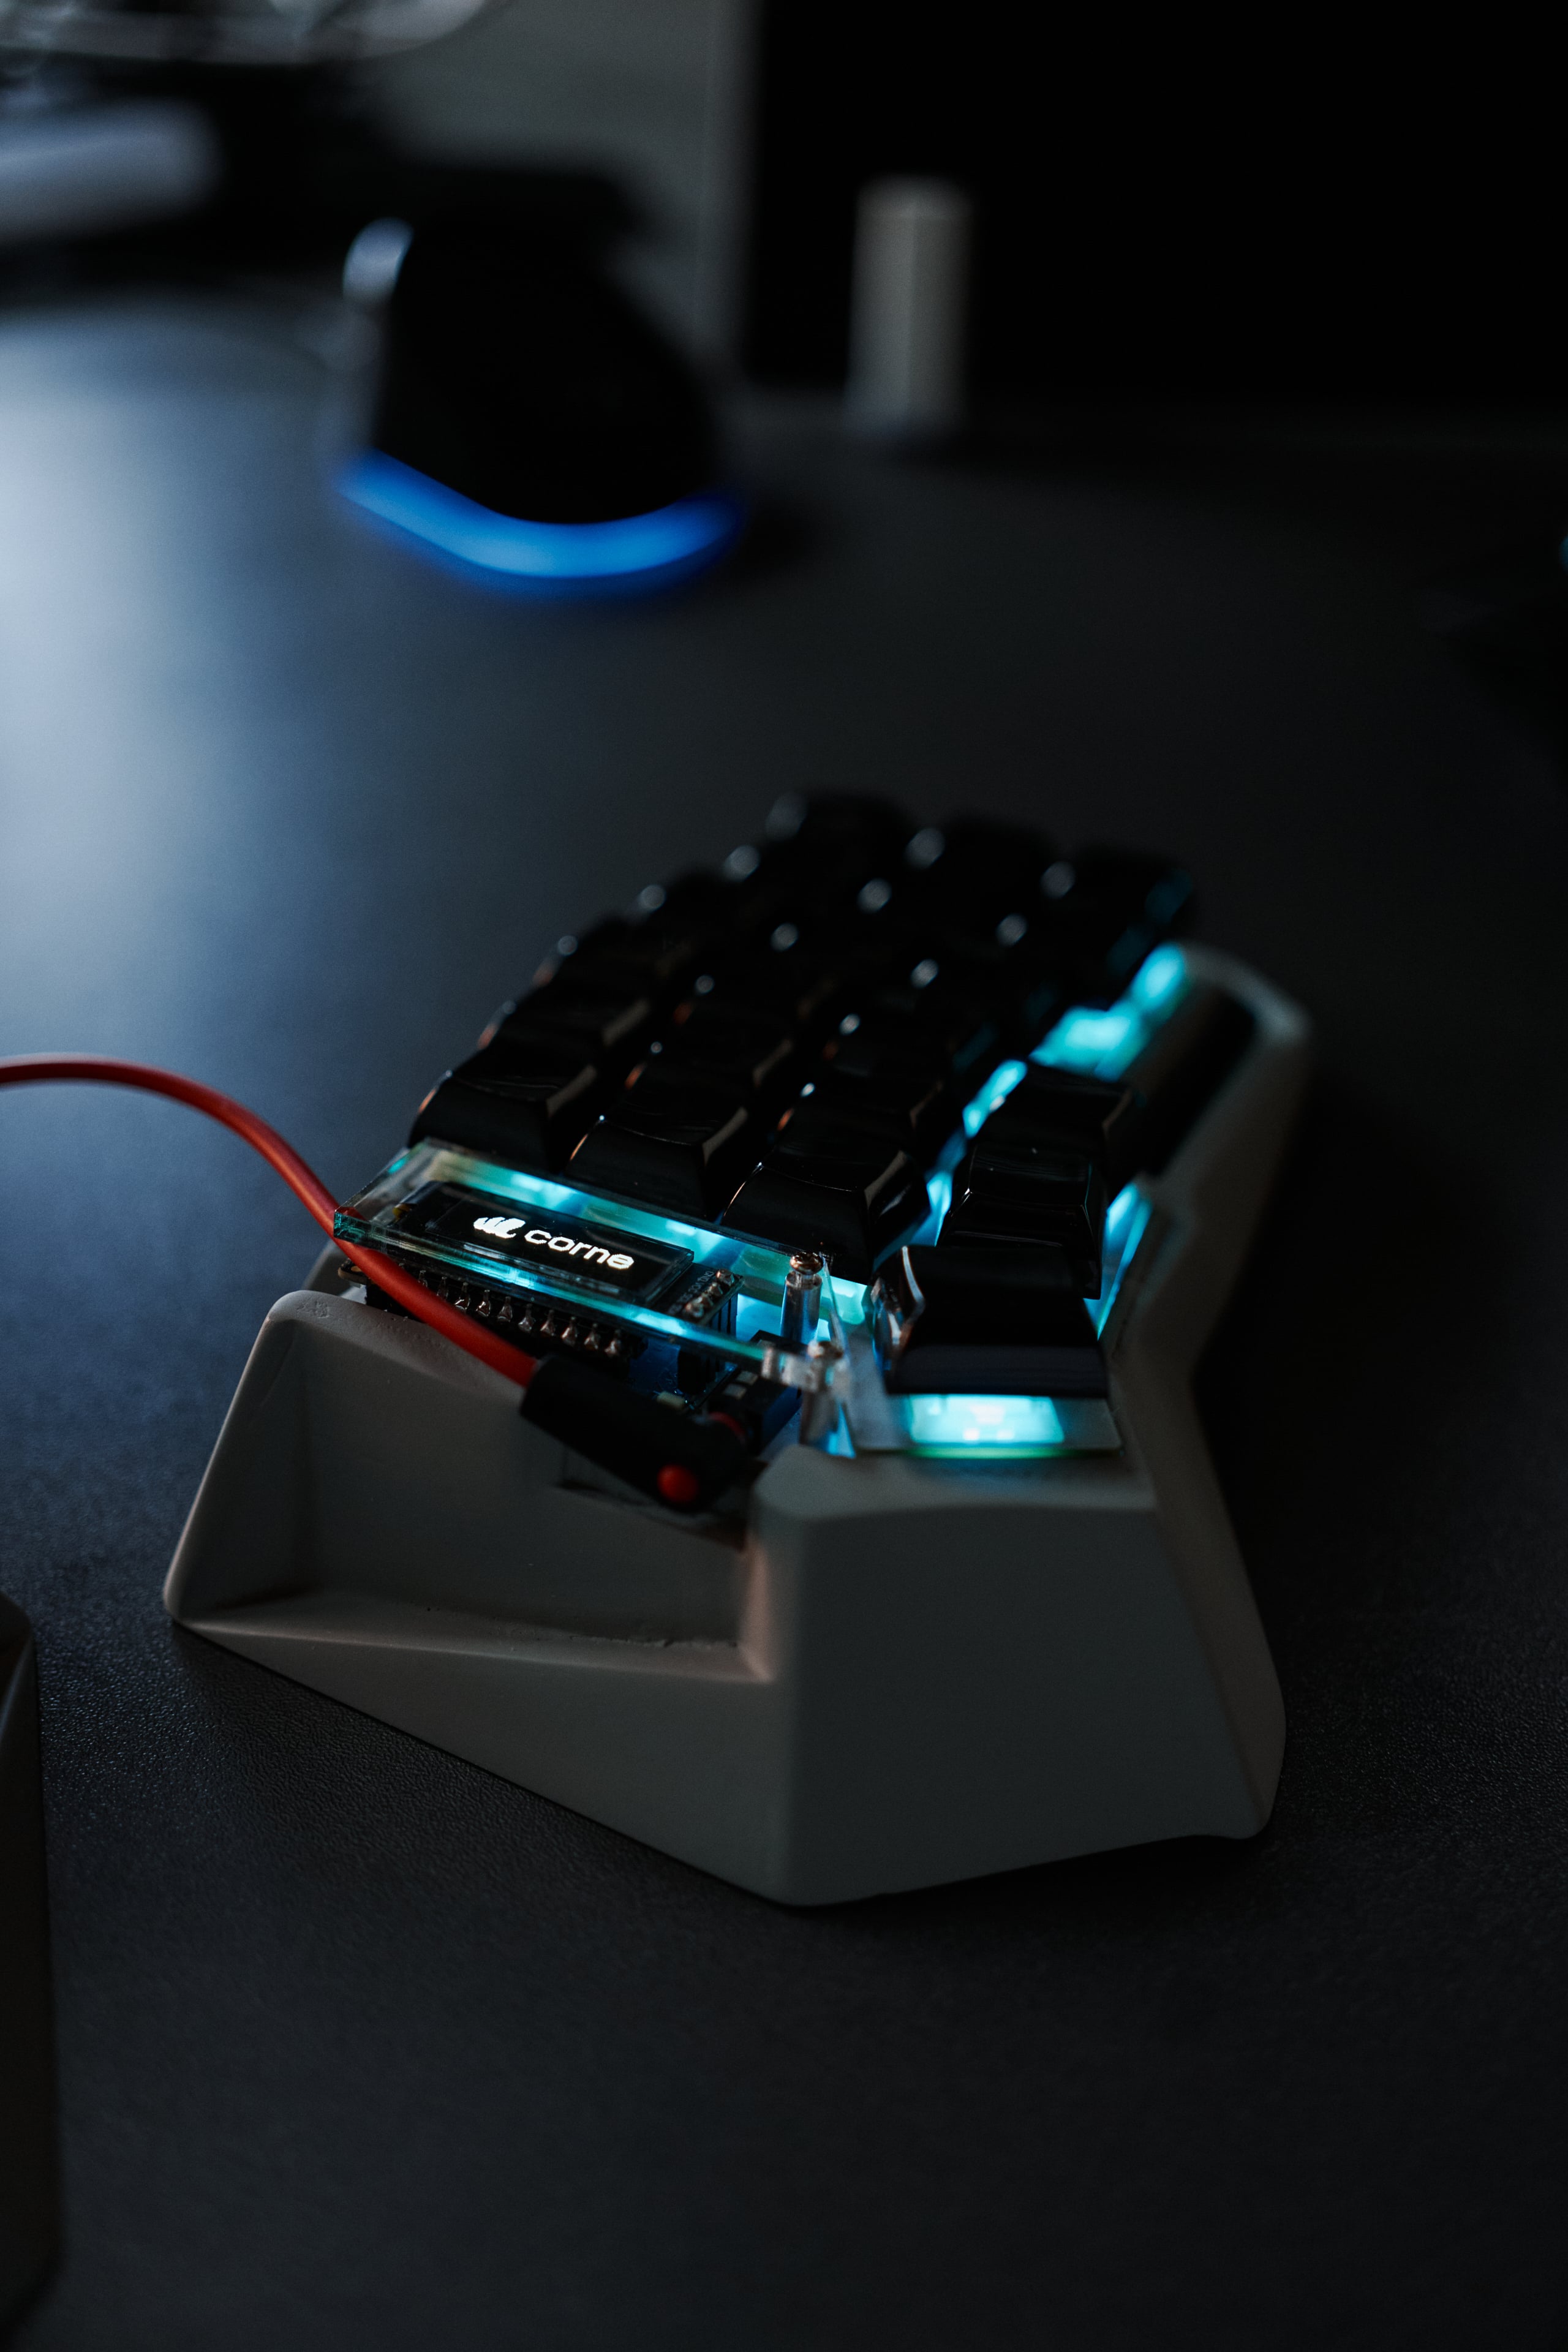
In addition, I also replaced the ePBT x GOK Kuro/Shiro R3 keycaps with new KAM Blanks R2 in black, which I only received a while ago. I did however keep the two GMK Stealth RAMA Hawk artisans in the corners. The artisans add to the cyberpunk look of the Kunai, and the glossy KAM Blanks make the keyboard really stand out.
As with every glossy set, the KAM Blanks are fingerprint magnets. After a few hours of use, they start to look ewwwww. I’m not sure if I’m going to keep the KAM Blanks or if I’ll eventually try a MTNU keycap set – a profile I’ve been intrigued by for a long time now. Unfortunately, there aren’t many MNTU sets available as of today, and the ones that exist are relatively expensive. If I could get hold of an Ortho set of black KAT Refined, I might as well give that a try.
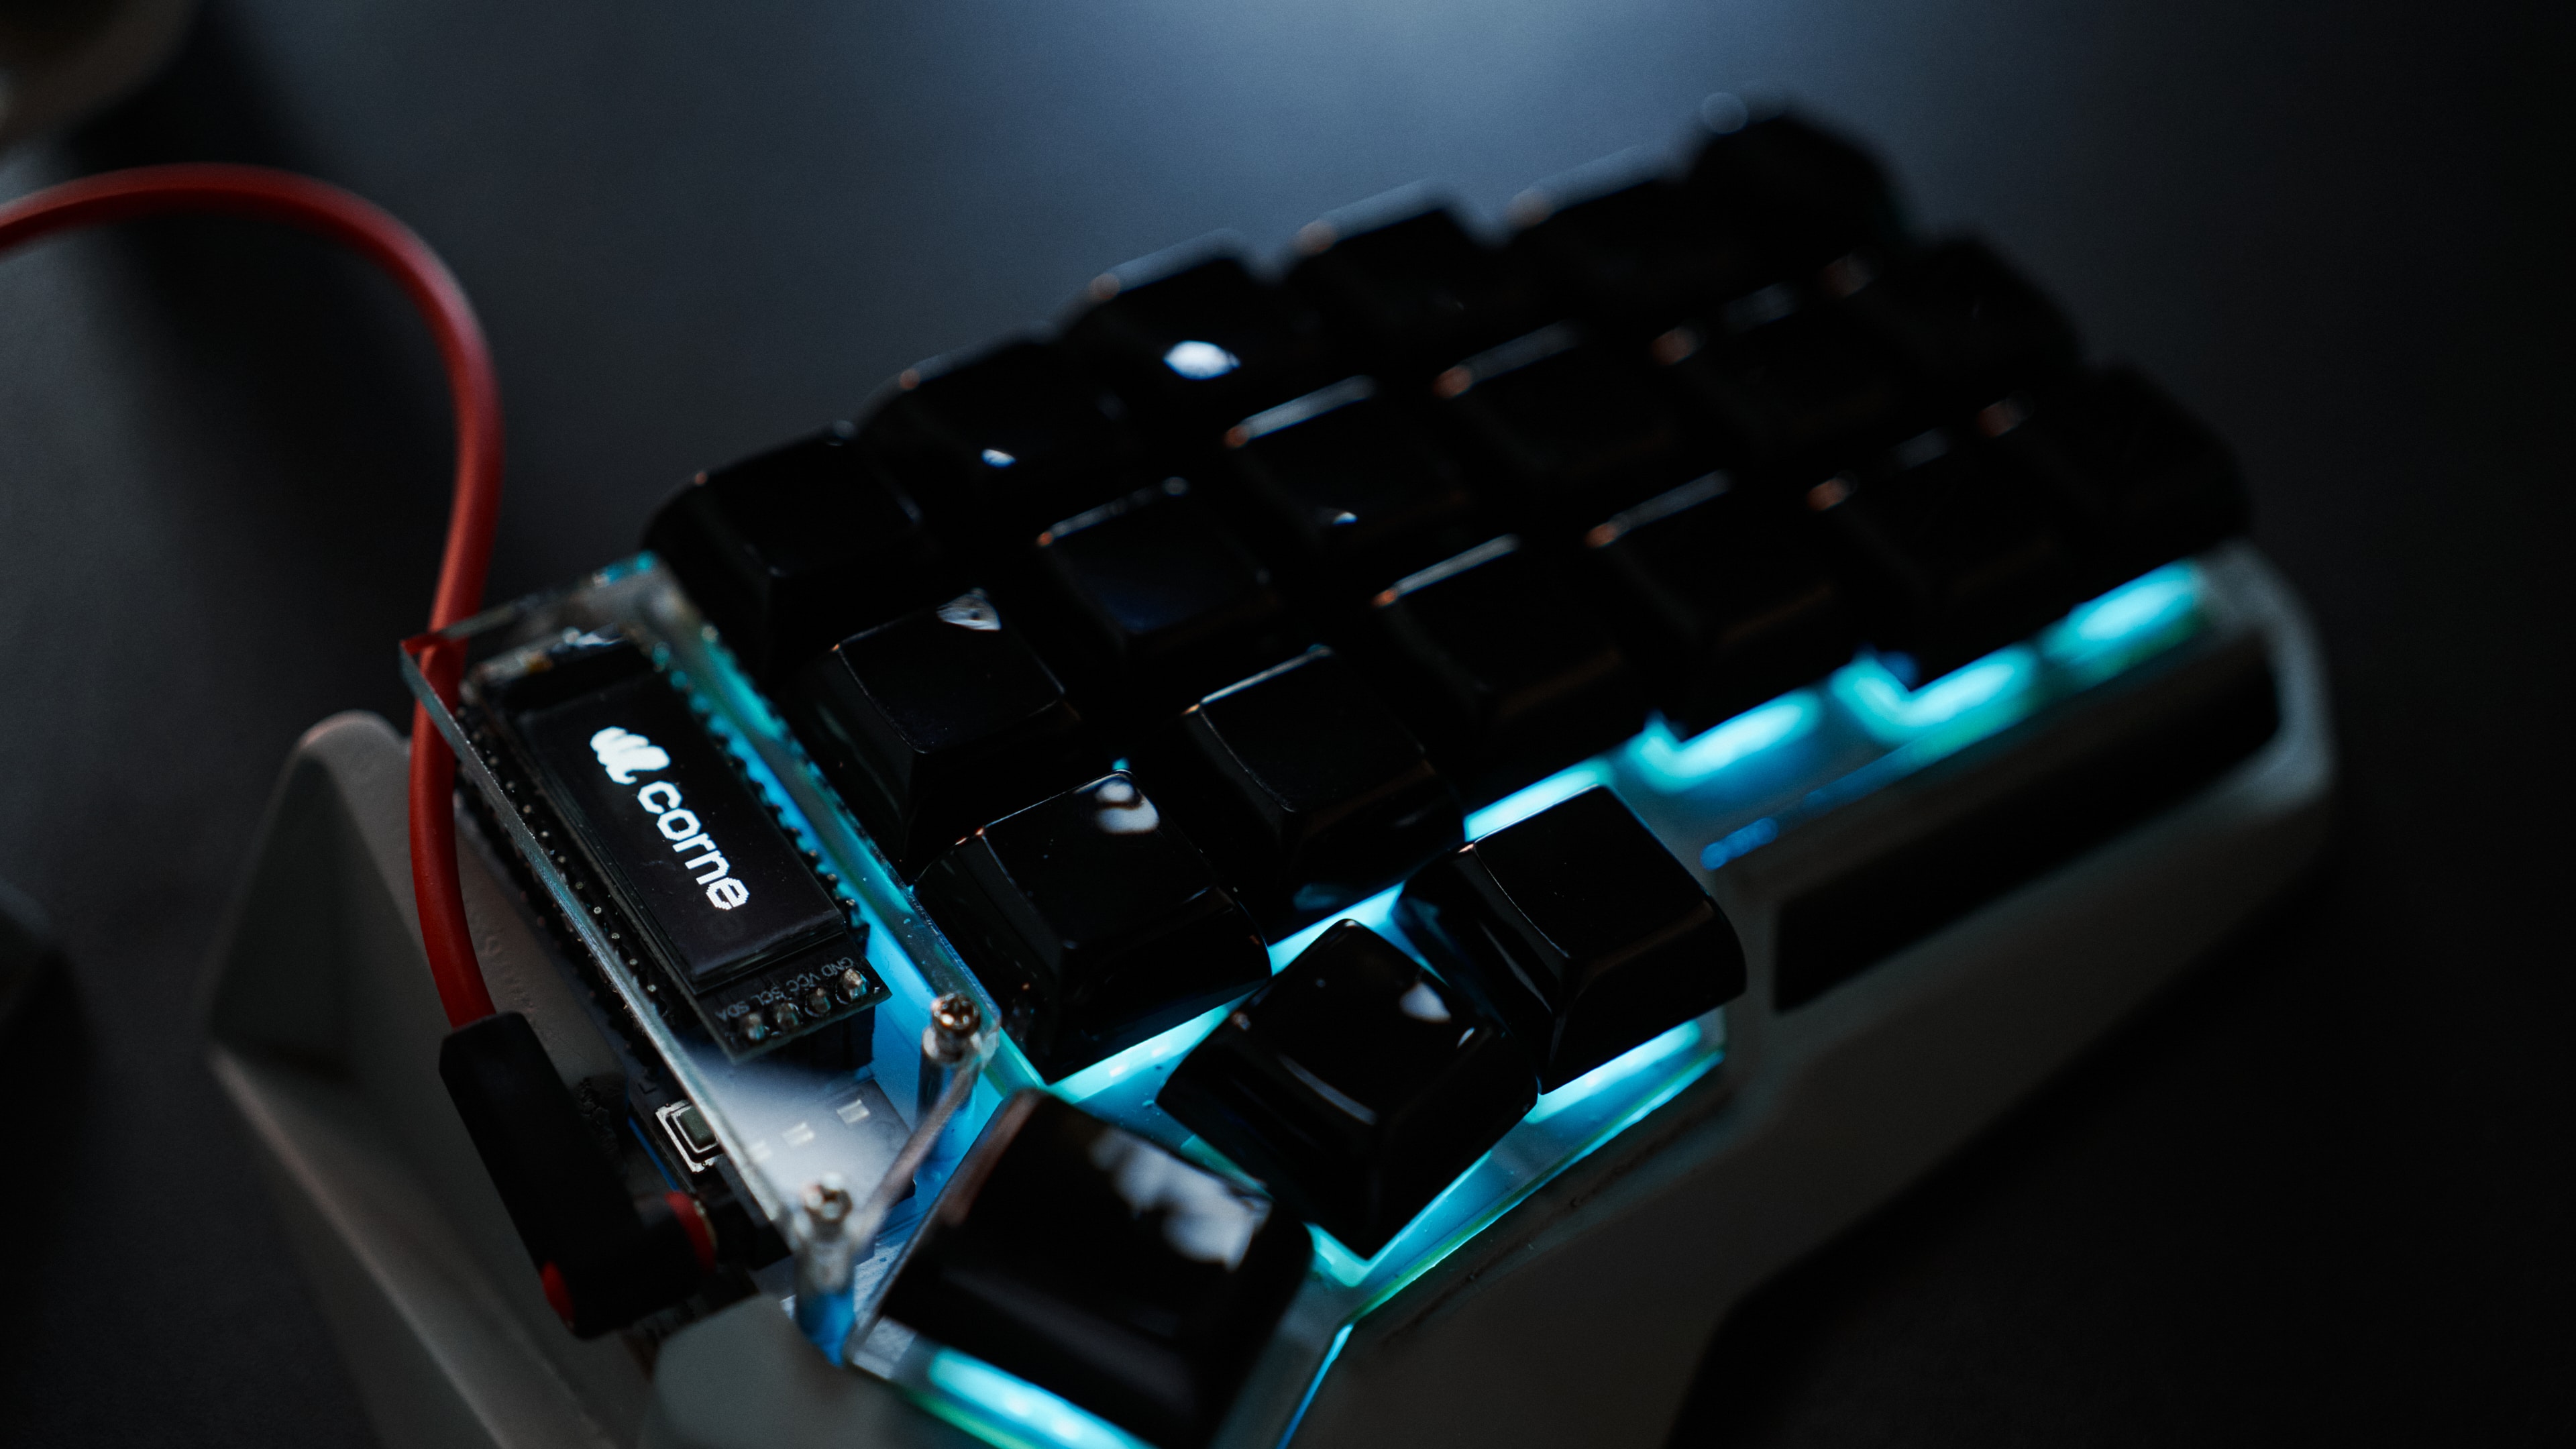
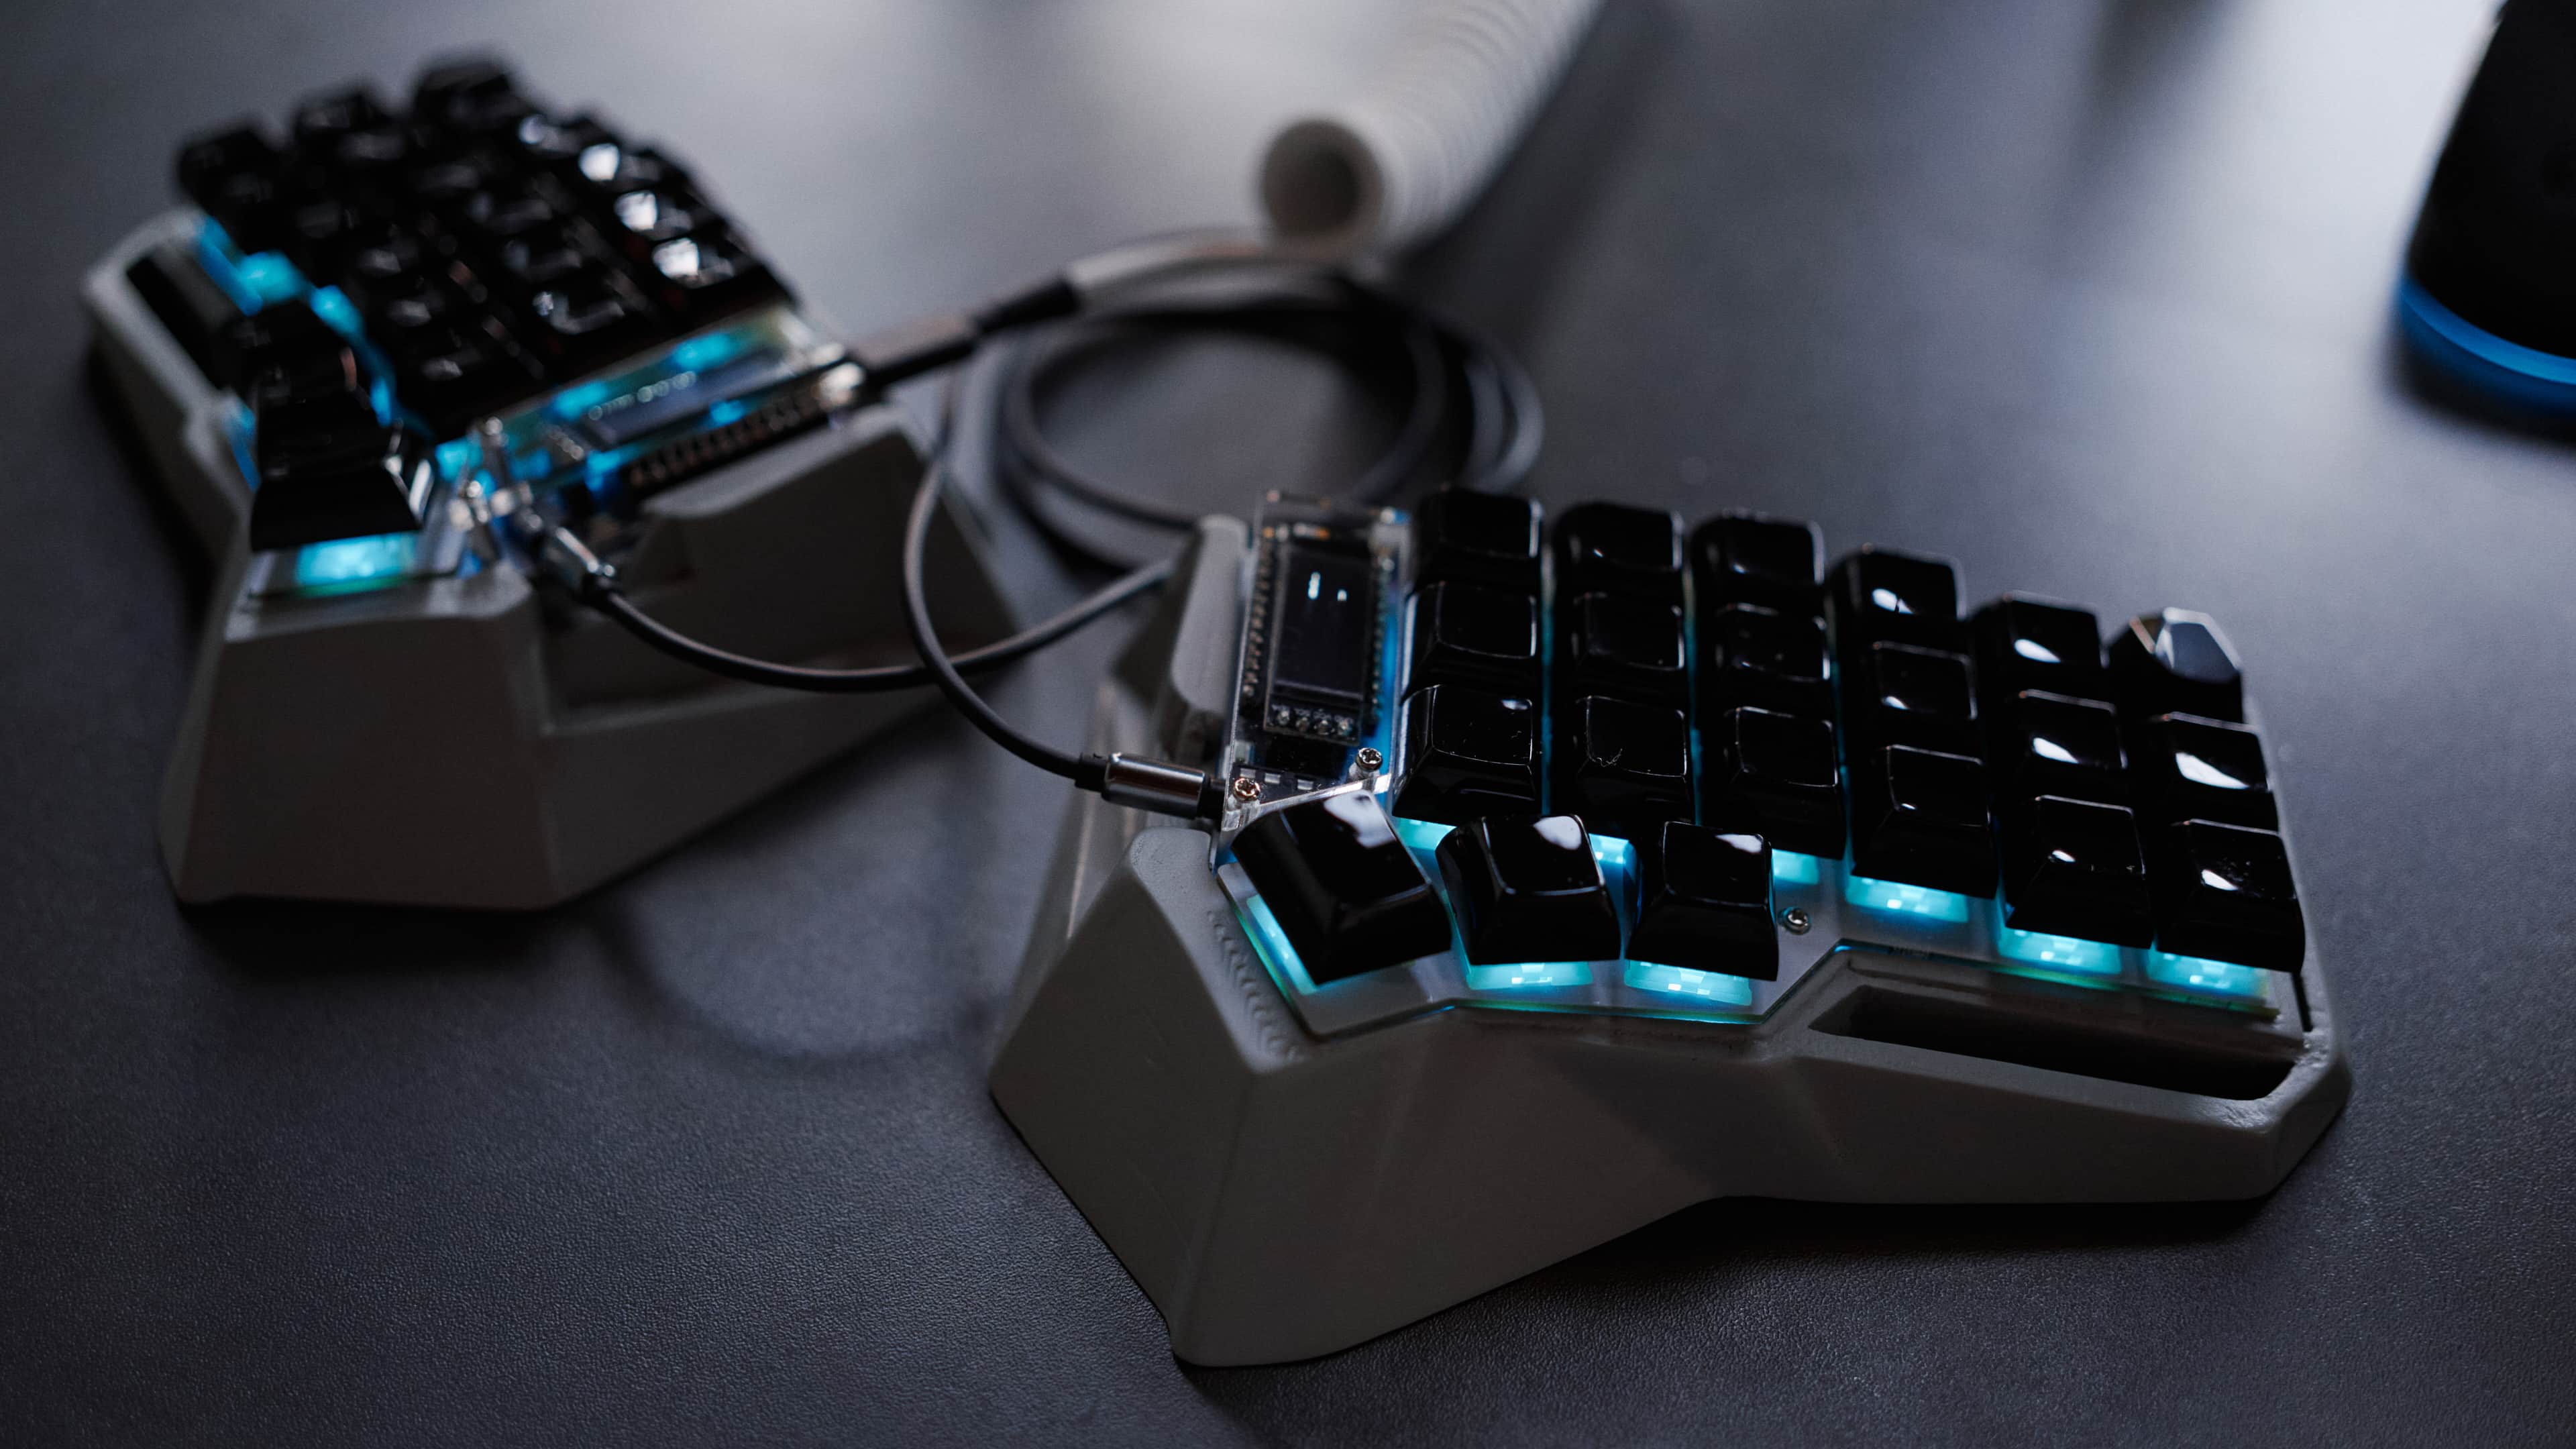
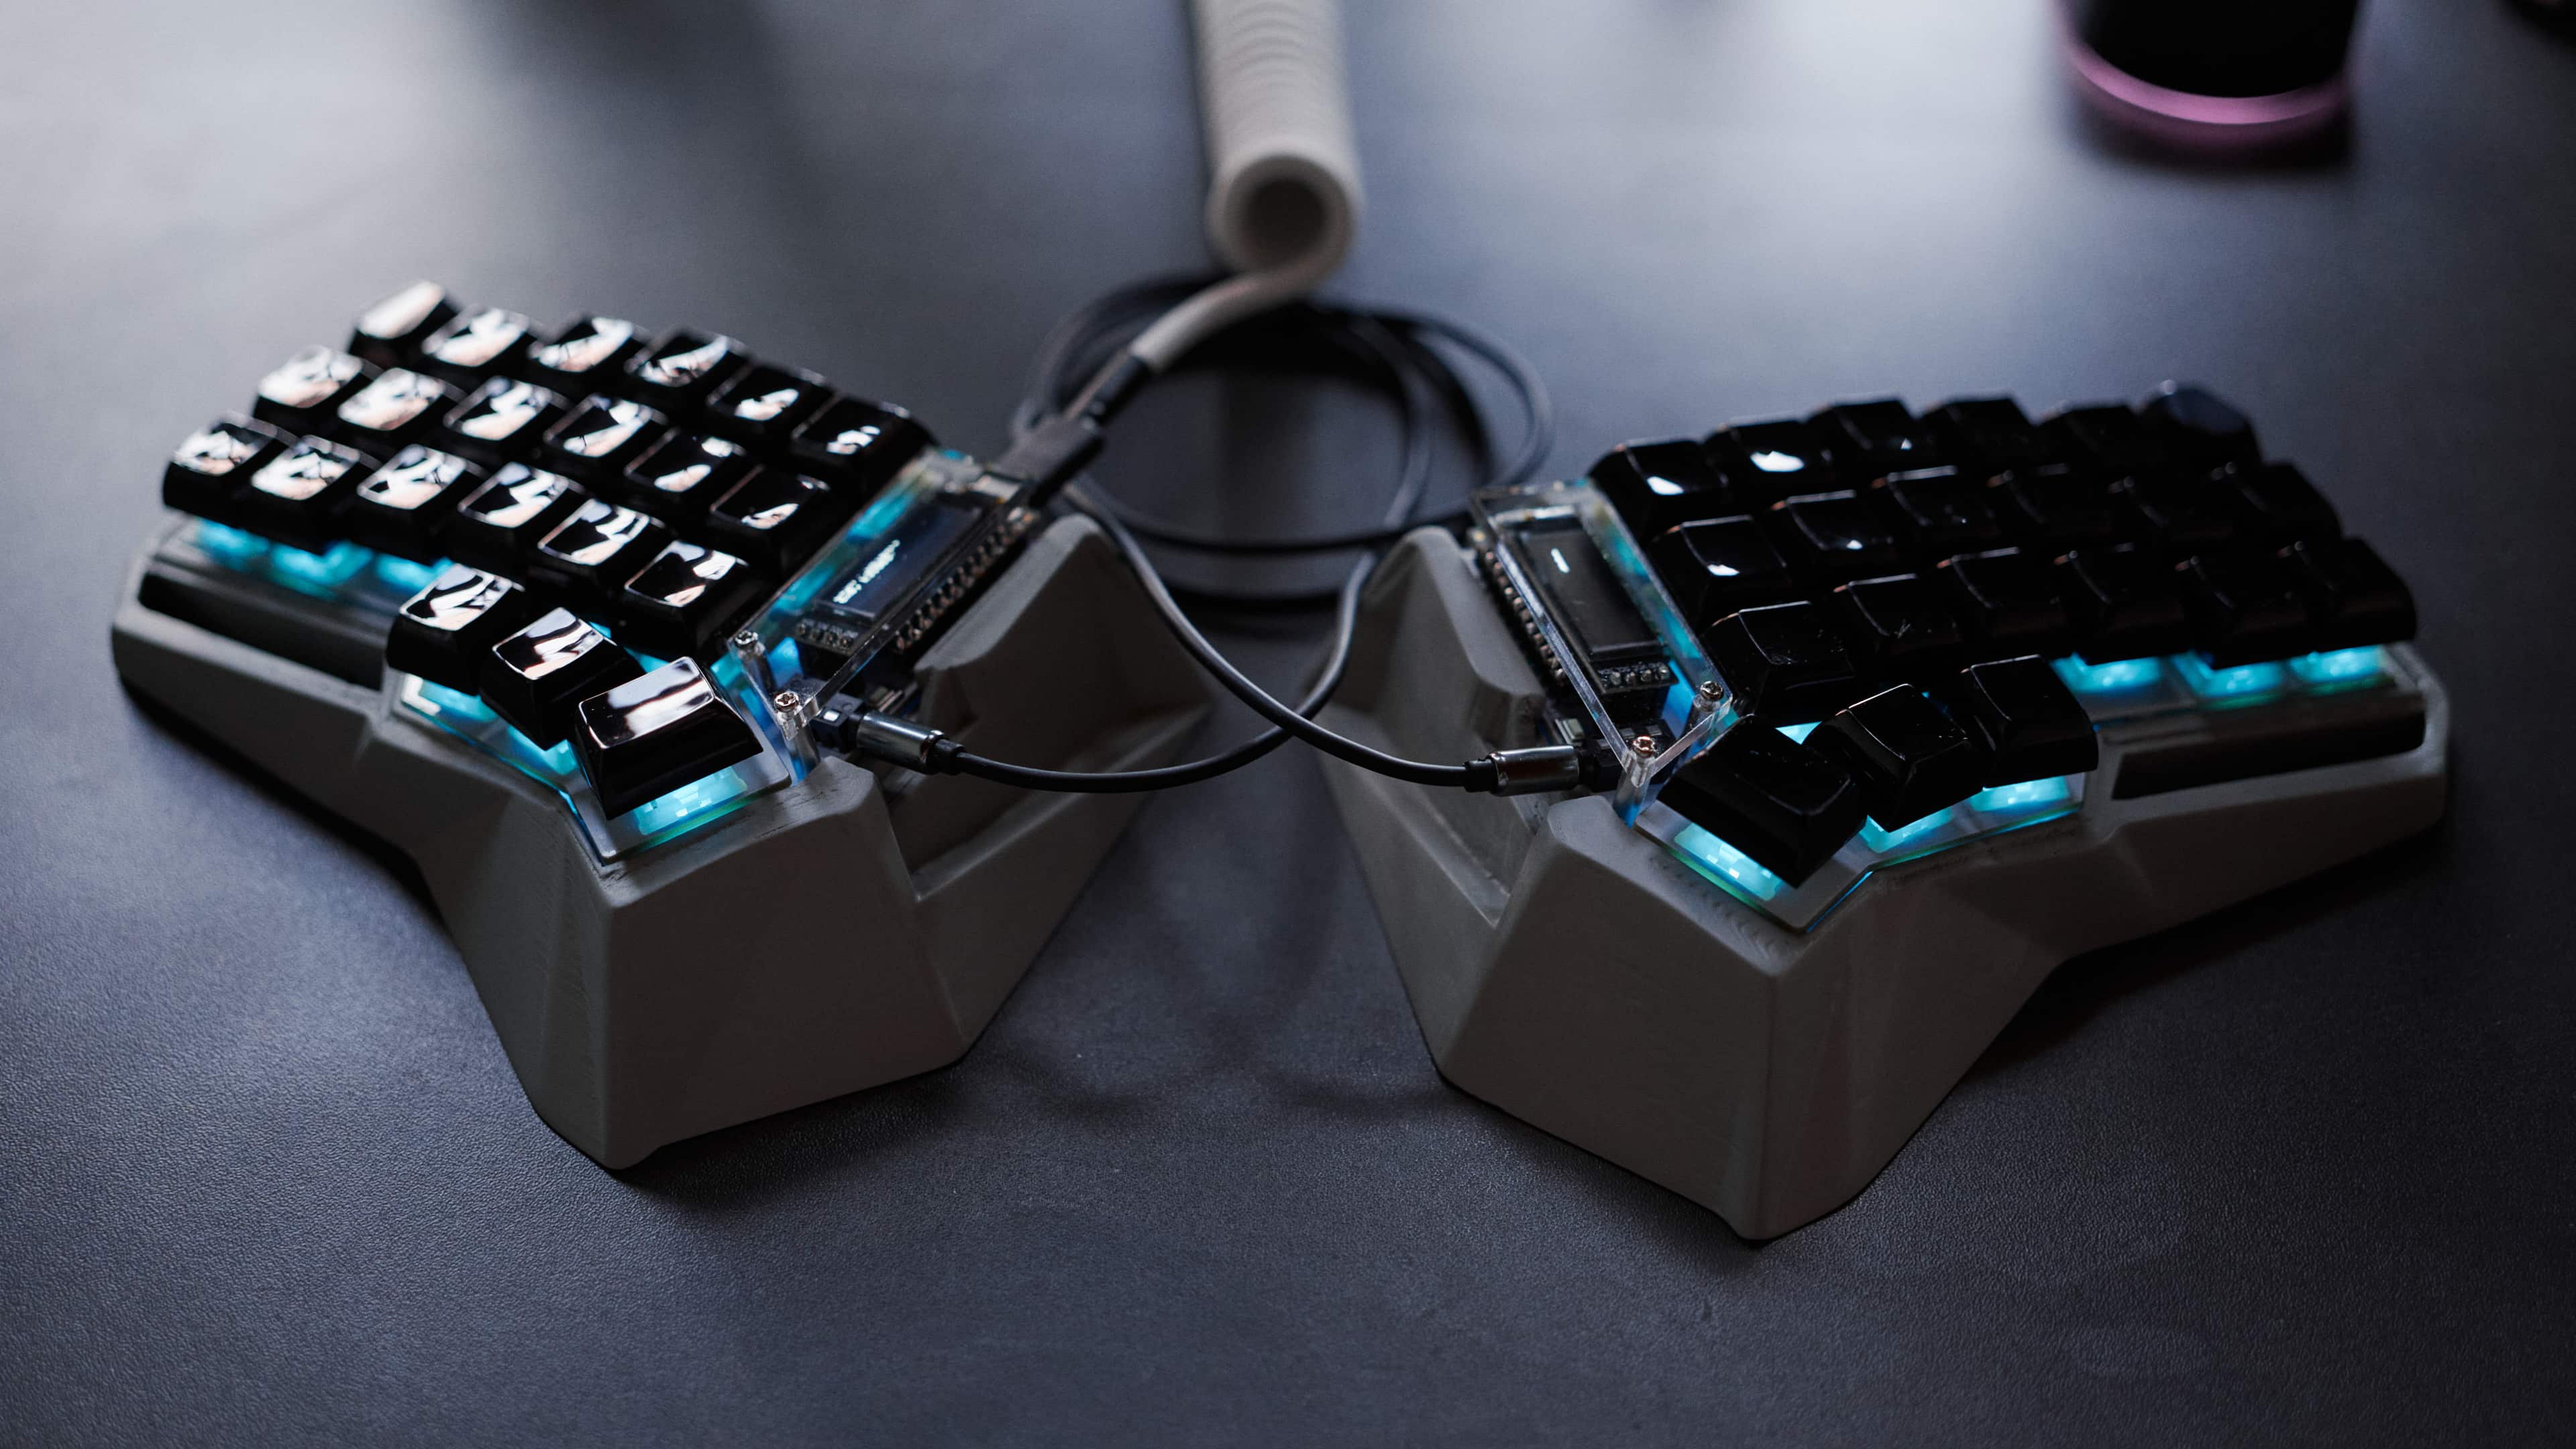
Last but not least, I replaced the TRRS cable that connects both halves with a shorter, angled one that is a nice red color. However, the original designer of the Kunai case didn’t seem to have had low-profile angled cables in mind when designing the case, as the bulky border blocks the way for the angled connectors to be rotated downwards. Having used the Kunai case for a while now, I also came across a few other issues with the design, which I believe could be improved to offer better usability. Hence, I might end up designing and printing an improved version of the original Kunai someday, and maybe even make it Corne V4 compatible.

Enjoyed this? Support me via Monero, Bitcoin or Ethereum! More info.