Camera
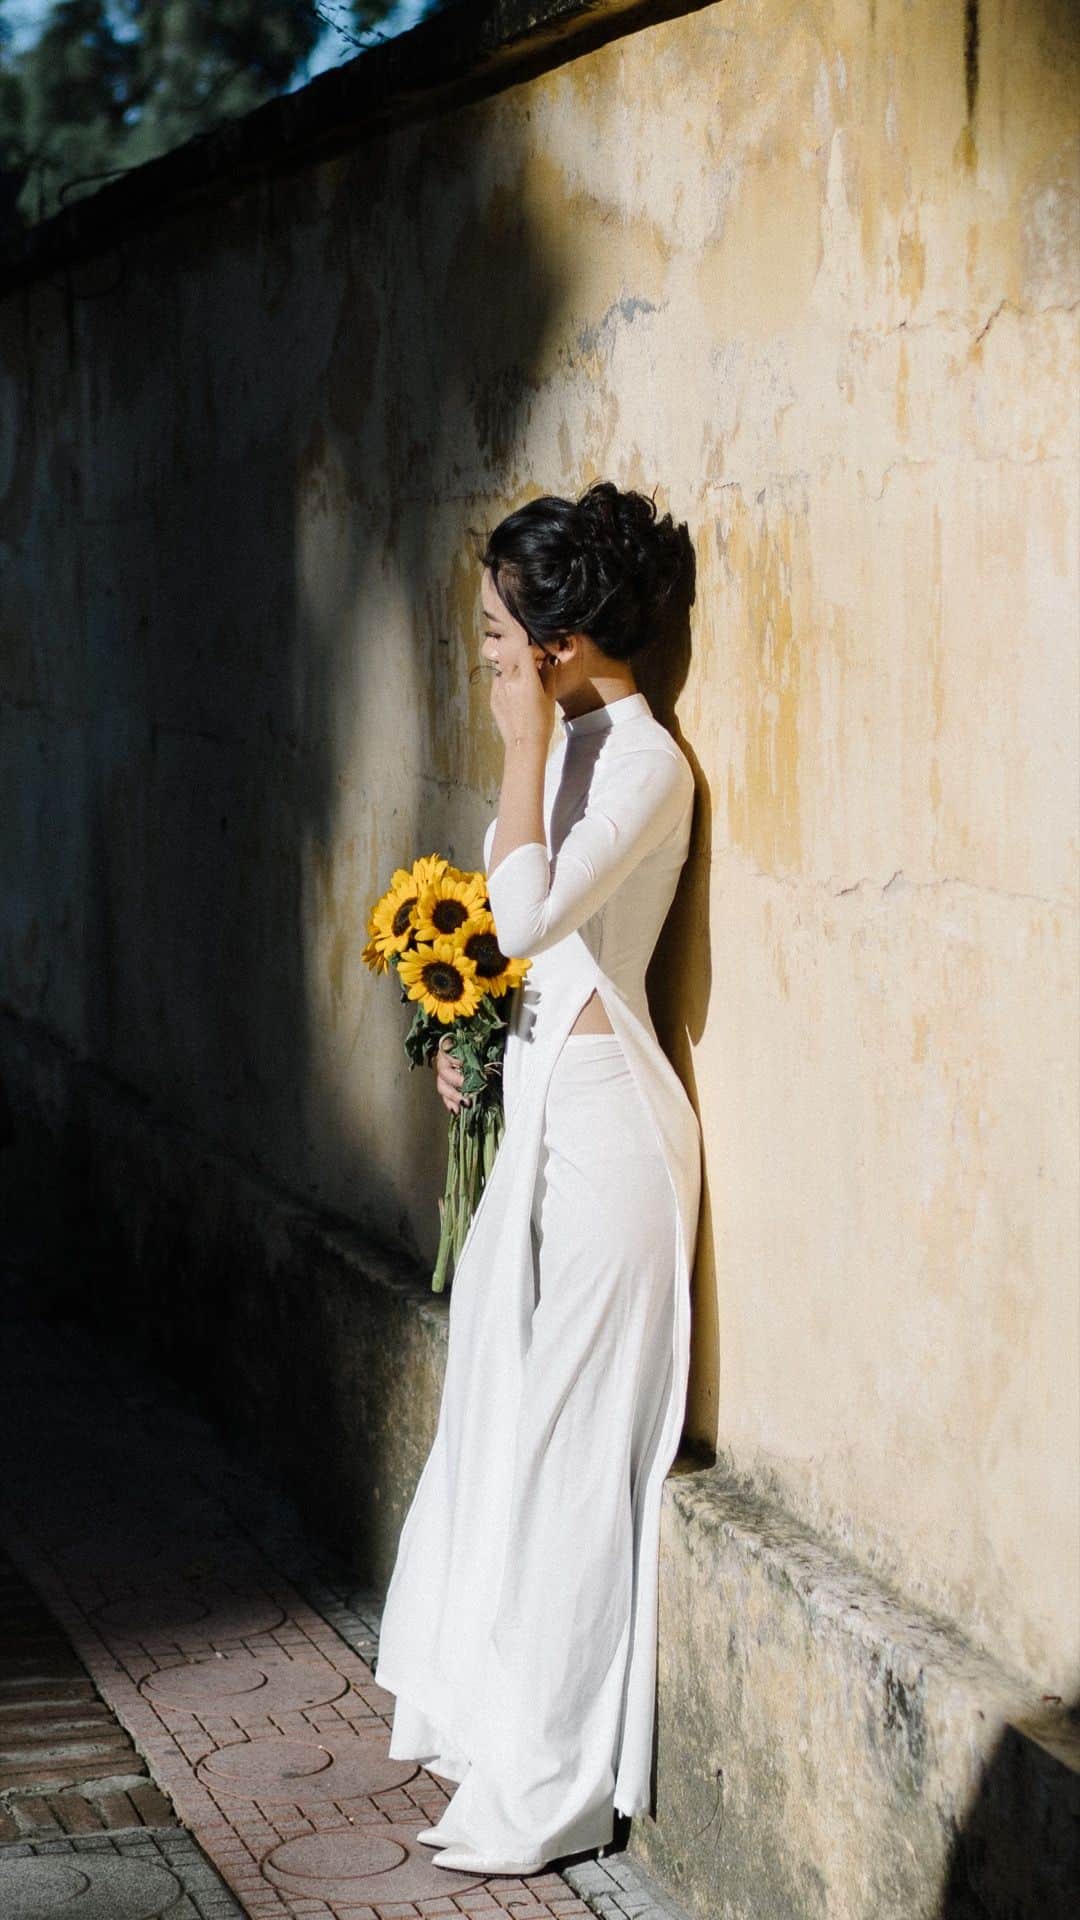
As someone who’s always on-the-go I get the chance to visit some of the most amazing and unique places on earth. Sometimes, my stays are long and rich in detail, other times they’re short and hectic but more often than not my travels are eventful. In order to allow myself to recollect those memories, capturing them are therefor a big part of my travels.
I’m not a very artsy person. Photography for me is merely a tool; Videography is barely a thing. And while I enjoy browsing through carefully crafted collections of photos and film, I do neither possess the required talent or skills, nor the ambition for that artisanry. I use photography to capture moments that allow me to remember. And out of the dozens of moments that I capture on my travels, I sometimes carefully select a few impressions that I think might give others the possibility to experience that brief moment through my eyes.
“Photography takes an instant out of time, altering life by holding it still.”
— Dorothea Lange
I’ve been using photography to document my travels for over a decade and, like most tech aficionados, I’ve been experimenting with a variety of tools in order to find the right fit for my needs. I think my first serious attempt in regard to photography was back at the time when Canon’s 450D was still a thing. I worked with that camera for many years and tried to get the most out of it, up until the point where its technical limitations became too much of a downside. Eventually, I upgraded to the 7D and while I understood the advantages over the 450D, my main motivation for switching to it was the inspiring work of a very good friend of mine who used the 7D as his daily driver. Little did I know that equipment alone wasn’t going to get me where he was, heh.
However, after a short period of time I decided to sell the 7D again. The results I got from it weren’t on par with my expectations and the CF cards started to burn big holes into my pockets – not to mention the lenses I had accumulated at that point. Canon lenses weren’t cheap and with the Camera’s 1.6x crop factor I often missed to get the results I was expecting.
At that point, I was stuck. The Canon cameras never really worked for me, not only because I failed my own expectations, but also out of a purely practical perspective. The 450D as well as the 7D were some really chunky cameras. Traveling with them – that included at least the body, lenses, batteries, cables and chargers – slowly became a big annoyance. Clearly, things wouldn’t get any better if I would have switched to an even more sophisticated model like the 5D.
Luckily, roughly around the same time, Sony released a camera that appeared to check all those boxes that I wished for: A more-or-less lightweight camera with interchangeable lenses that ideally shoots 35mm full-frame photos on cheap SD cards. After a few months of consideration (and price adjustments) I decided to get myself a Sony Alpha ILCE-7 I.
The α7 turned out to be the best choice I ever made in terms of photography gear. It became my daily driver for the years to come. I had a beautiful collection of adapted Voigtlaender and Zeiss lenses, and even though I sometimes wished for the ability to just press the shutter button and get a 100% (or at least 90%) focused photo, the manual-focusing wasn’t too much of a deal-breaker back then. I surely missed out on capturing many interesting moments, but I nevertheless felt like the manual effort gave the photos a little extra. At least they looked that way to me.
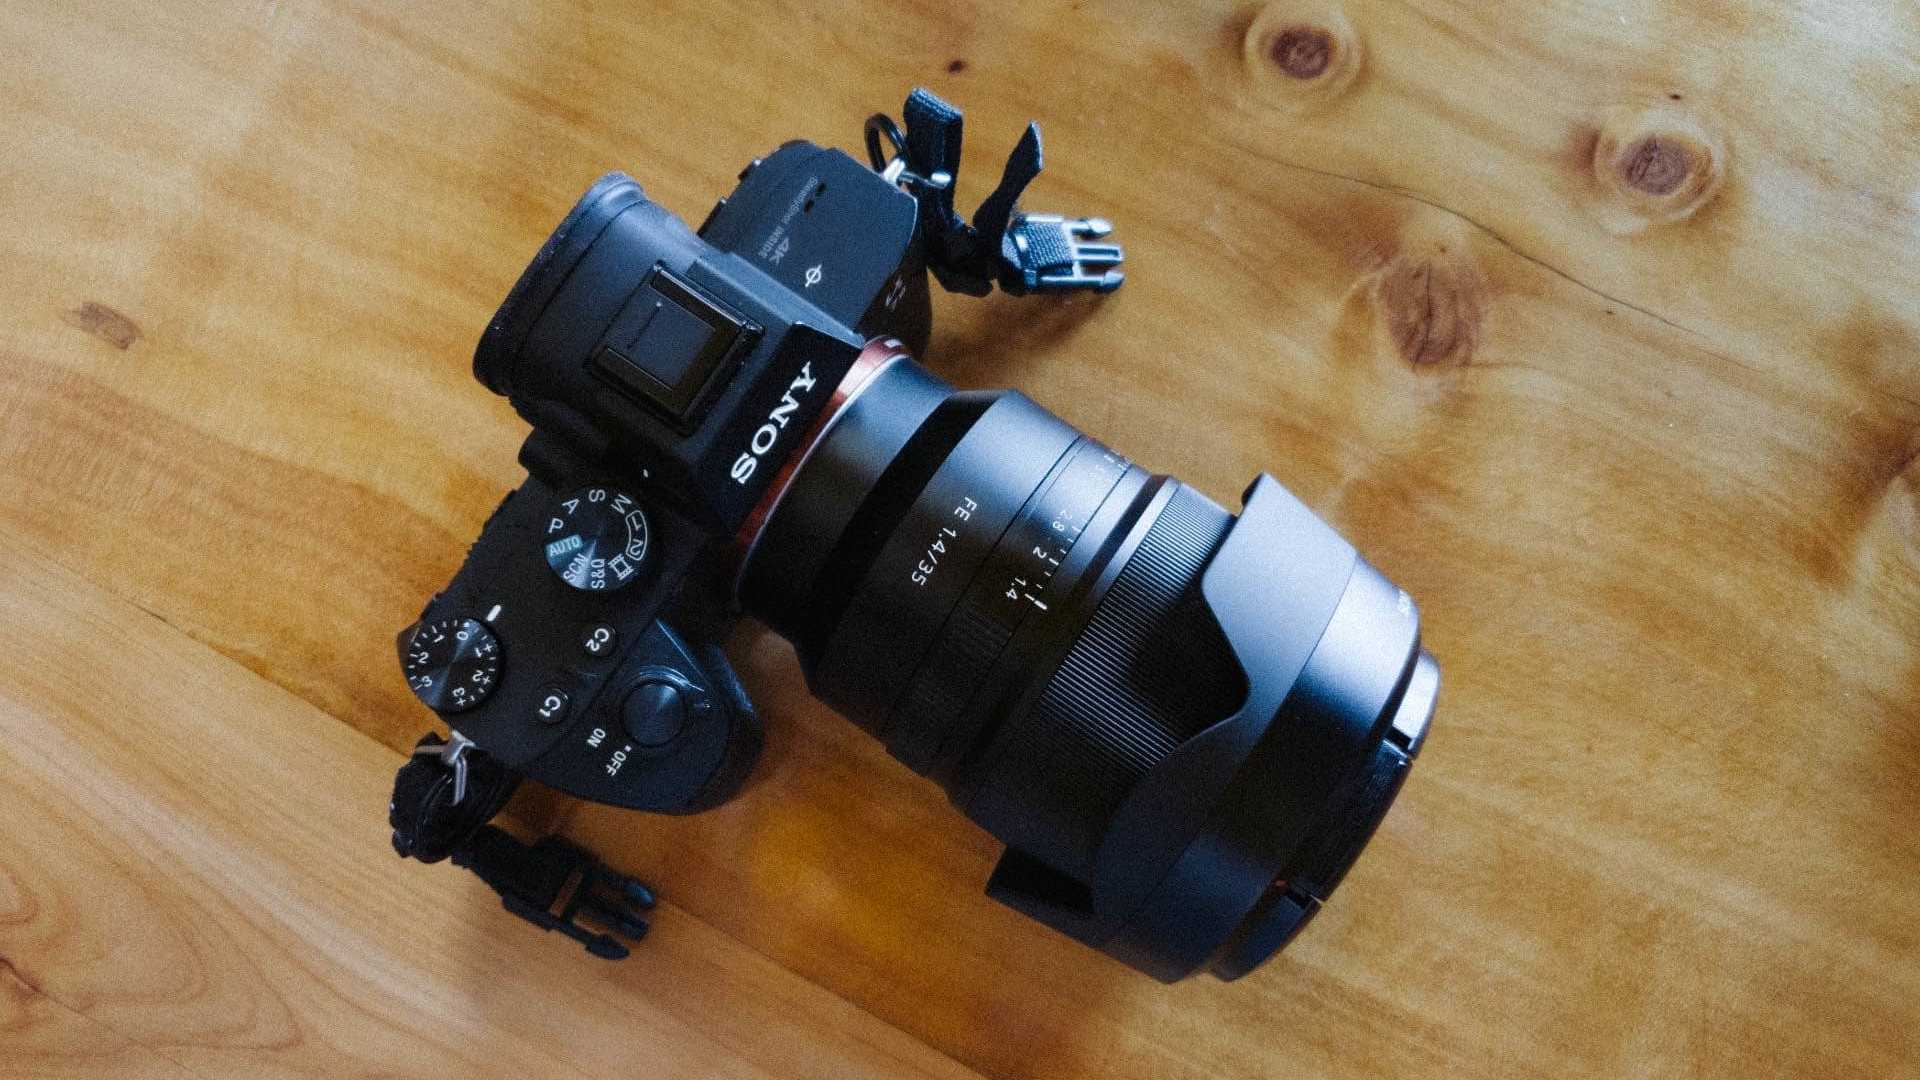
With Sony advancing their α7 ecosystem over the past years and my growing demand for a more minimalist lifestyle, I eventually replaced the ILCE-7 Mark I and the plenty adapters and lenses with a one-size-fits-all solution: The Sony α7 III and the Zeiss 35mm F1.4 ZA Distagon T*. For the six years up until 2024, the Sony α7 and the Zeiss 35mm were my daily drivers in terms of photography. At the beginning of that year, I gave into the annoyance of traveling with heavy luggage and decided to purchase a more lightweight lens to ease the burden of the otherwise heavy (~1.4kg) setup, which is the Sony FE 40mm F2.5 G lens. I used that lens for a few trips and I enjoyed it.
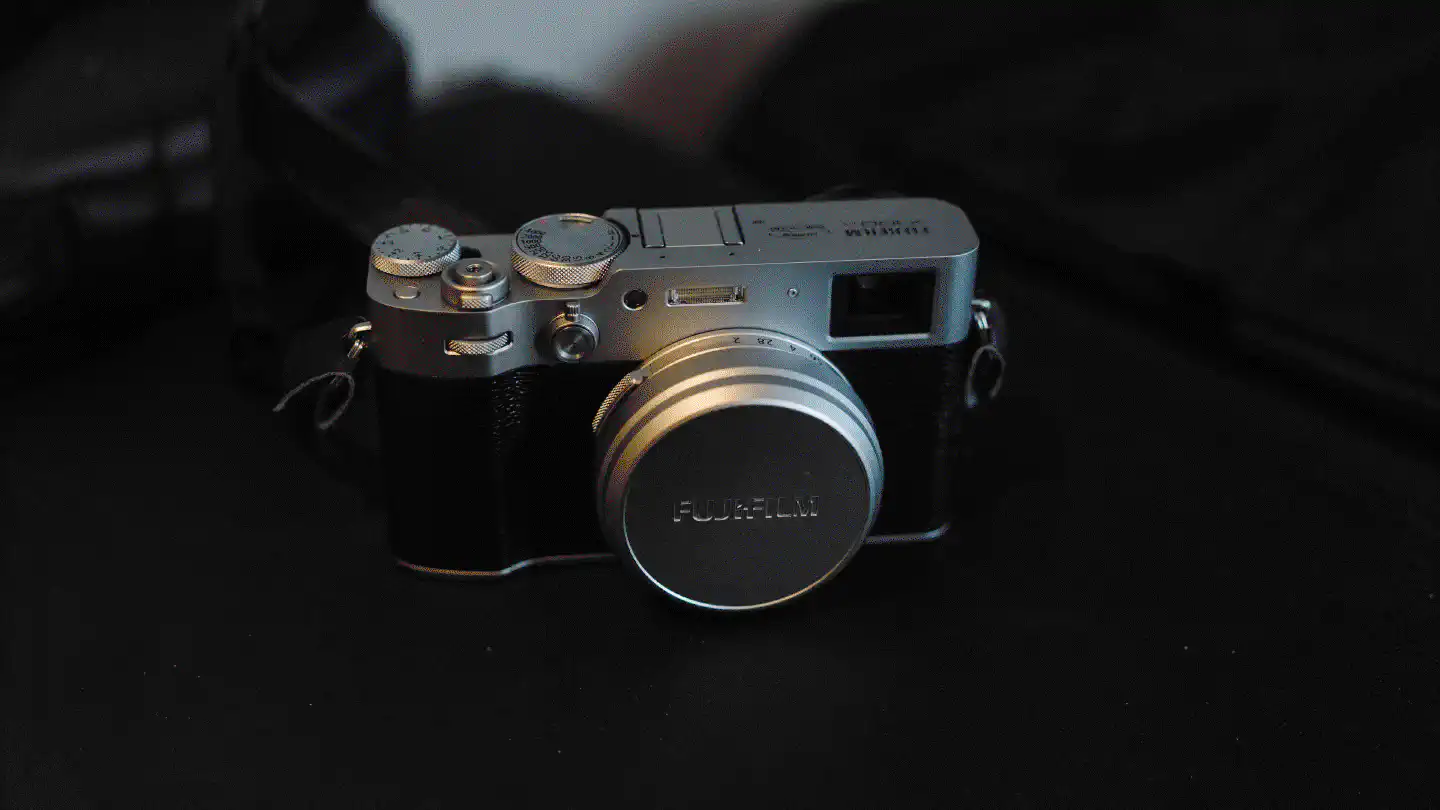
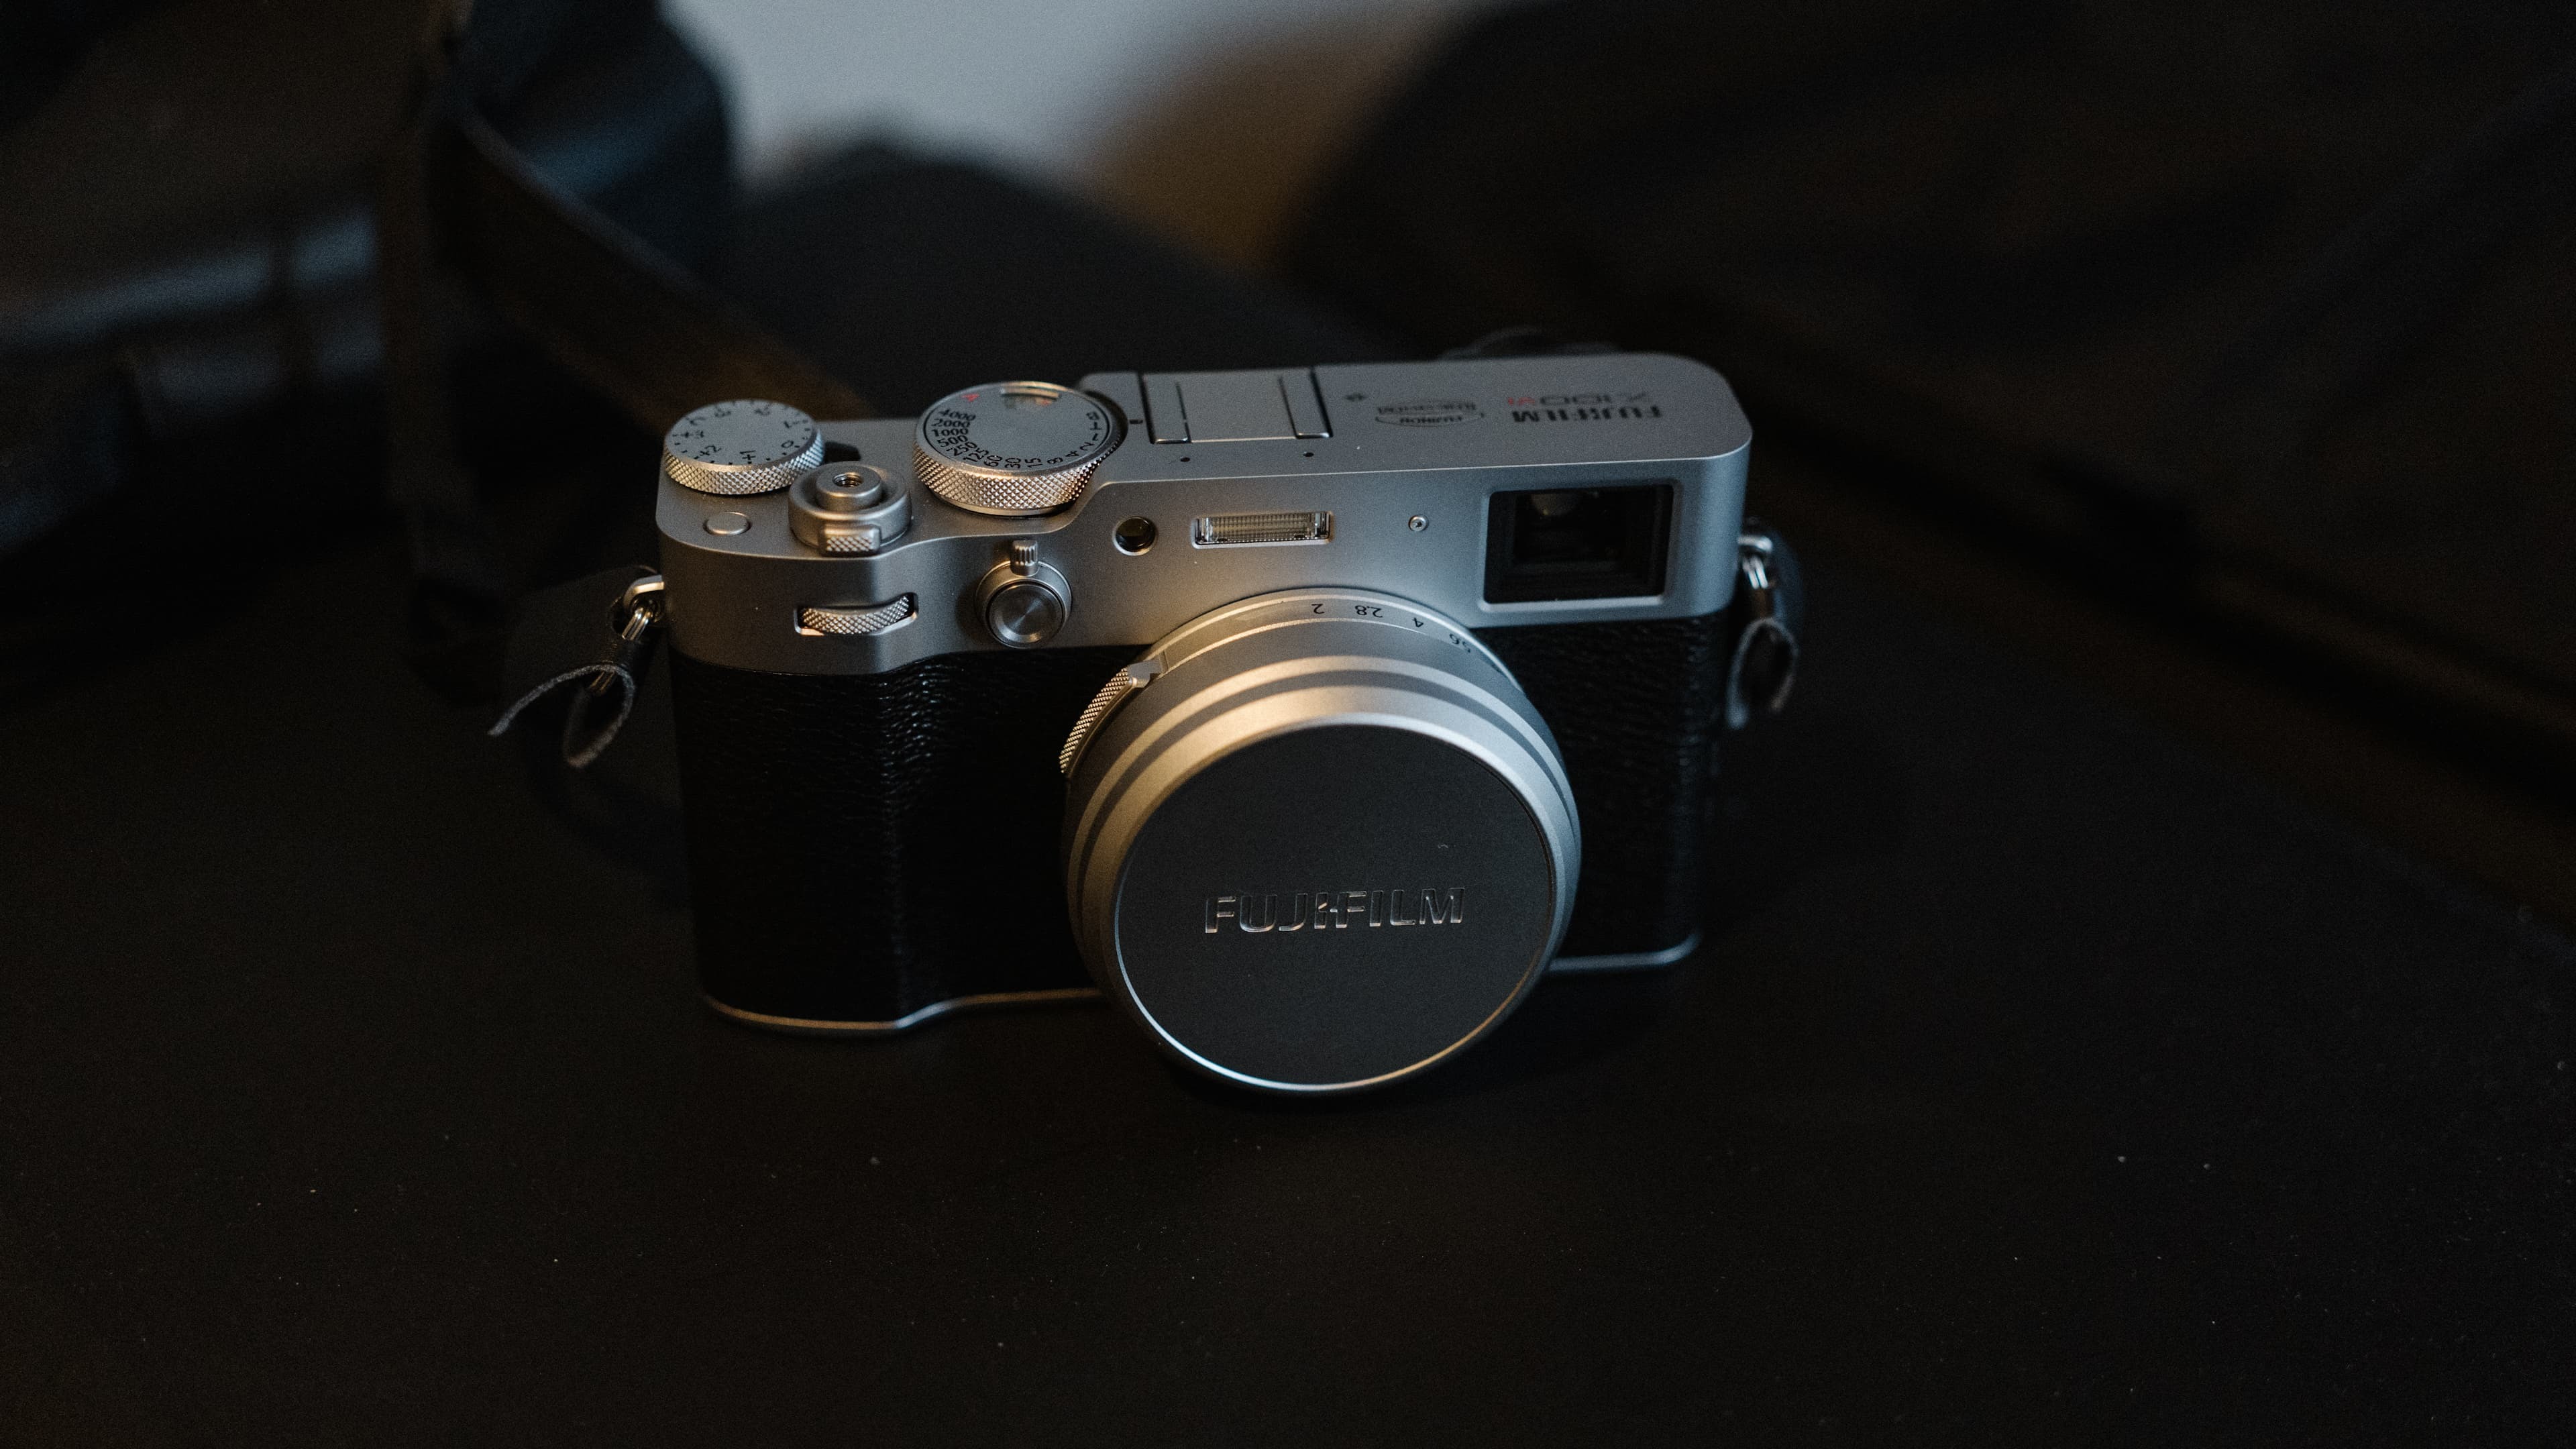
However, at the end of 2024, during a trip to Japan, a wild Fujifilm X100VI appeared, to which I simply couldn’t say no. The digital compact camera with a fixed prime lens is smaller and significantly more lightweight than the Sony, while producing amazing results nevertheless. Ever since I got the camera it became part of my EDC, because it is small enough to fit my sling.
Most of the time these days I’m shooting with the Fuji.
2018 Sony α7 III
Sony’s third generation α7 series gained many nifty features while still keeping a low profile at 126.9x95.6x73.7 mm and a weight of only 566g. The Sony α7 III features significantly better firmware that allows for tethered photo and video capture, meaning that I am able to capture photos from a distance using only my phone, without holding the camera in my hands. It also does a lot better than its predecessors in terms of battery consumption. I usually get a full day – multiple 32GB SD cards – of raw photos out of one battery. And all that on a 35mm full-frame sensor that does an amazing job in low-light situations and even features 4k videography capabilities.
2015 Zeiss 35mm F1.4 ZA Distagon T*
The Zeiss glass is an amazing counter-part to the α7. Its versatility is key and compared to the 50mm options its 35mm focal length allows to capture more of the surroundings to tell a complete story. The lens’ imaging quality is top-notch and even with the auto-focus not being the fastest or most accurate, this specific combination was a huge leap forward to me in comparison to the previously adapted Zeiss and Voigtlaender lenses that I had.
The lens has a 9-bladed circular aperture and 3 aspherical elements including one Sony advanced aspherical element. With an angle of view of 63º and a minimum focusing distance of approximately 0.30m (11.81"), it does close-up shots reasonably well and produces a smooth bokeh (defocus).
Attaching the SEL35F14Z – a 78.5x112 mm lens – to the Sony ILCE-7M3 makes the whole setup weigh roughly 1367g (including a battery).
The Zeiss Distagon is still my go-to lens when I’m seeking the quality and bokeh of the 35mm f/1.4 optics. However, these days I use the 40mm f/2.5 as my daily driver.
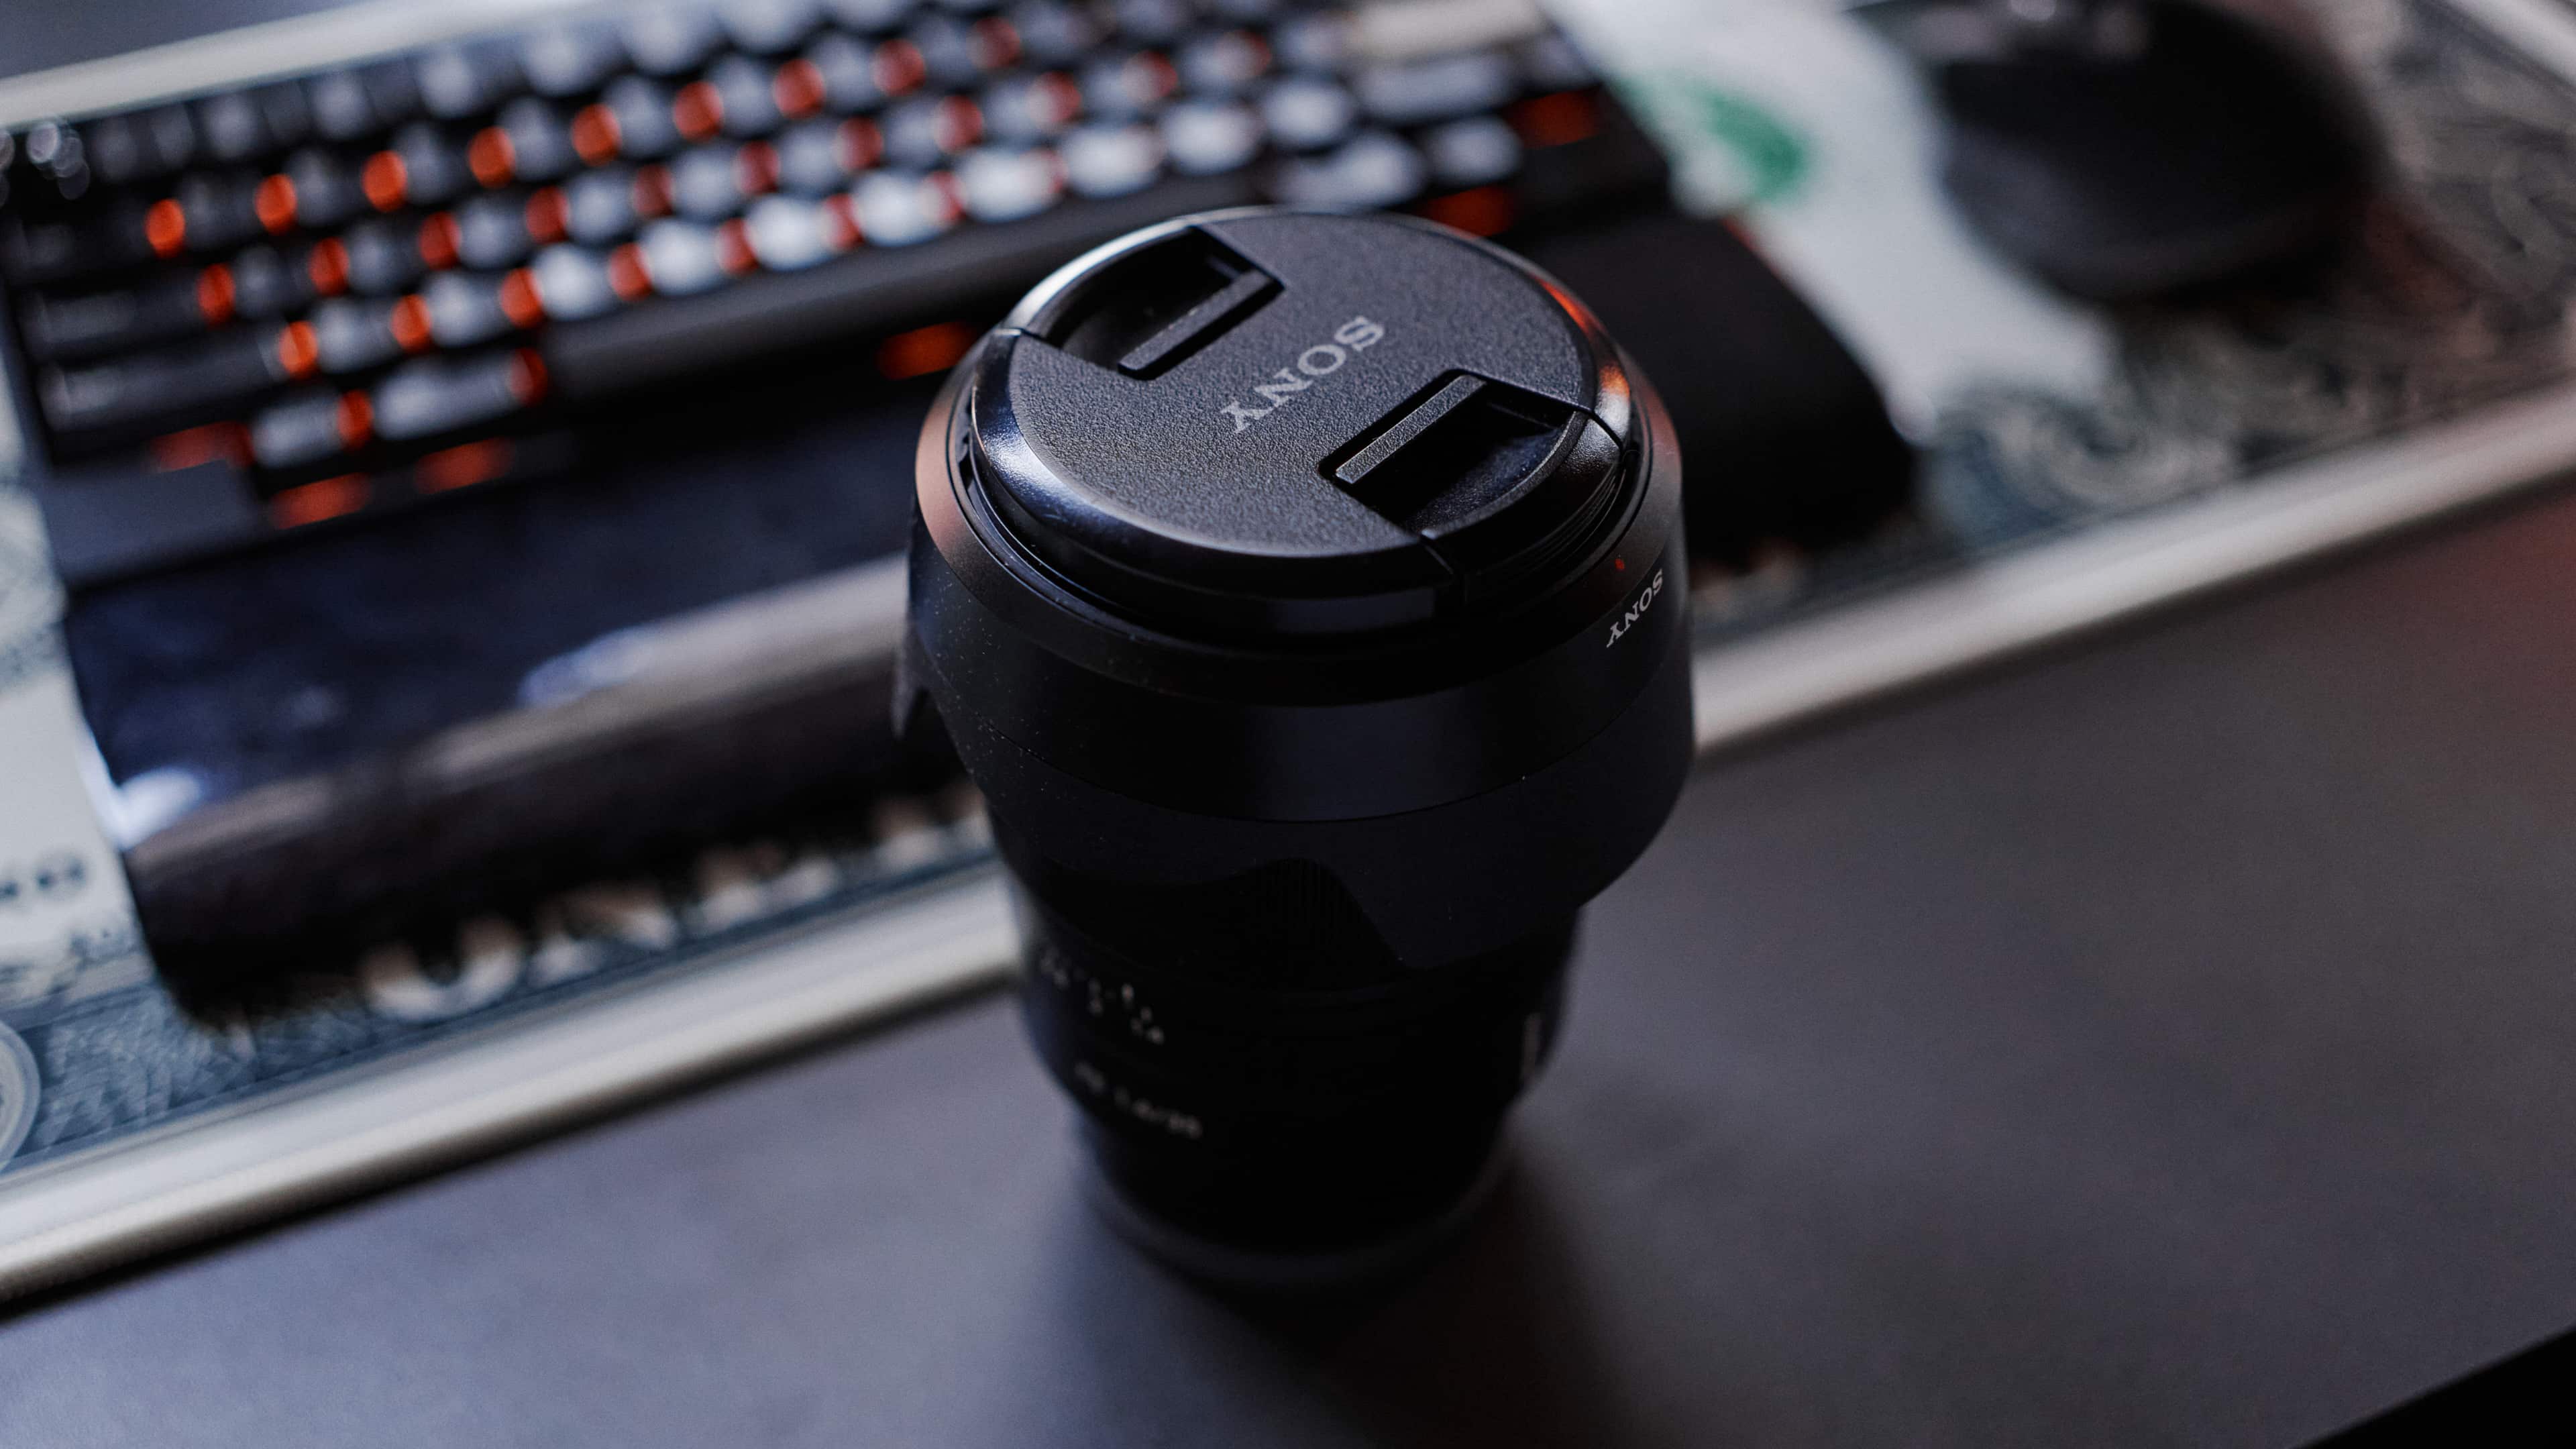
2021 Sony FE 40mm F2.5 G
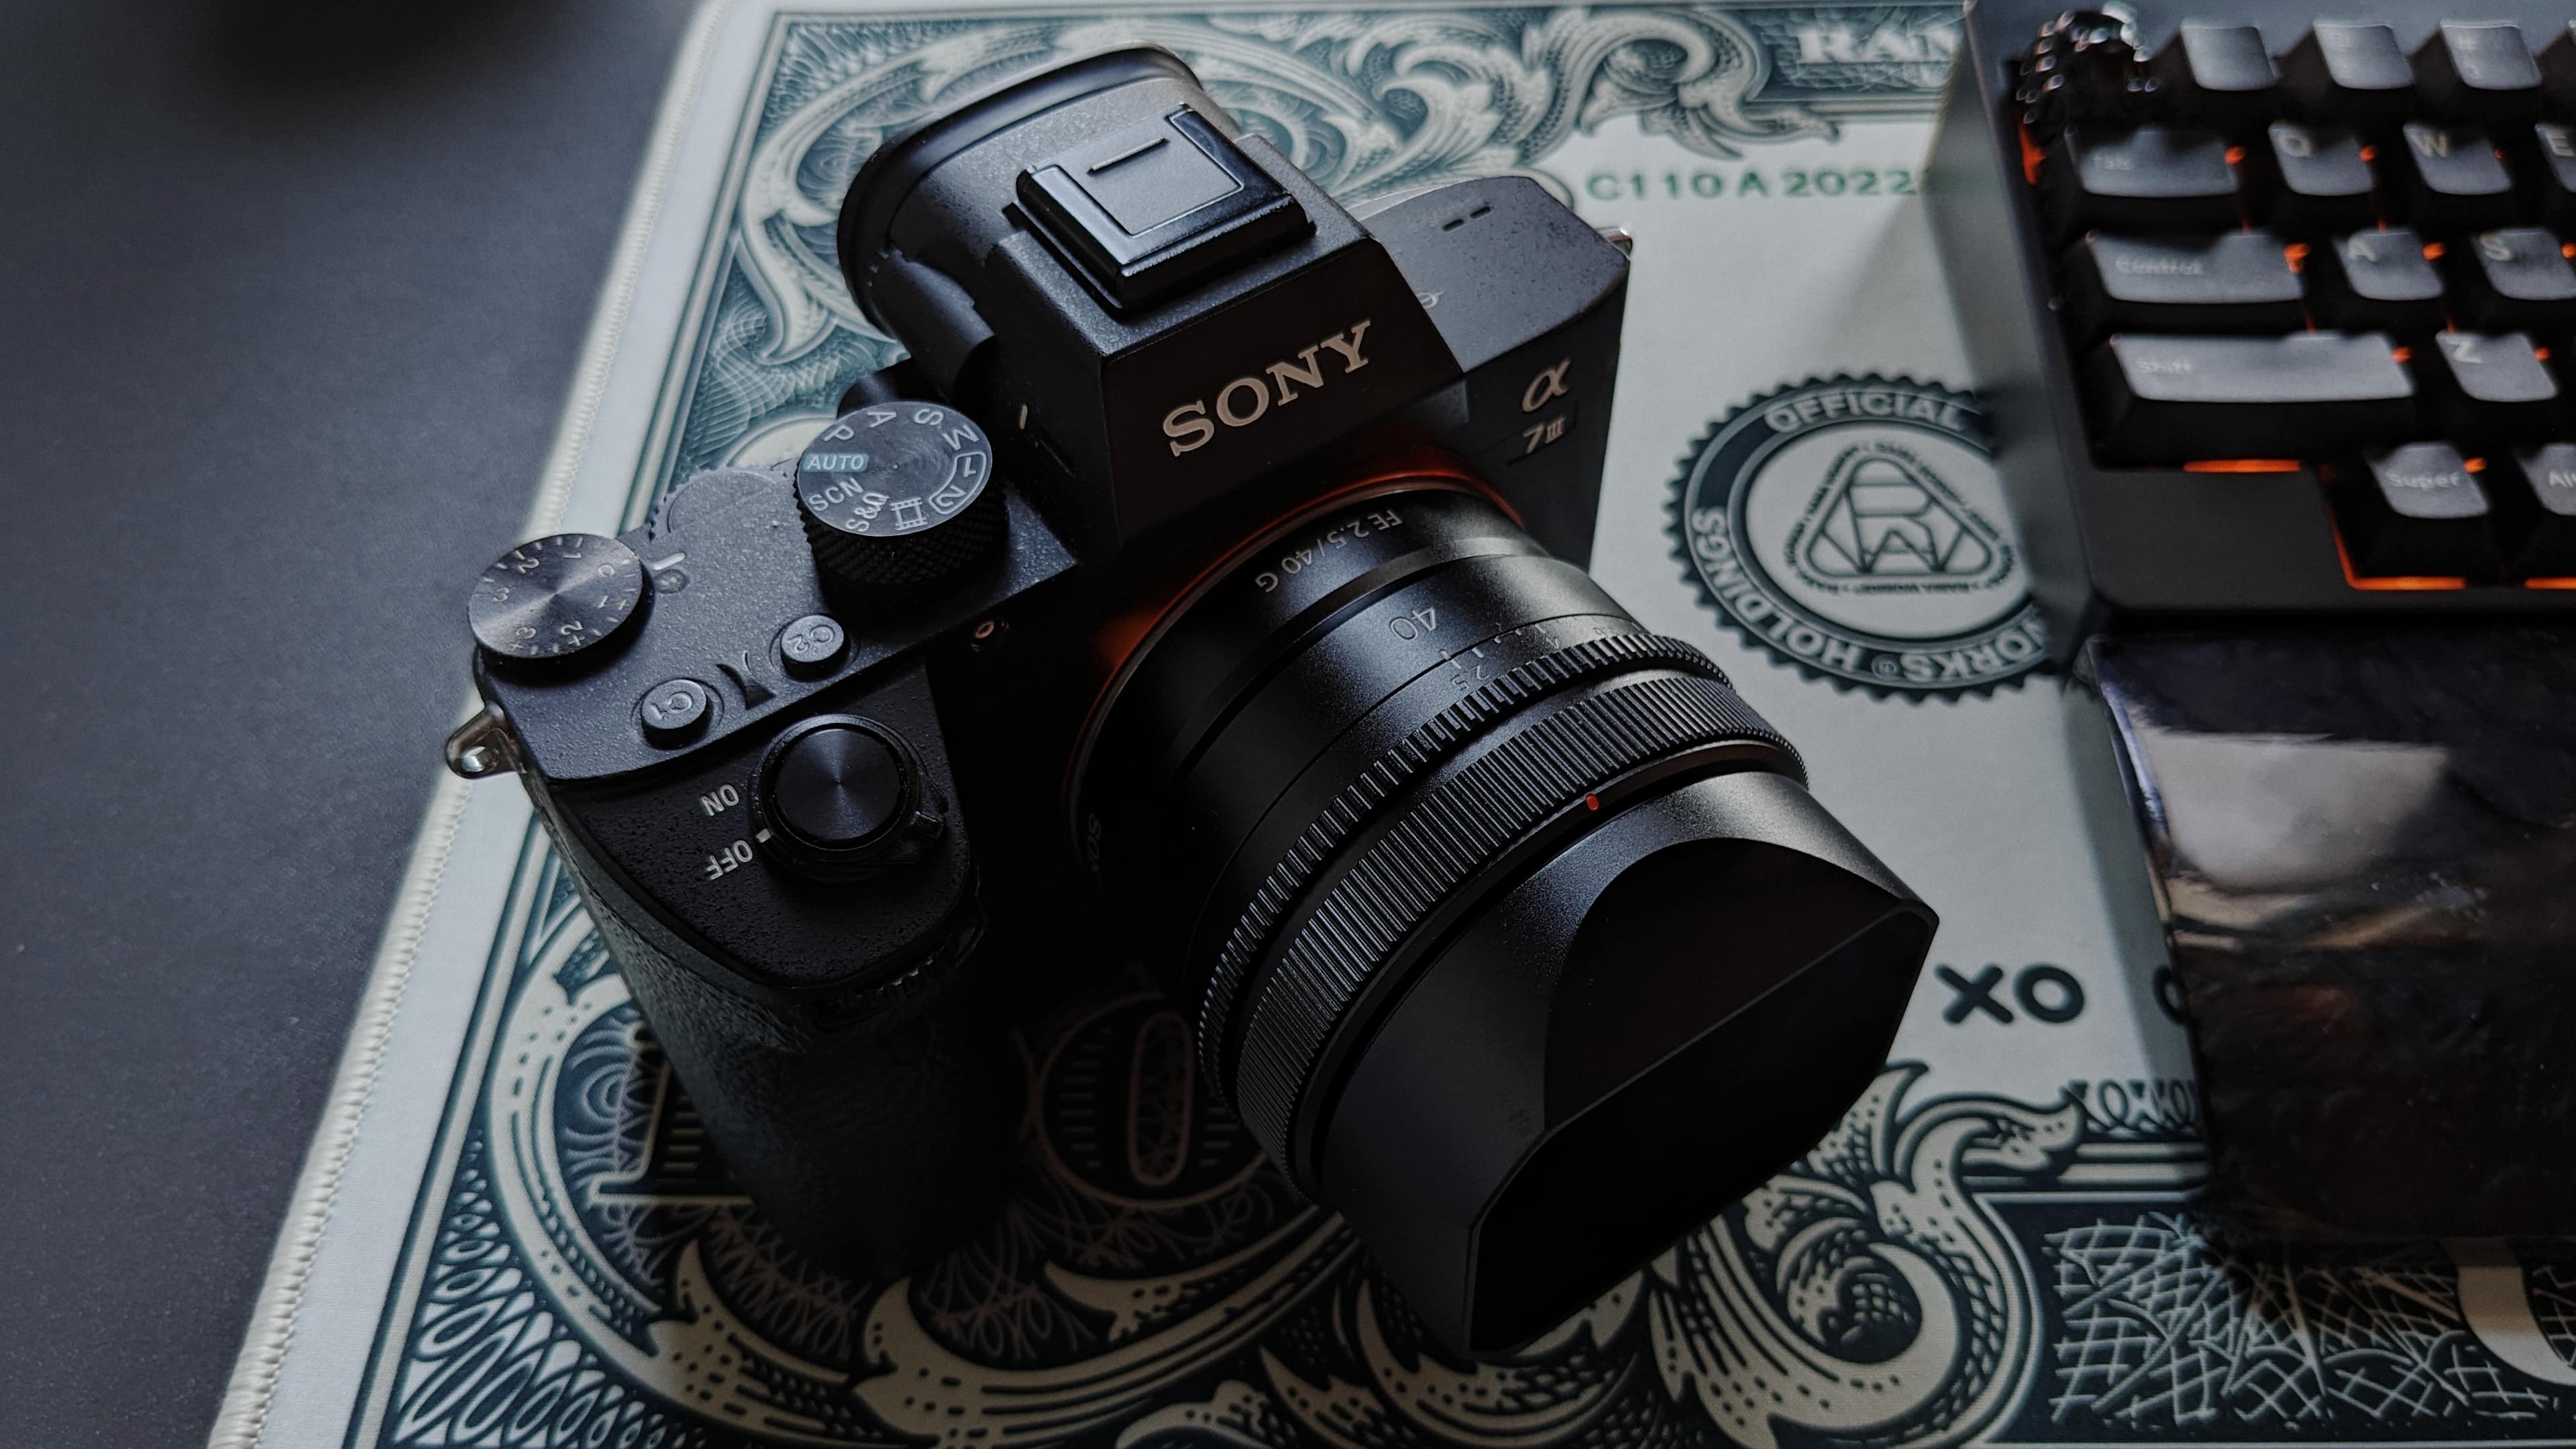
The Sony 40mm is a compact, full-frame prime lens that has 9 elements in 9 groups, and uses aspherical glass in 3 of them. The focus group is driven by a pair of linear motors, and its minimum focus distance is 0.25m (9.8"). Its maximum magnification is 0.23x.
The lens sports a metal housing, an aperture ring with a Click switch, and it is weather-sealed. With a weight of just 173 grams (6.2 ounces), it is extremely light, making the ILCE-7M3 setup stay well below 830g.
Accessories
I prefer to travel lightweight and not lug around a lot of equipment for my camera. I don’t have a dedicated bag for my camera, nor a wide selection of filters, softboxes, or other professional equipment.
Haoge LH-S245N Lens Hood
On the Sony FE 40mm I use the Haoge LH-S245N lens hood, because I found the stock lens hood to be very awkward-looking. I was on the fence between the LH-S245G and the LH-S245N, but ultimately decided to go for the latter, more compact one, as it had better reviews and weighs 3.4g less.
Gobe FK ND Kit
For the Zeiss 35mm I have the Gobe FK ND kit, which contains of a ND2, ND4, ND8, ND64 and a ND1000 filter. I almost never use them, unless I’m looking to shoot wide open in bright daylight.
Sony BC-QZ1
I have the external Sony BC-QZ1 battery charger, just so that I don’t have to keep the camera plugged in all the time to recharge the NP-FZ100 batteries. This comes in handy when one battery needs a full recharge, while the other one is out on a day trip.
JJC Neoprene Bag
I have an old JJC Neoprene bag that fits the Sony with the Zeiss lens attached, which I mainly use for travel. I cut a hole into the bottom, so that I could have any strap or clip or tripod attached with the protective bag still on the camera. The integrated strap of the bag saved my camera a few times from crashing onto the ground, when various equipment failed.
2024 Fujifilm X100VI
TODO
Accessories
Fujifilm LH-X100
TODO
Fujifilm NP W126S
TODO
Fujifilm BC-W126S
TODO
Equipment
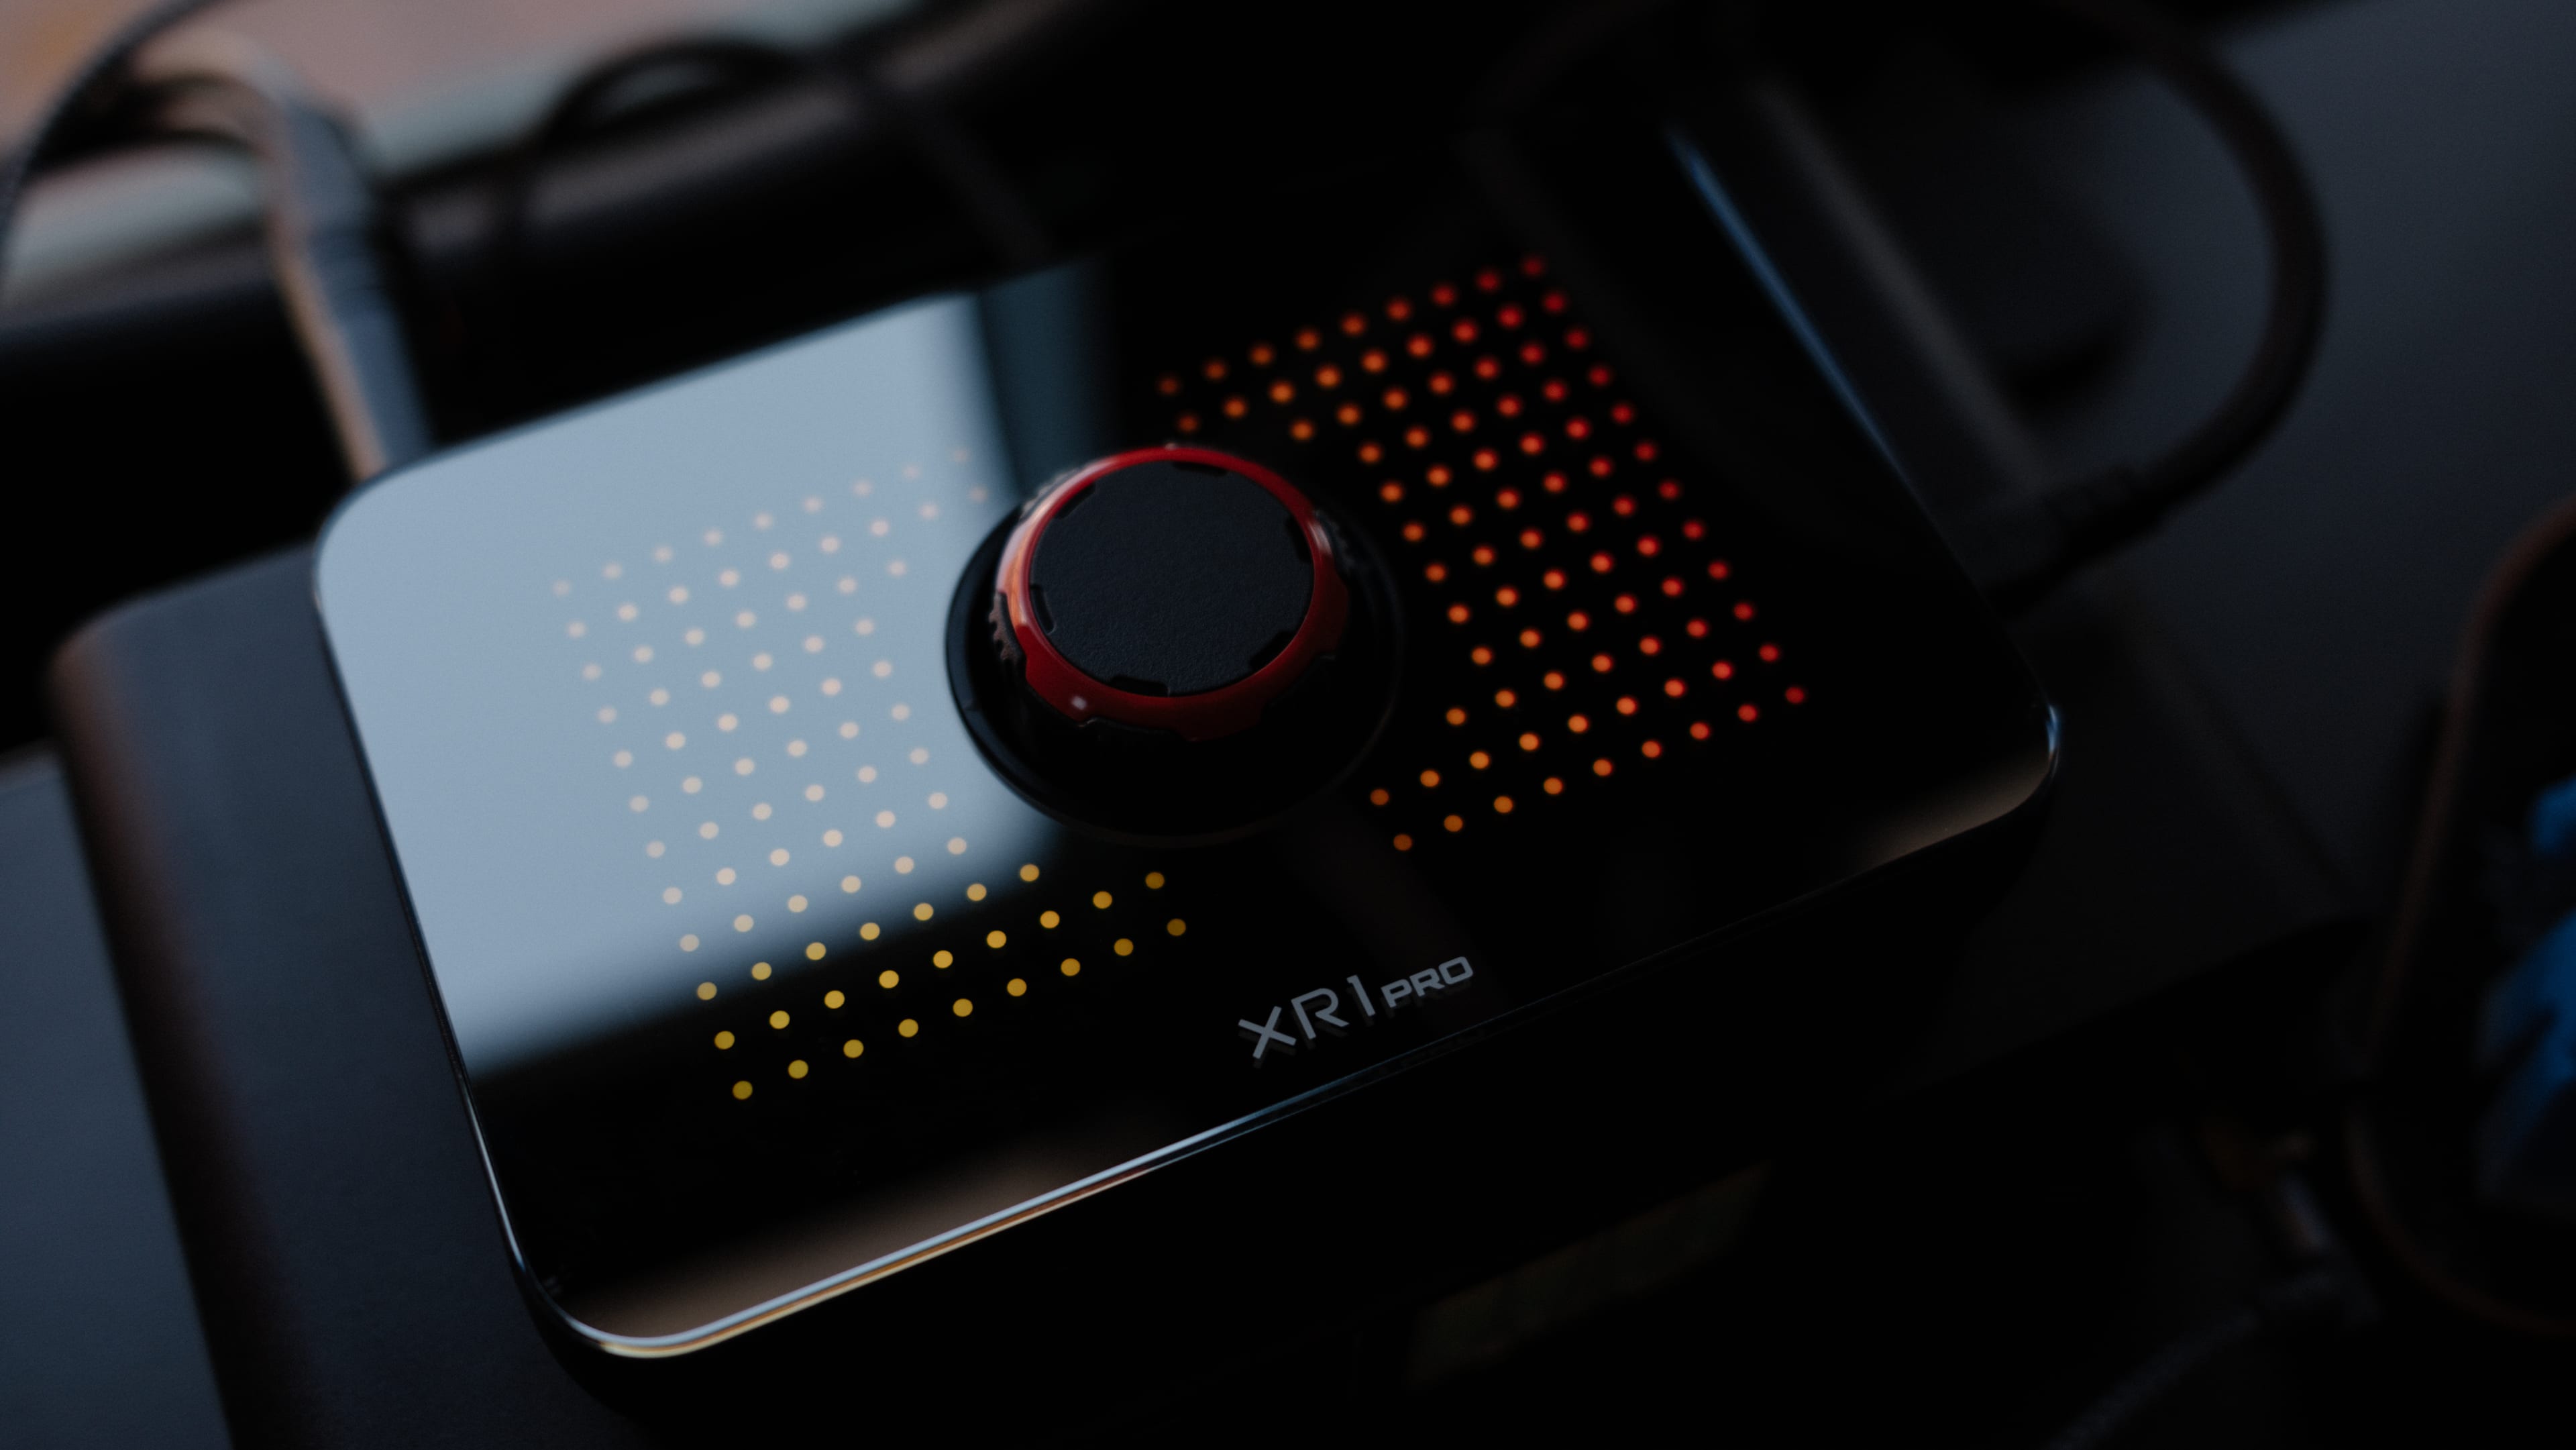
EVGA XR1 Pro Capture Card
Freewell Duo Reader
When travelling I use the Freewell Duo Reader to store as well as read the SD cards that I use in my camera. The device combines a USB-C 3.2 card reader for SD and MicroSD cards with a storage solution for both and additionally CFE-A and -B, two NanoSIMs, and even a SIM card removal tool. While a bit on the bulky side, the device comes with a screw-in Carabiner mount, so that it can be attached to e.g. a camera bag or backpack for quick access, if needed.
Joby GorillaPod 3K Pro
For various situations in which I’m planning to do video recording or long-exposure shots I have a Joby GorillaPod. I like the flexible design that allows me to securely attach the camera on all sorts of different structures. I used to travel with it but eventually gave it up due to its rather heavy weight of 463g.
Neewer NW-1008R Tripod
The Neewer NW-1008R aluminum tripod is my stationary helper for when I shoot
video for YouTube/Odysee. The tripod weighs 2kg and has a capacity of 12kg.
Its minimum height is 62cm, the maximum is 191cm. It features a ball head with a
bubble level, a QR plate with a 1/4" screw and its center column can be flipped
90° to allow for near-overhead shooting.
I sold the tripod as I had little use for it in the past years. I was able to use the smaller and more lightweight GorillaPod for most shots.
RØDE VideoMicro
I have the RØDE VideoMicro in case I do need to record video on-the-go, with decent in-camera sound. For stationary sessions, I use more advanced audio equipment for recording sound.
Langly Paracord Strap
For carrying the camera around my neck I got the Langly Paracord Strap. I love its bright red/orange looks, but in hindsight, it wasn’t the best purchase. While the Langly cord looks awesome, it turned out to be very unreliable. While I was traveling through Japan, it happened multiple times that it simply let go of the camera while it was hanging around my neck. Apparently, the cord starts to spontaneously untie itself from the buckles after being in use for a while. I’ve tried contacting Langly about this issue, but they couldn’t really help me and offered me a voucher for my next purchase instead. I ended up fixing it myself. While I was in Osaka I came by one of the tiny hardware stores near the Tsūtenkaku tower and managed to find a pack of tiny cable ties that I would use to permanently fix the cord to the buckles. I haven’t had it let go of my Alpha ever since but I nevertheless lost trust in it and always make sure to keep at least one hand on the camera while it’s hanging around my neck.
Peak Design Camera Clip V3
In 2023 I bought the Peak Design Camera Clip V3 hoping I could attach my
camera to my backpack and/or day pack. Unfortunately the Camera
Clip turned out to be a huge PITA. Not only is it completely unsuitable to hang
a 800g device – let alone 1.3kg with the 35mm lens – onto it, due to
gravitational and centrifugal forces being too much for the small area the clip
covers; The Peak Design’s camera mounting plate also unscrews itself from the
camera every once in a while. Since its screw requires an Allan key, it cannot
be easily reattached. Besides, it happened to me two times that the camera
fell off the clip because I did not notice the screw unscrewing itself. Luckily,
I had a neoprene cover that was attached to my bag using an additional strap,
that caught it mid-air, so that the device did not hit the hard floor. I do not
recommend the Peak Design Camera Clip V3, especially with a heavier camera.
I tossed the Peak Design Camera Clip because it was so bad that it didn’t make sense to hold on to it any longer.
Joby UltraFit Sling Strap
During one of my trips to Melbourne, Australia, in which I had taken the Peak Design Camera Clip V3 with me, I decided to buy the Joby UltraFit Sling Strap at a local photography store. I was very frustrated with the Peak Design clip and needed an alternative that I could use to securely attach my camera to me. The UltraFit sling not only turned out to be cheaper than Peak Design’s clip, but it would also be more secure (read: Not spontaneously let go of the camera) and comfortable.
Ever since I got the Joby I have been using it as my go-to camera strap, replacing both the Langly as well as the Peak Design with this 110g lightweight strap.
Photo development
For developing the raw images I used to use my MacBook and Capture One. While I was heavily dependent on Adobe Lightroom for years, I eventually found a way to get rid of it and still make use of the Kodak Portra-inspired VSCO presets I’m almost always using on my photos. The overall process is actually very easy: I import the raws into dedicated libraries – I usually have one per city and another one containing only individual snapshots – apply my go-to-preset to them and export the ones I like best into a dedicated (structured) folder on my own cloud. I never really re-touch my photos in terms of spot removals or things like that and I usually export them in 4K resolution. That’s pretty much it.
Ever since I switched to a Linux laptop, however, I started using Darkroom instead of Capture One. I managed to import the VSCO presets there as well.
Bonus: A bokehlicious webcam
During the global pandemic of 2020 Sony extended their software collection with an app called Imaging Edge Webcam that allows to use Sony cameras as webcams. The software runs under Windows as well as macOS.
Under Linux, the camera can also be used as a webcam thanks to Video4Linux and
gphoto. With the v4l2loopback package installed and the module loaded
(modprobe v4l2loopback devices=2 exclusive_caps=1) it’s possible to stream the
video to e.g. /dev/video1 by using the following command:
gphoto2 --stdout --capture-movie \
| ffmpeg -i - -vcodec rawvideo -pix_fmt yuv420p -threads 0 -f v4l2 /dev/video1
/dev/video1 then can be used as a webcam device in the browser or as a camera
stream in OBS.
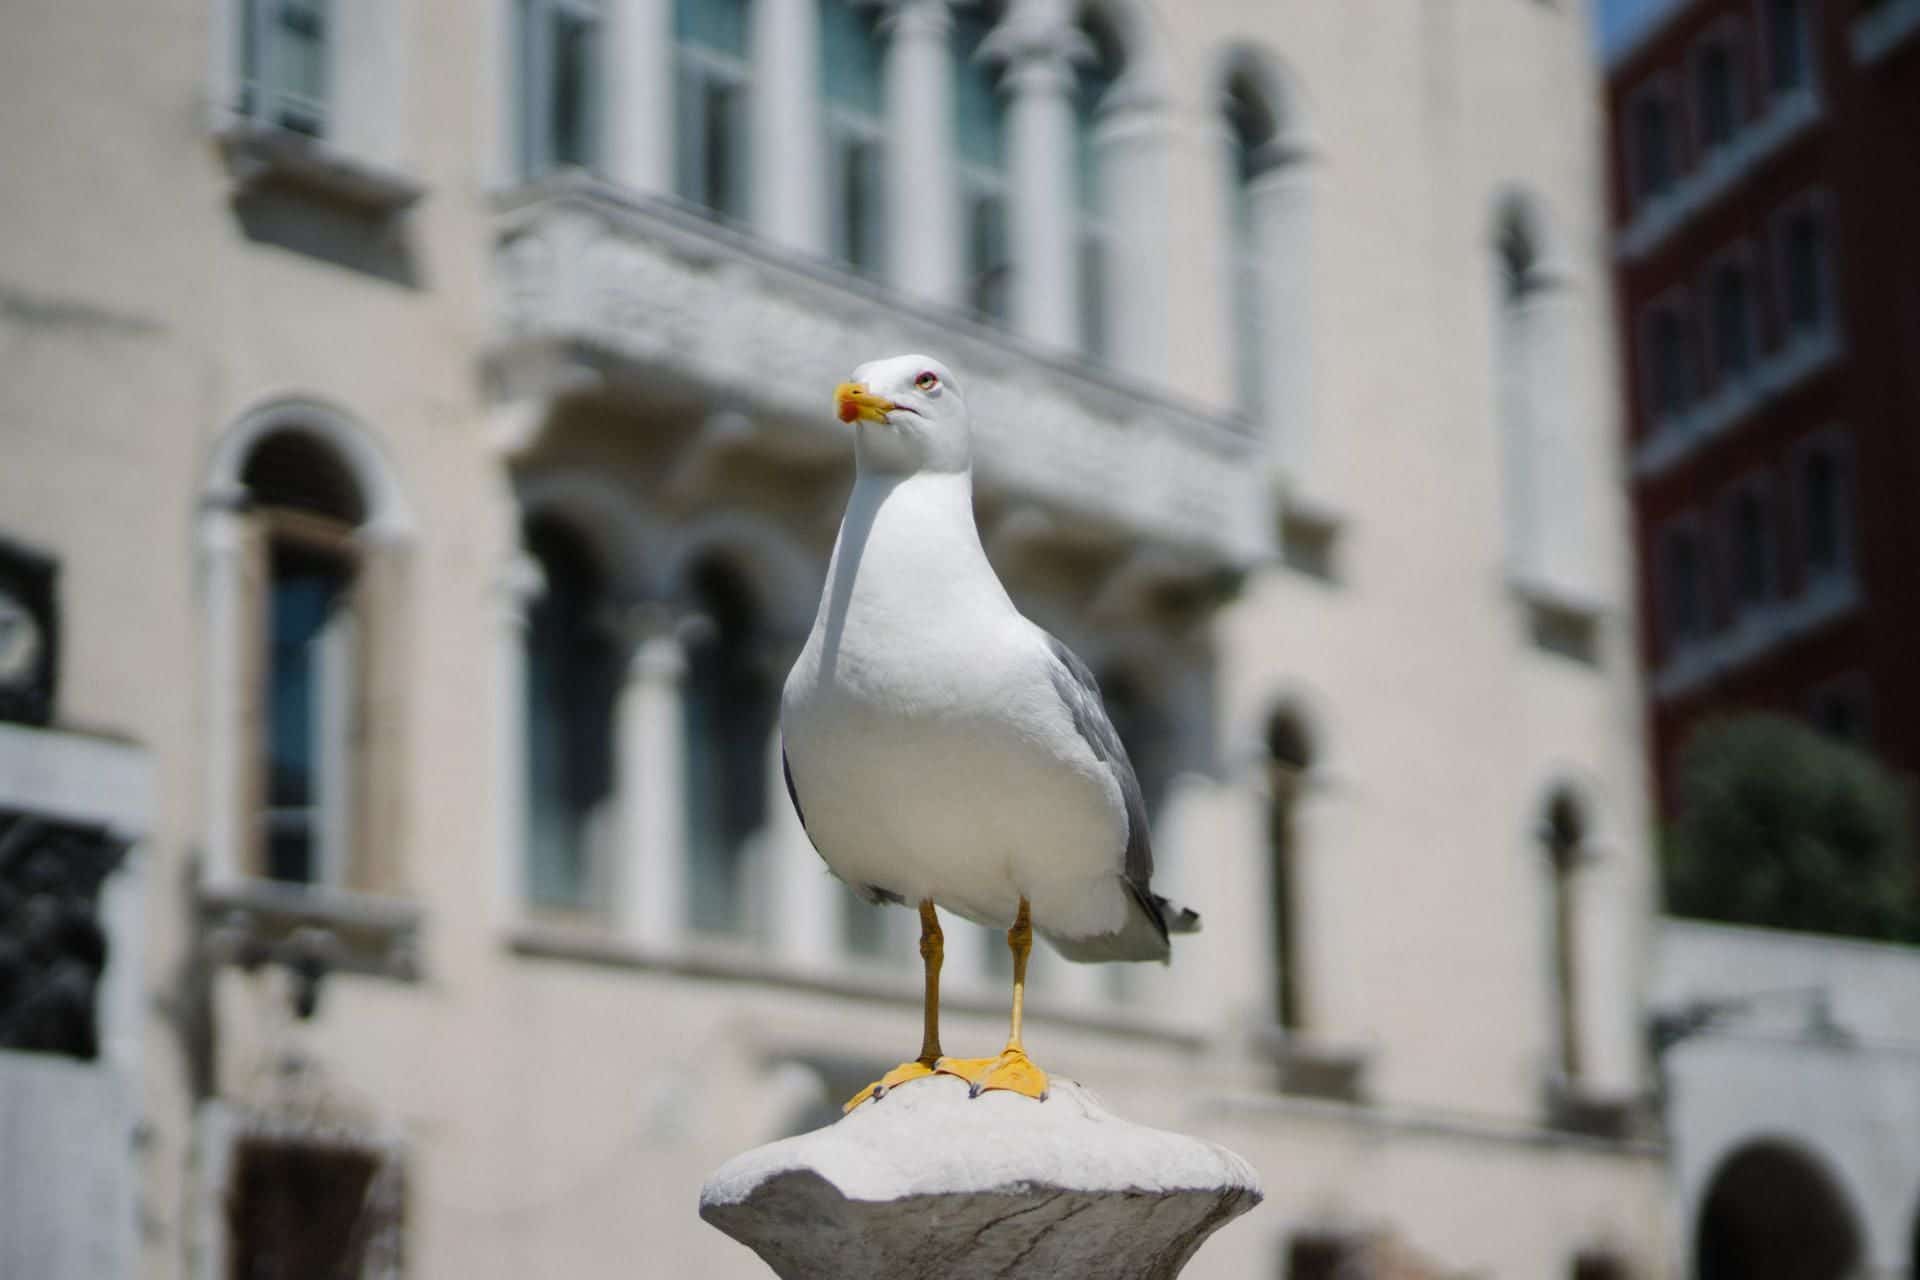
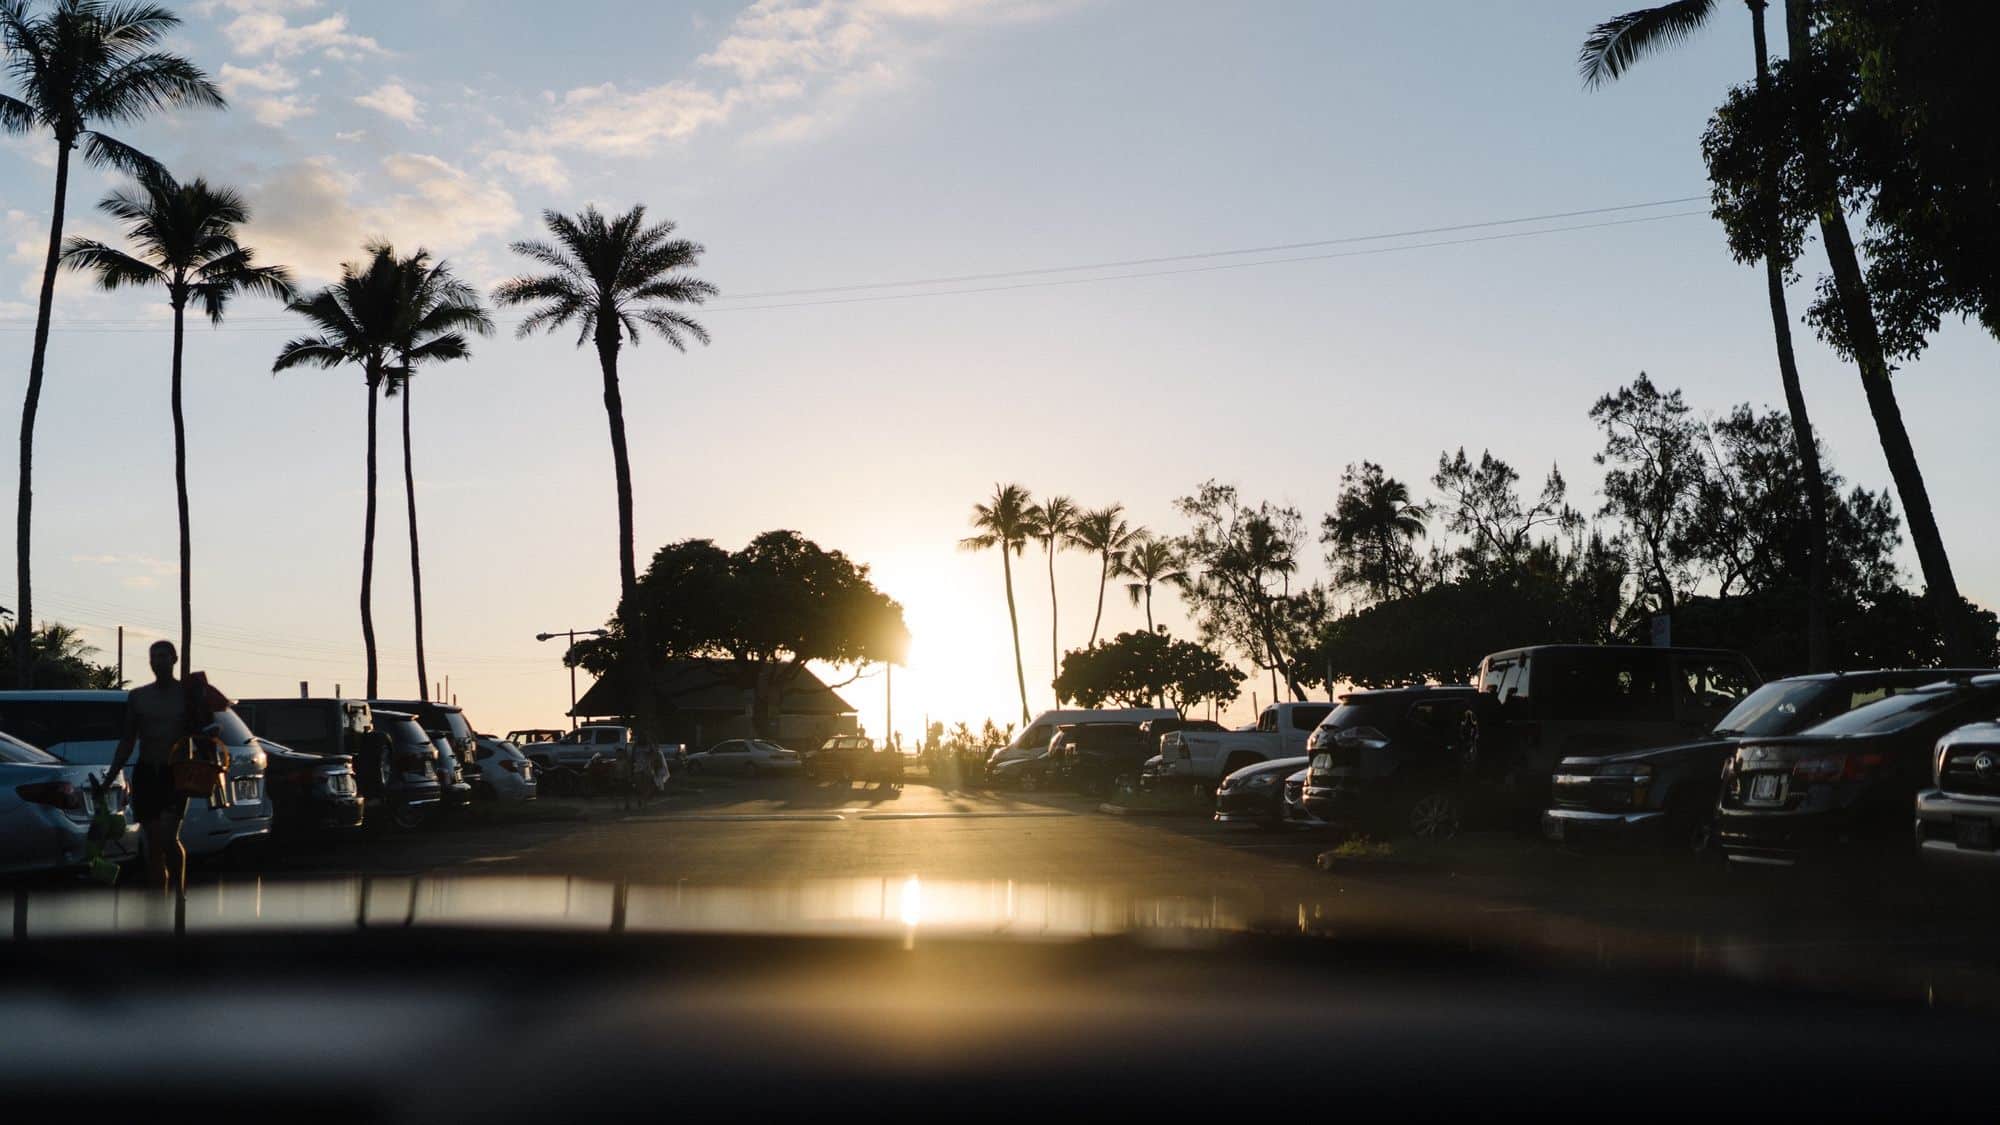
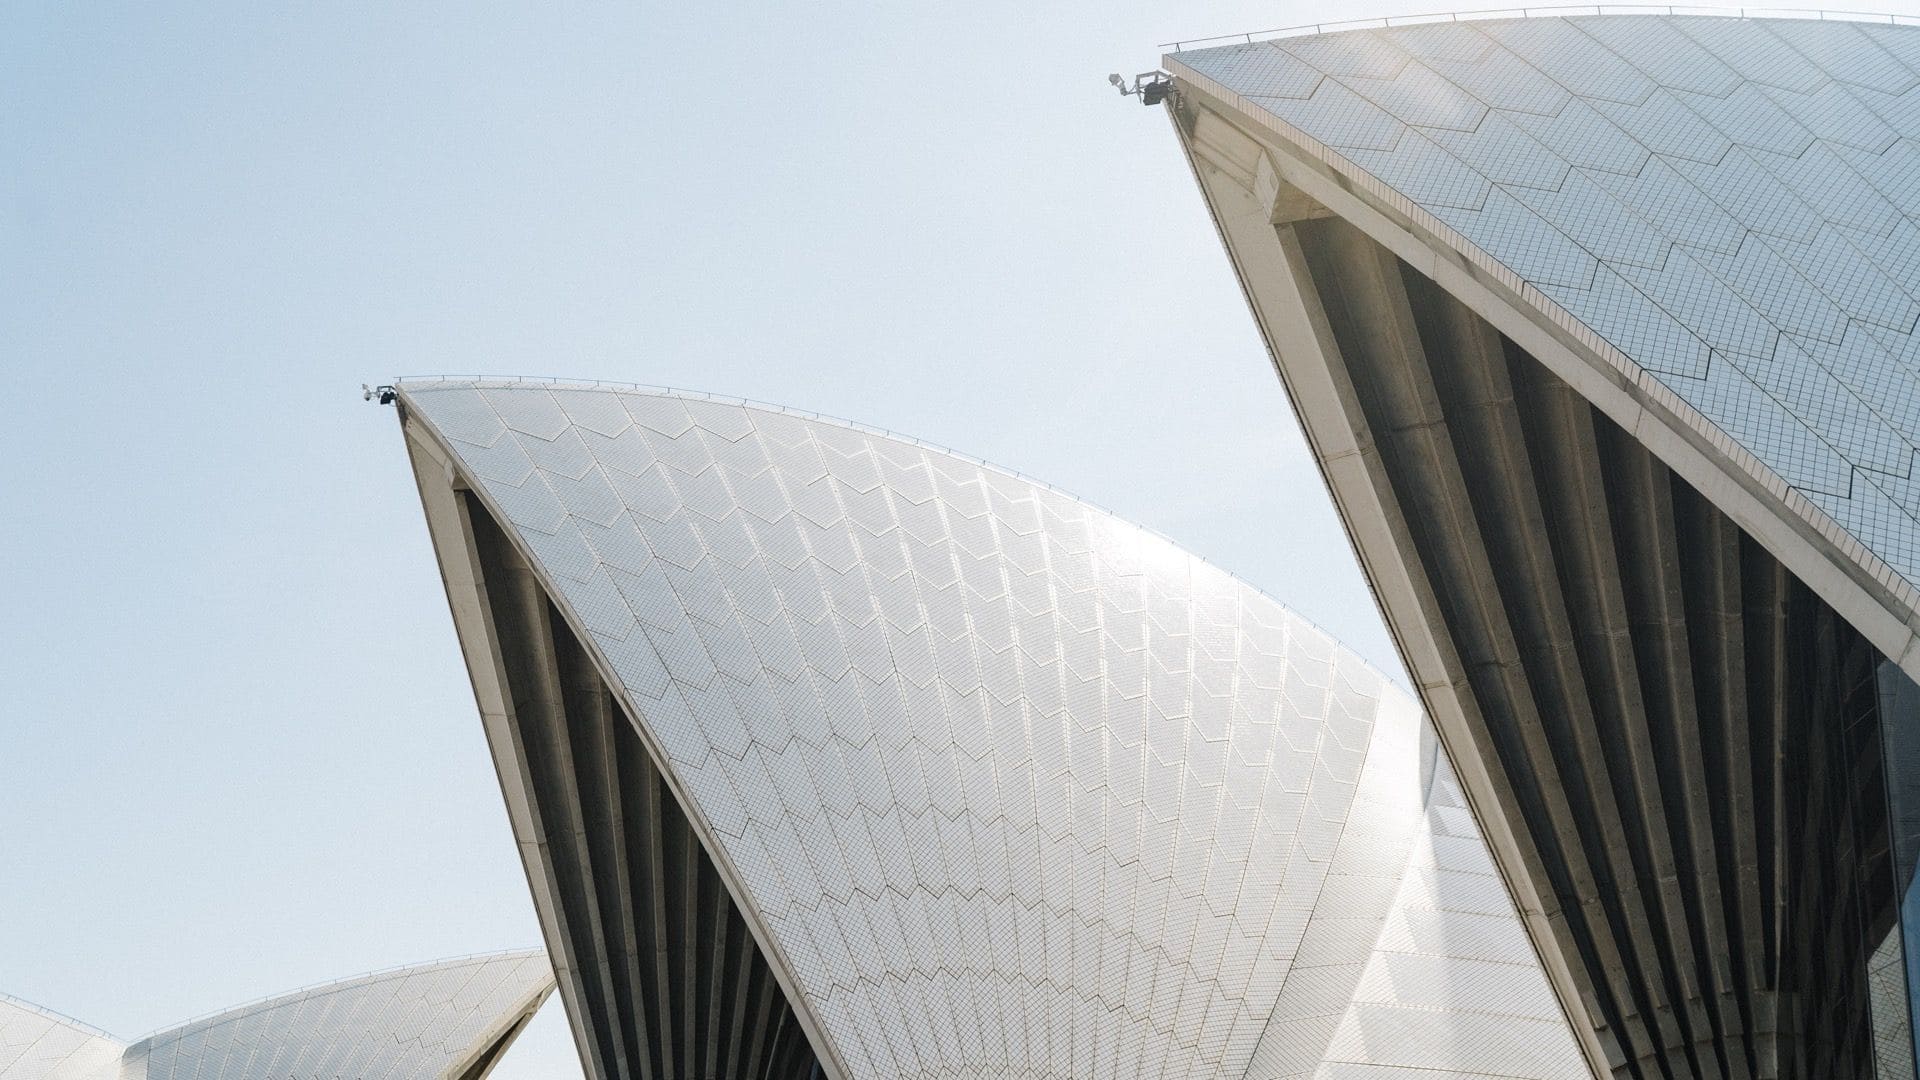
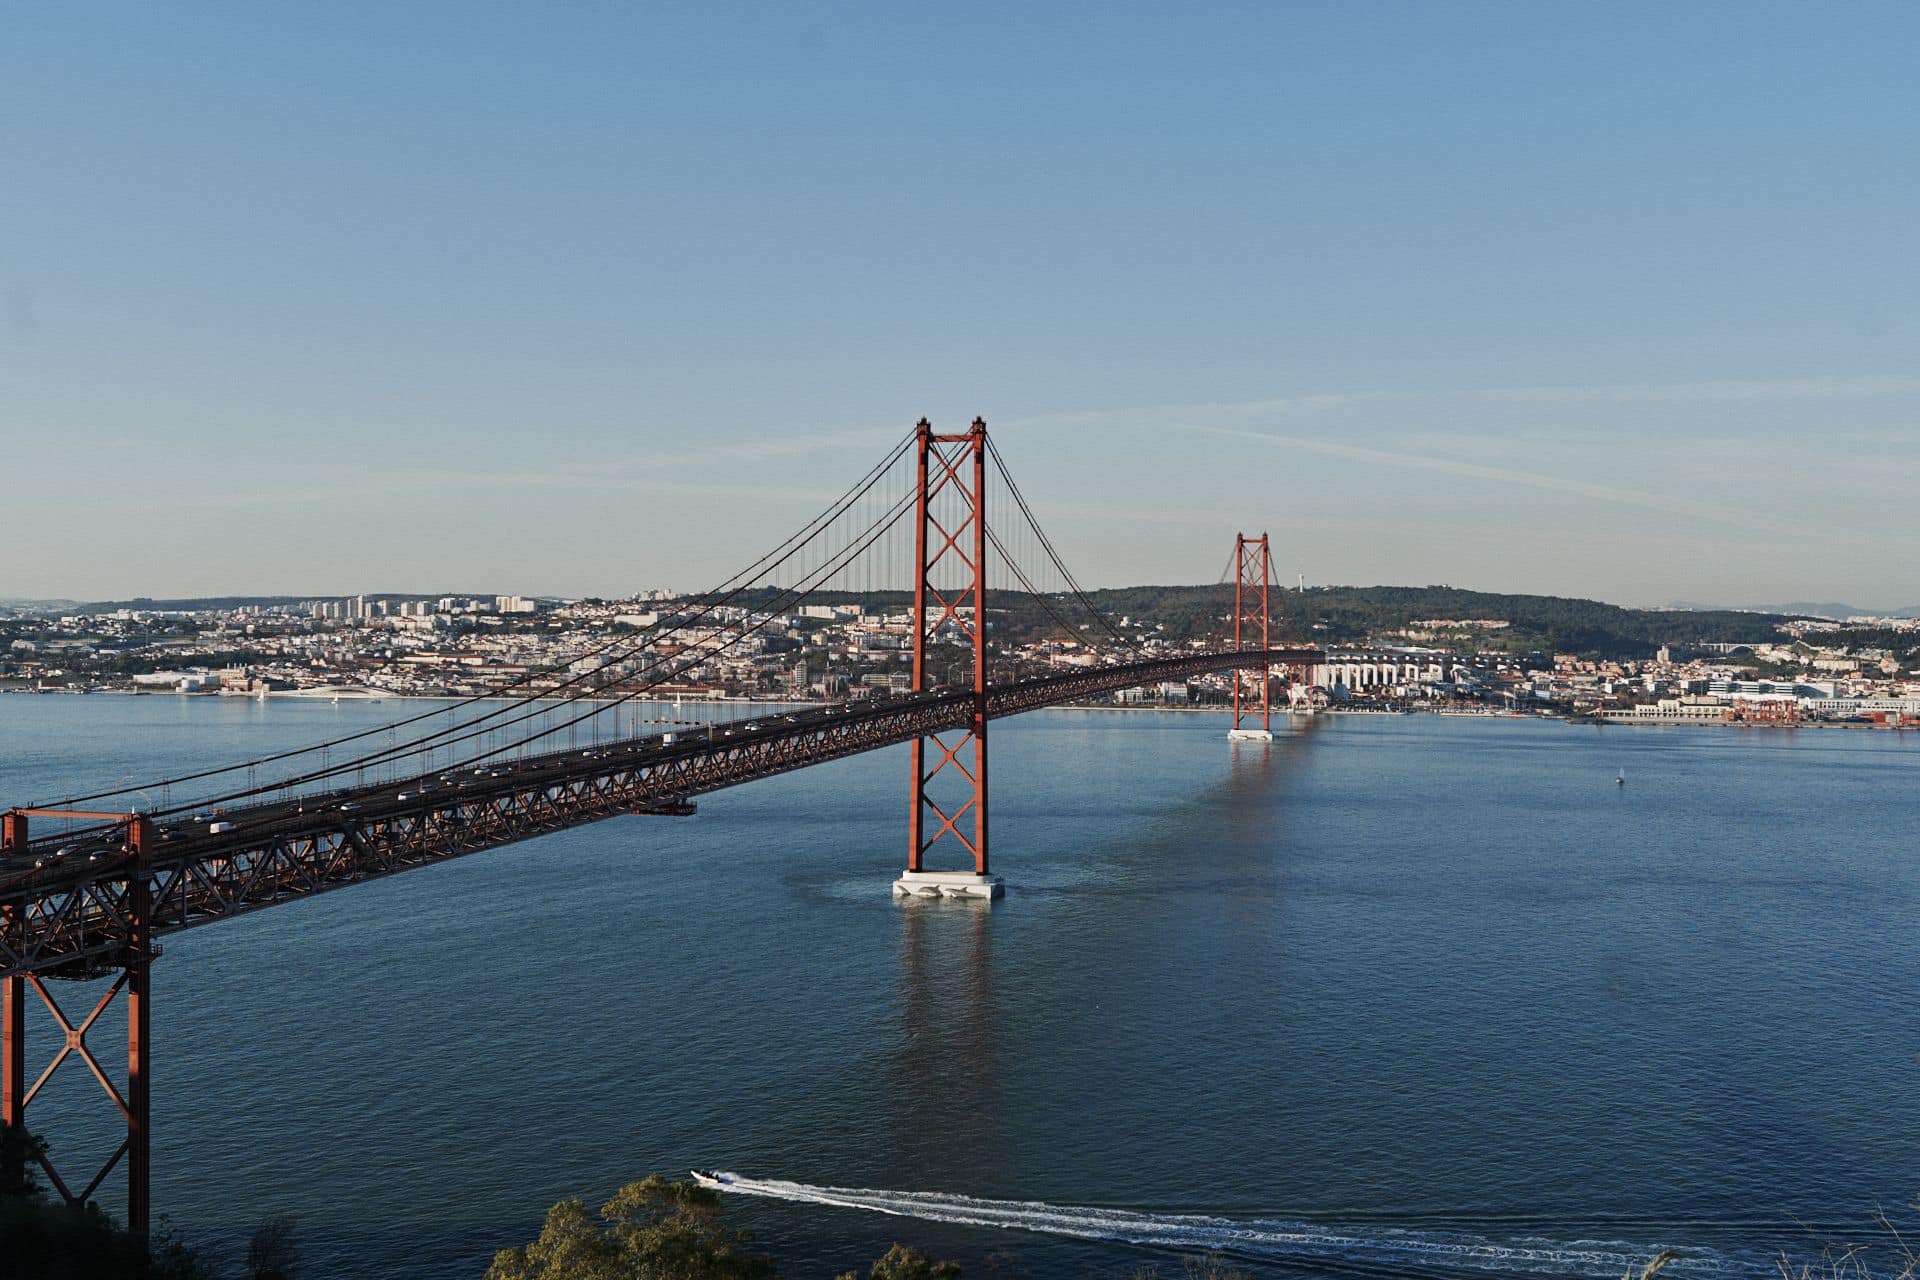
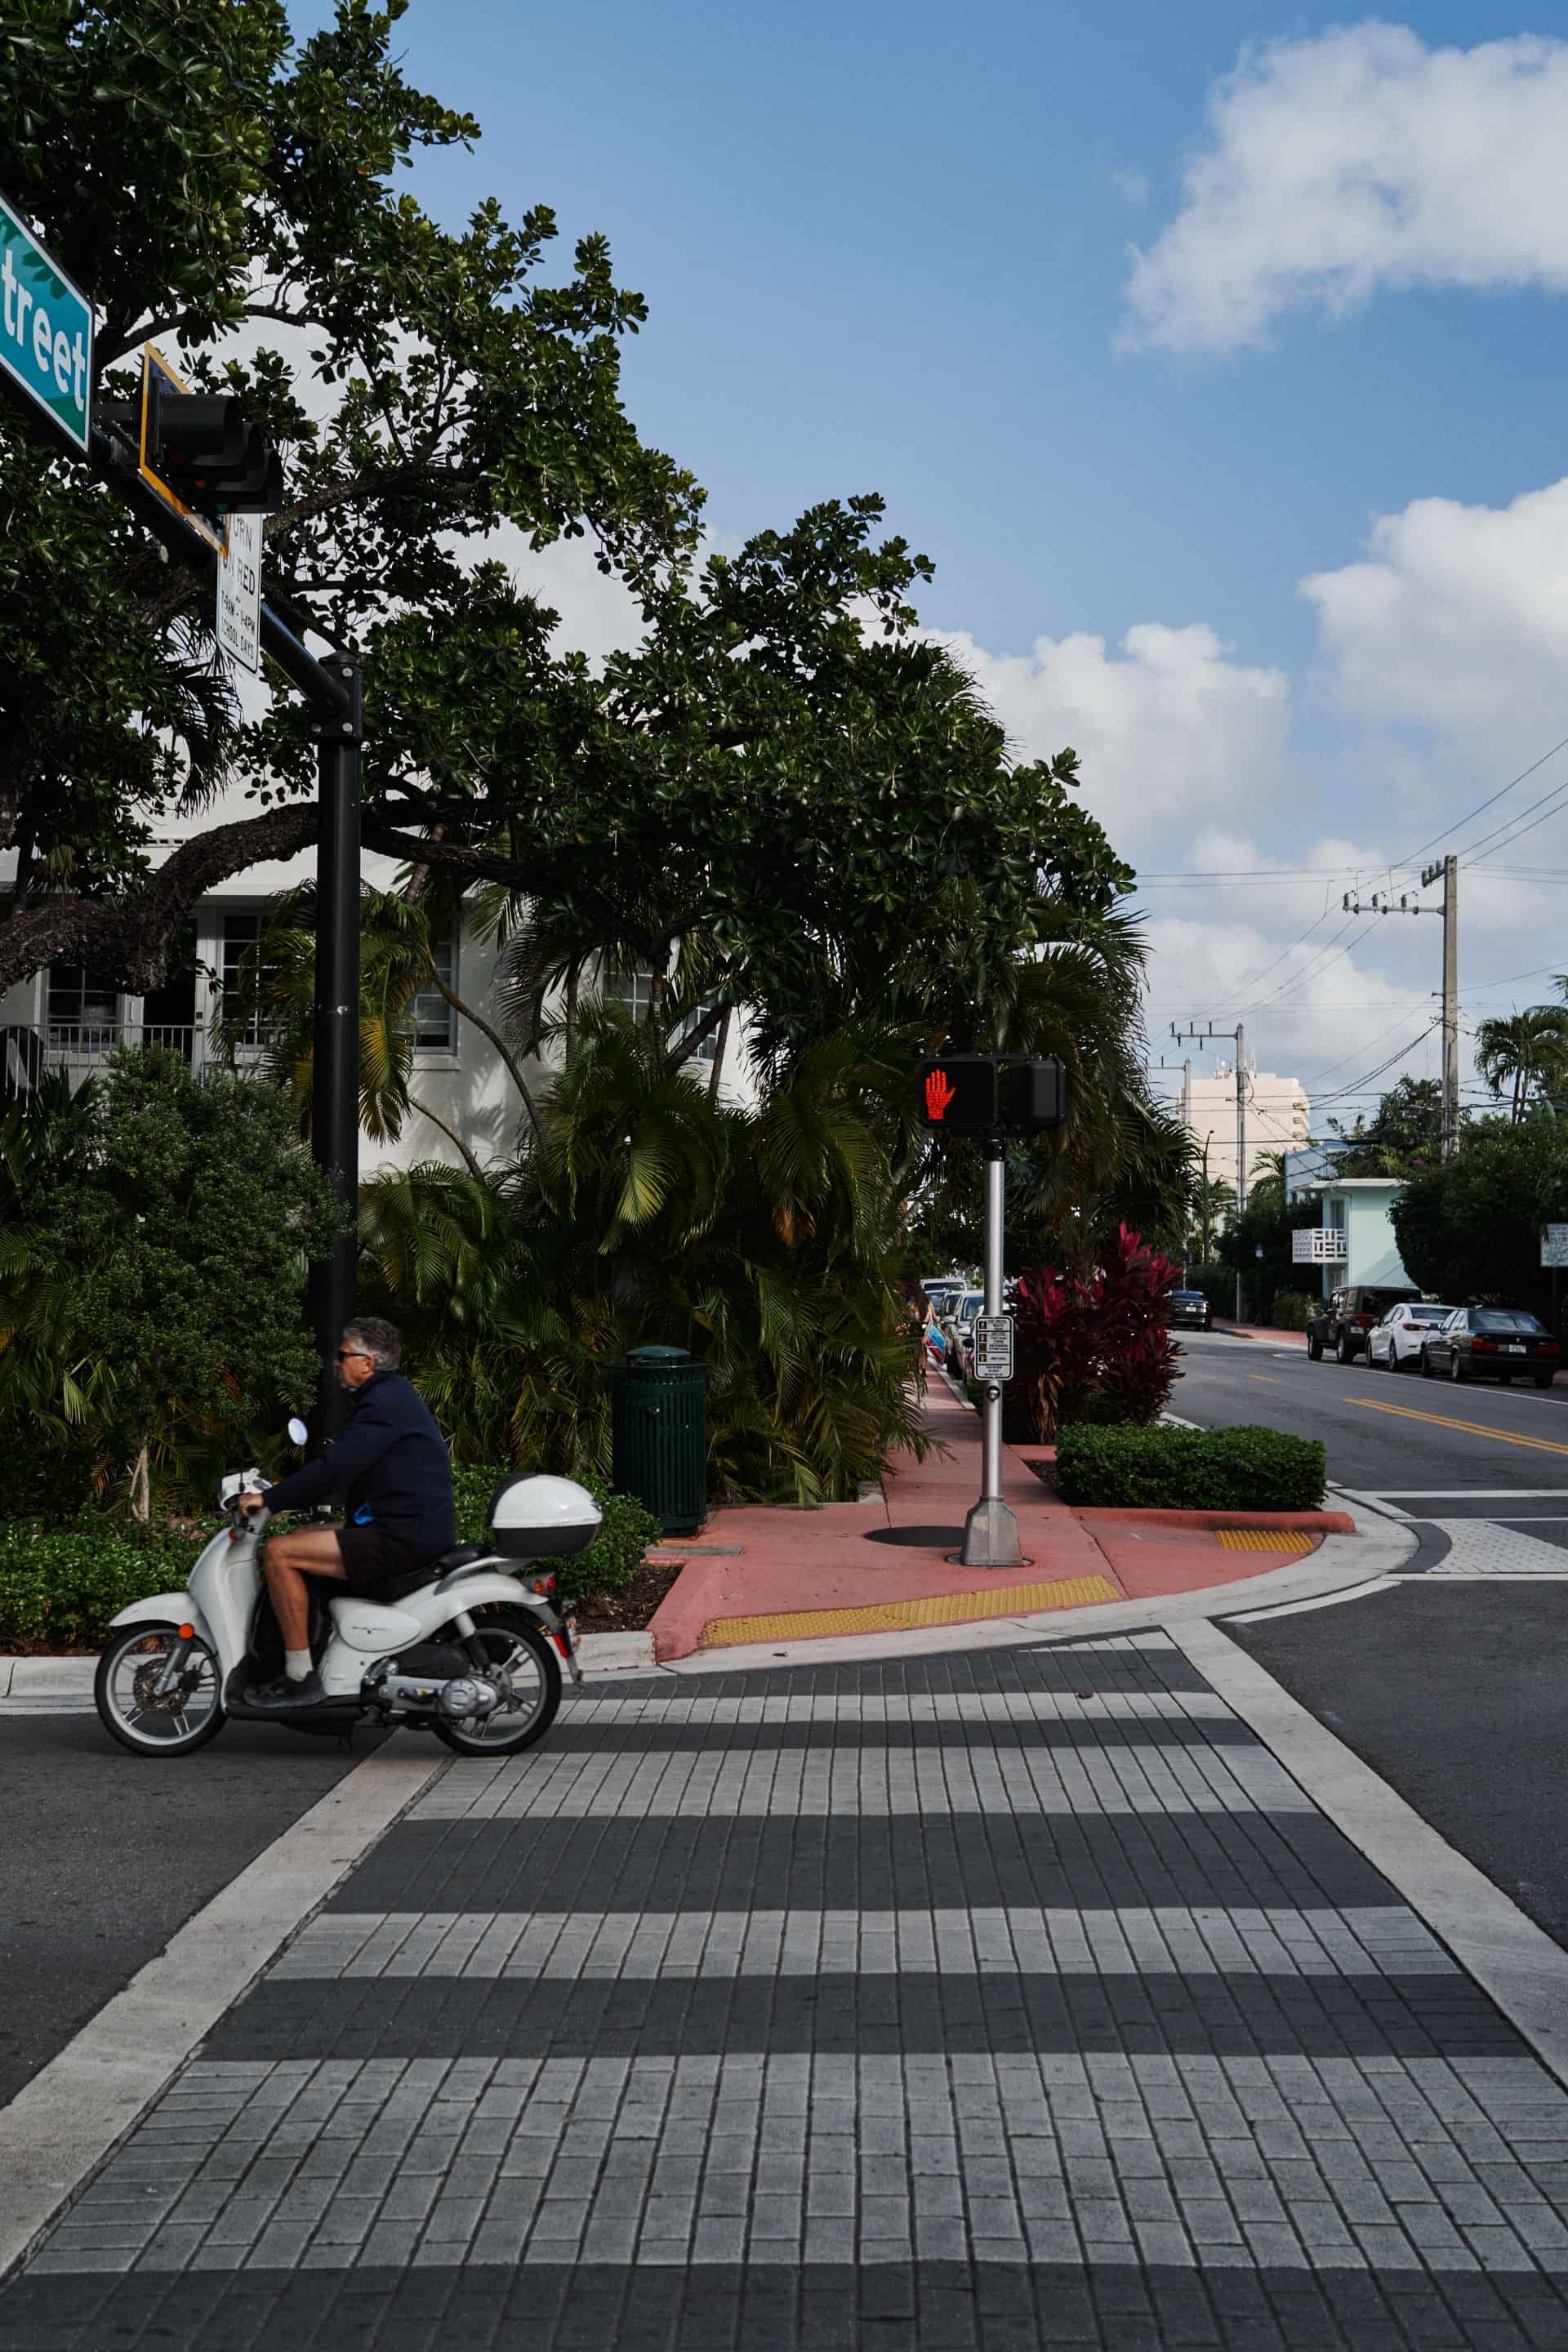
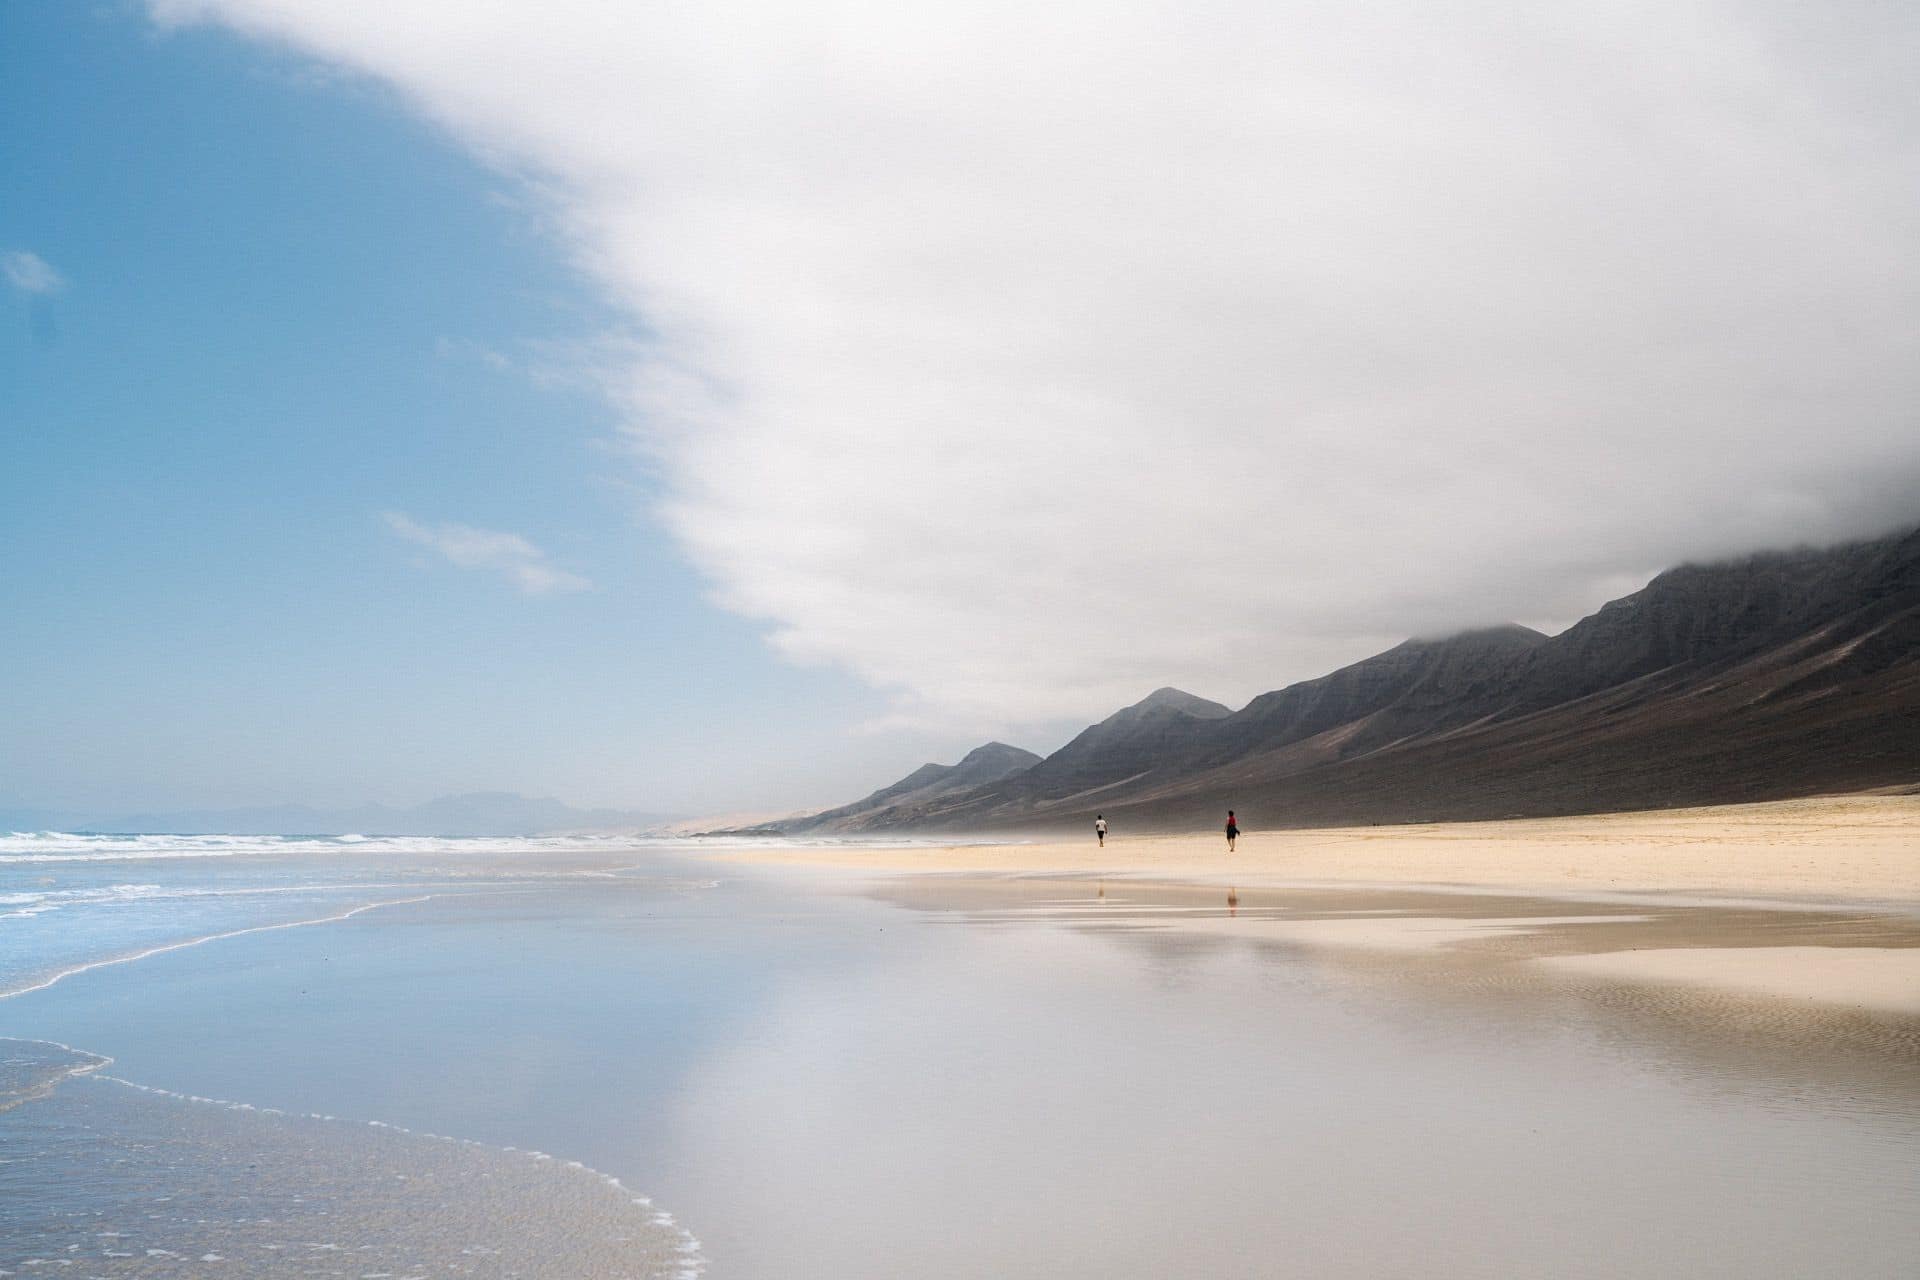
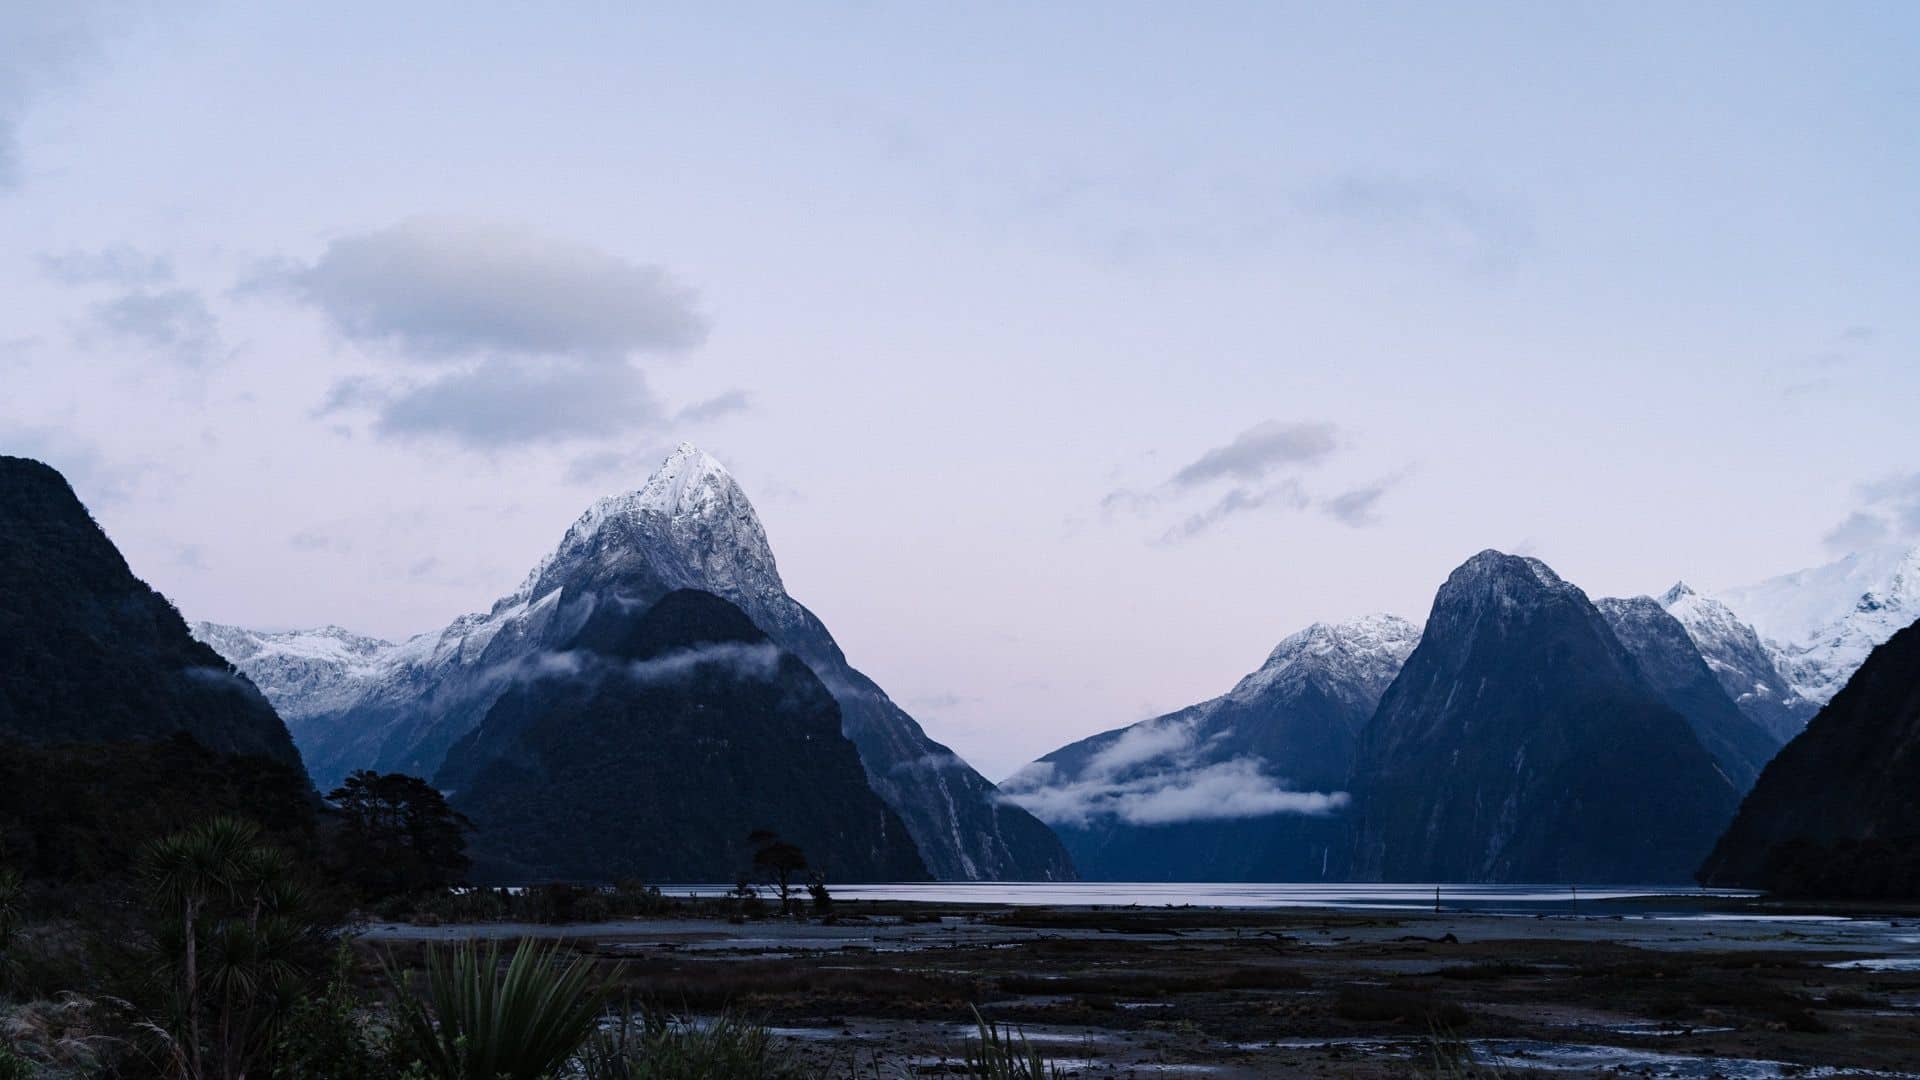
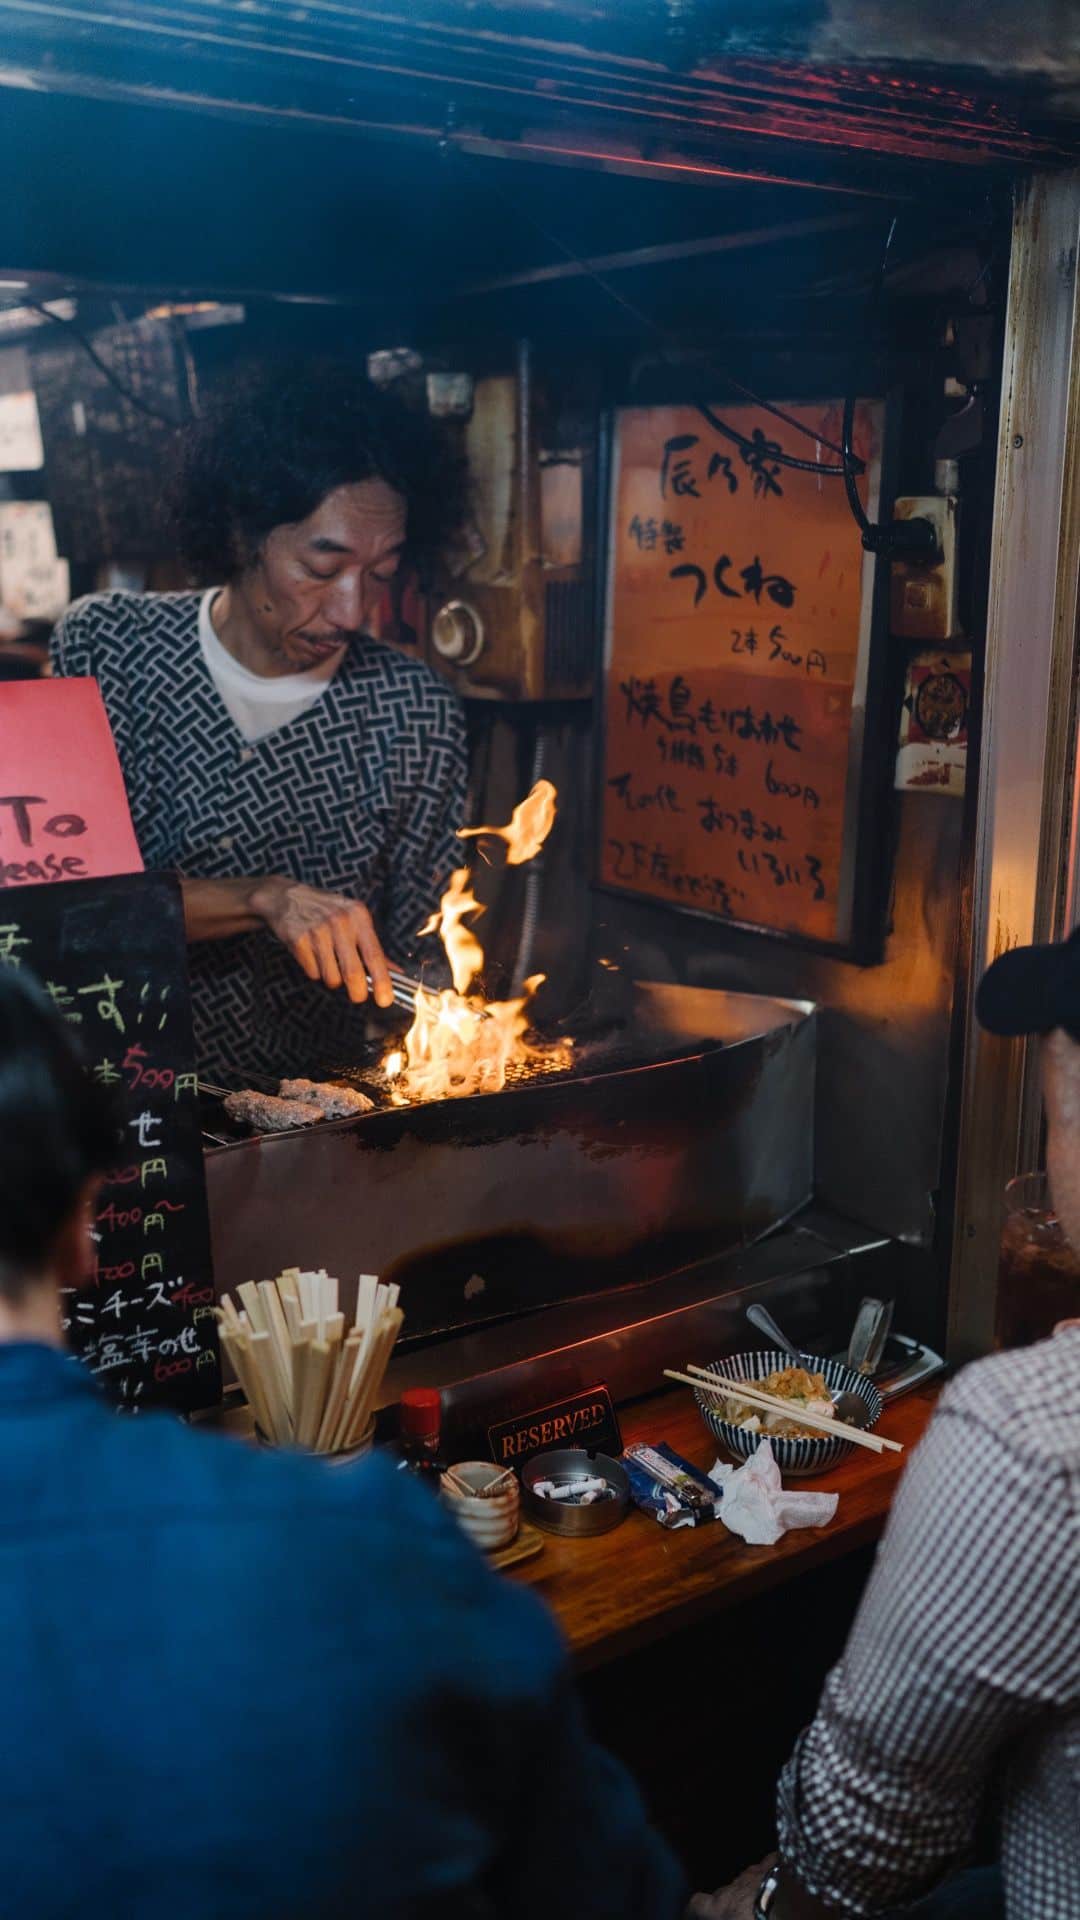
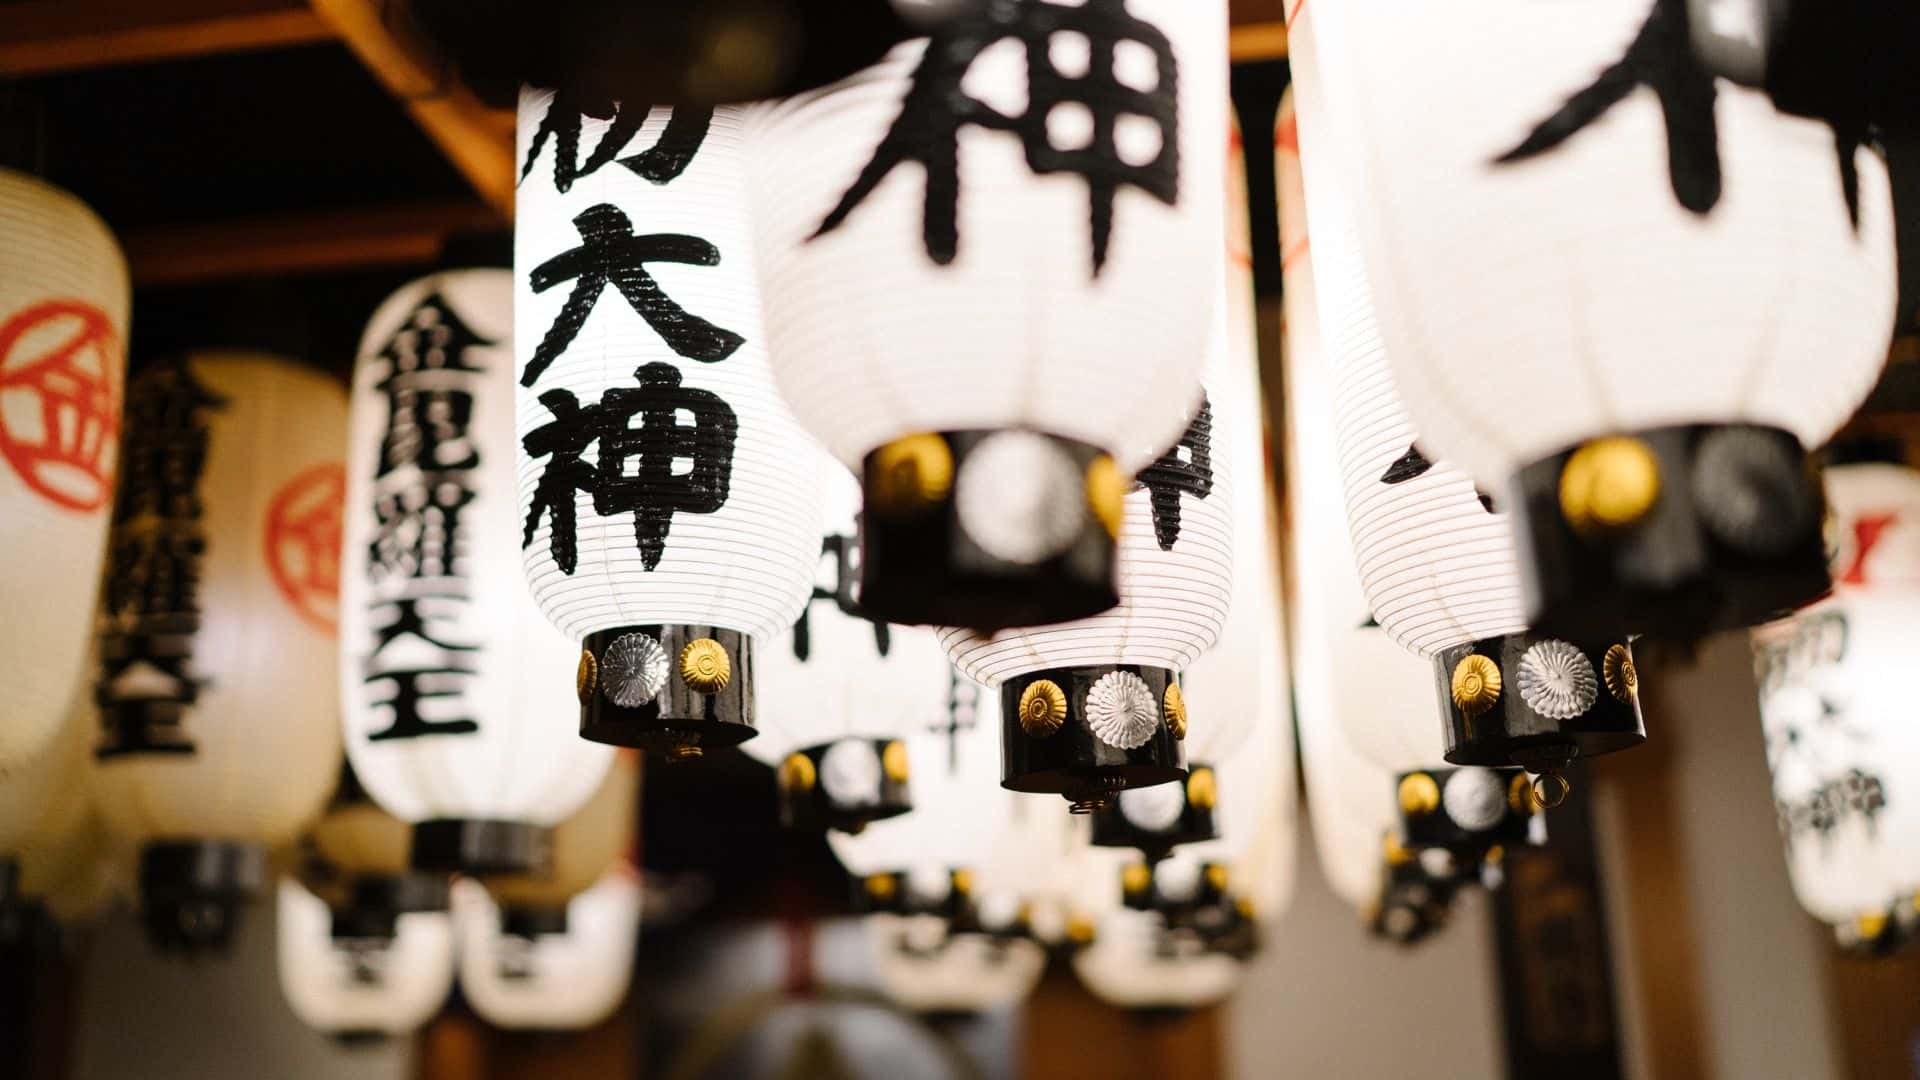
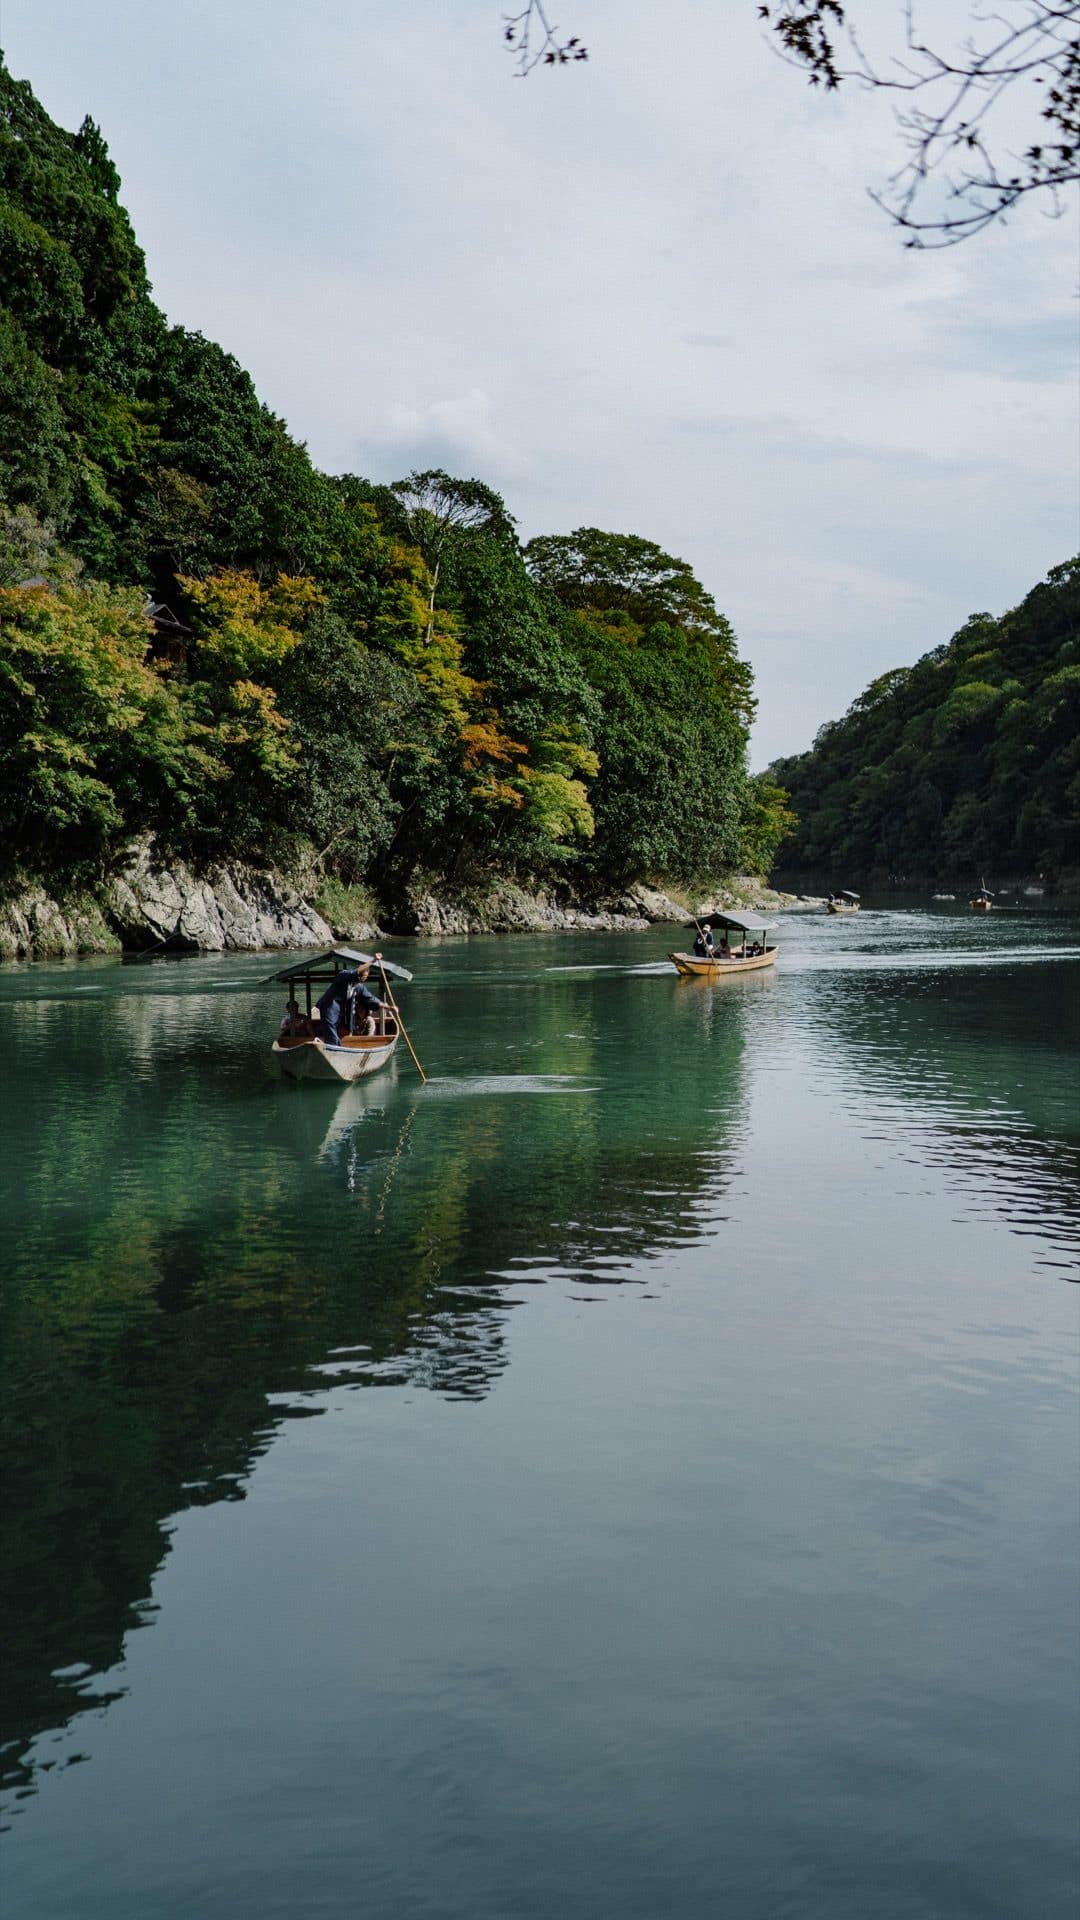
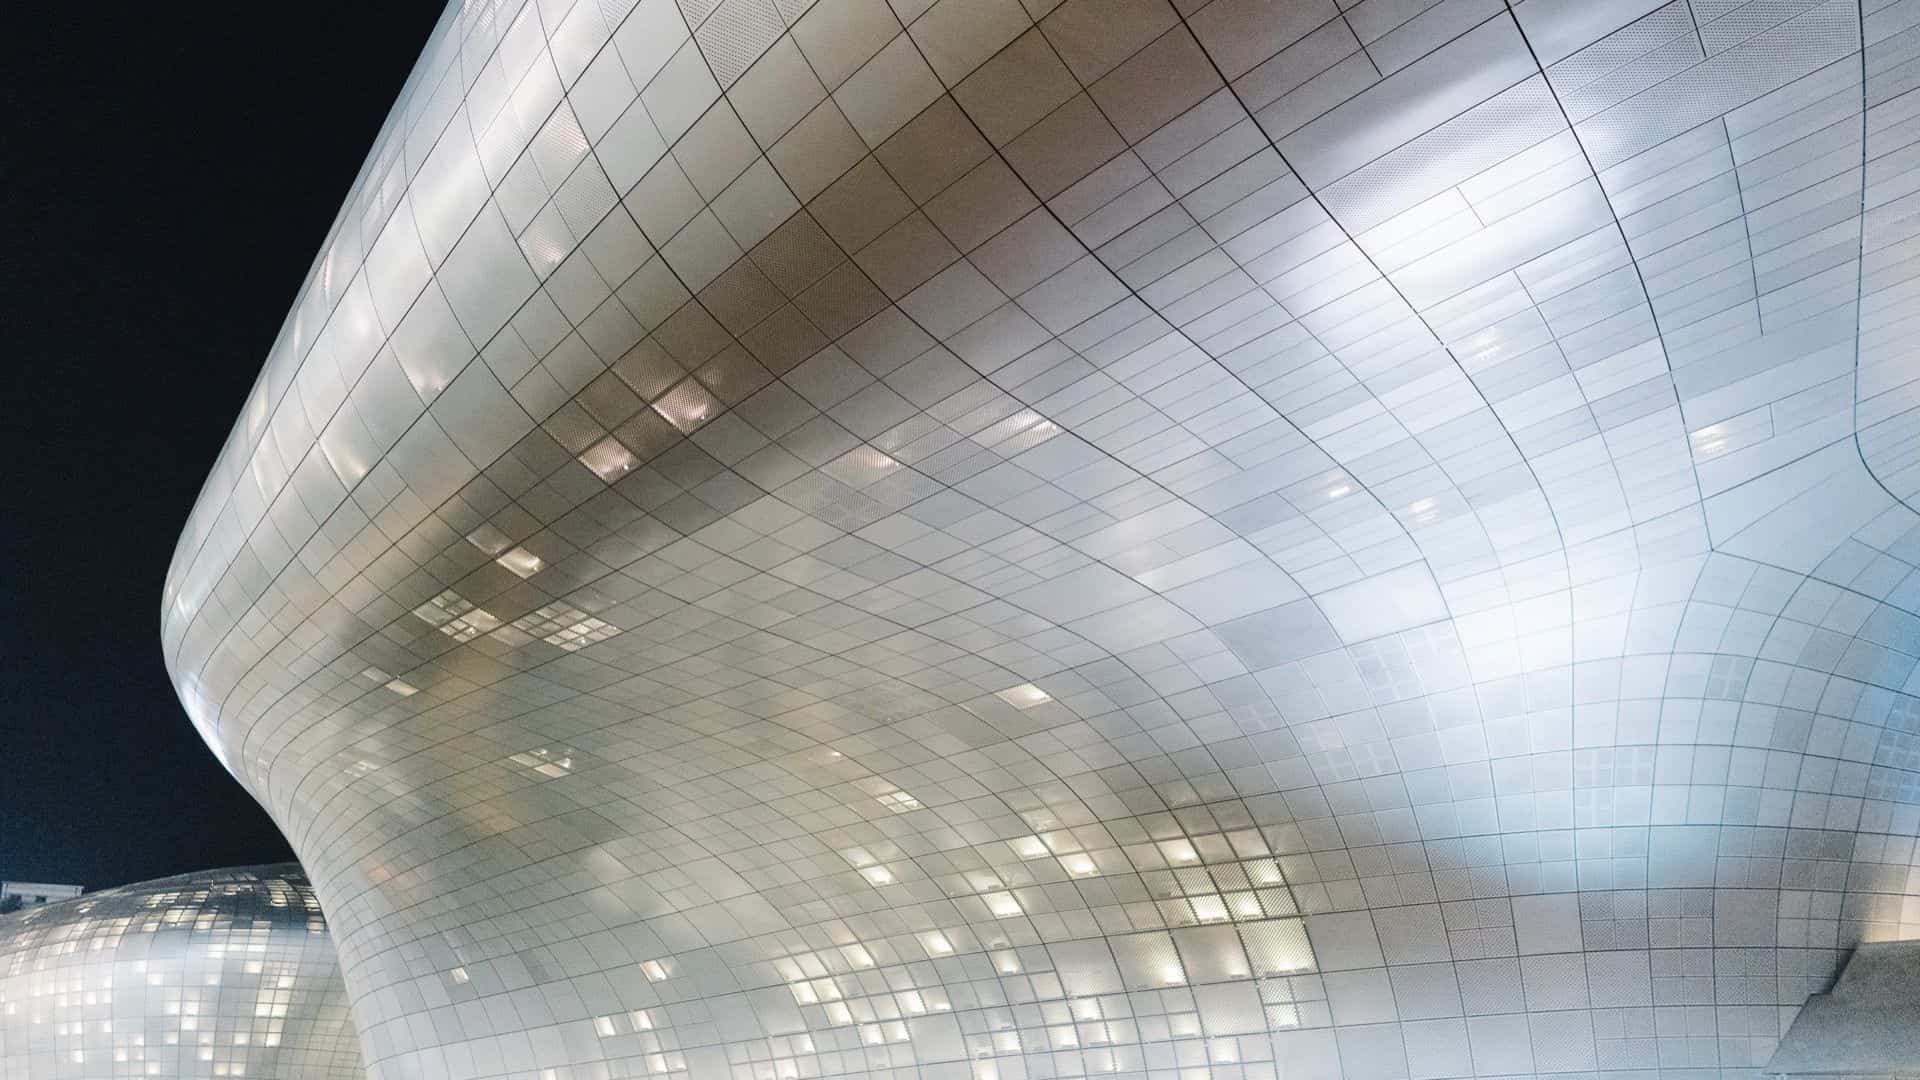
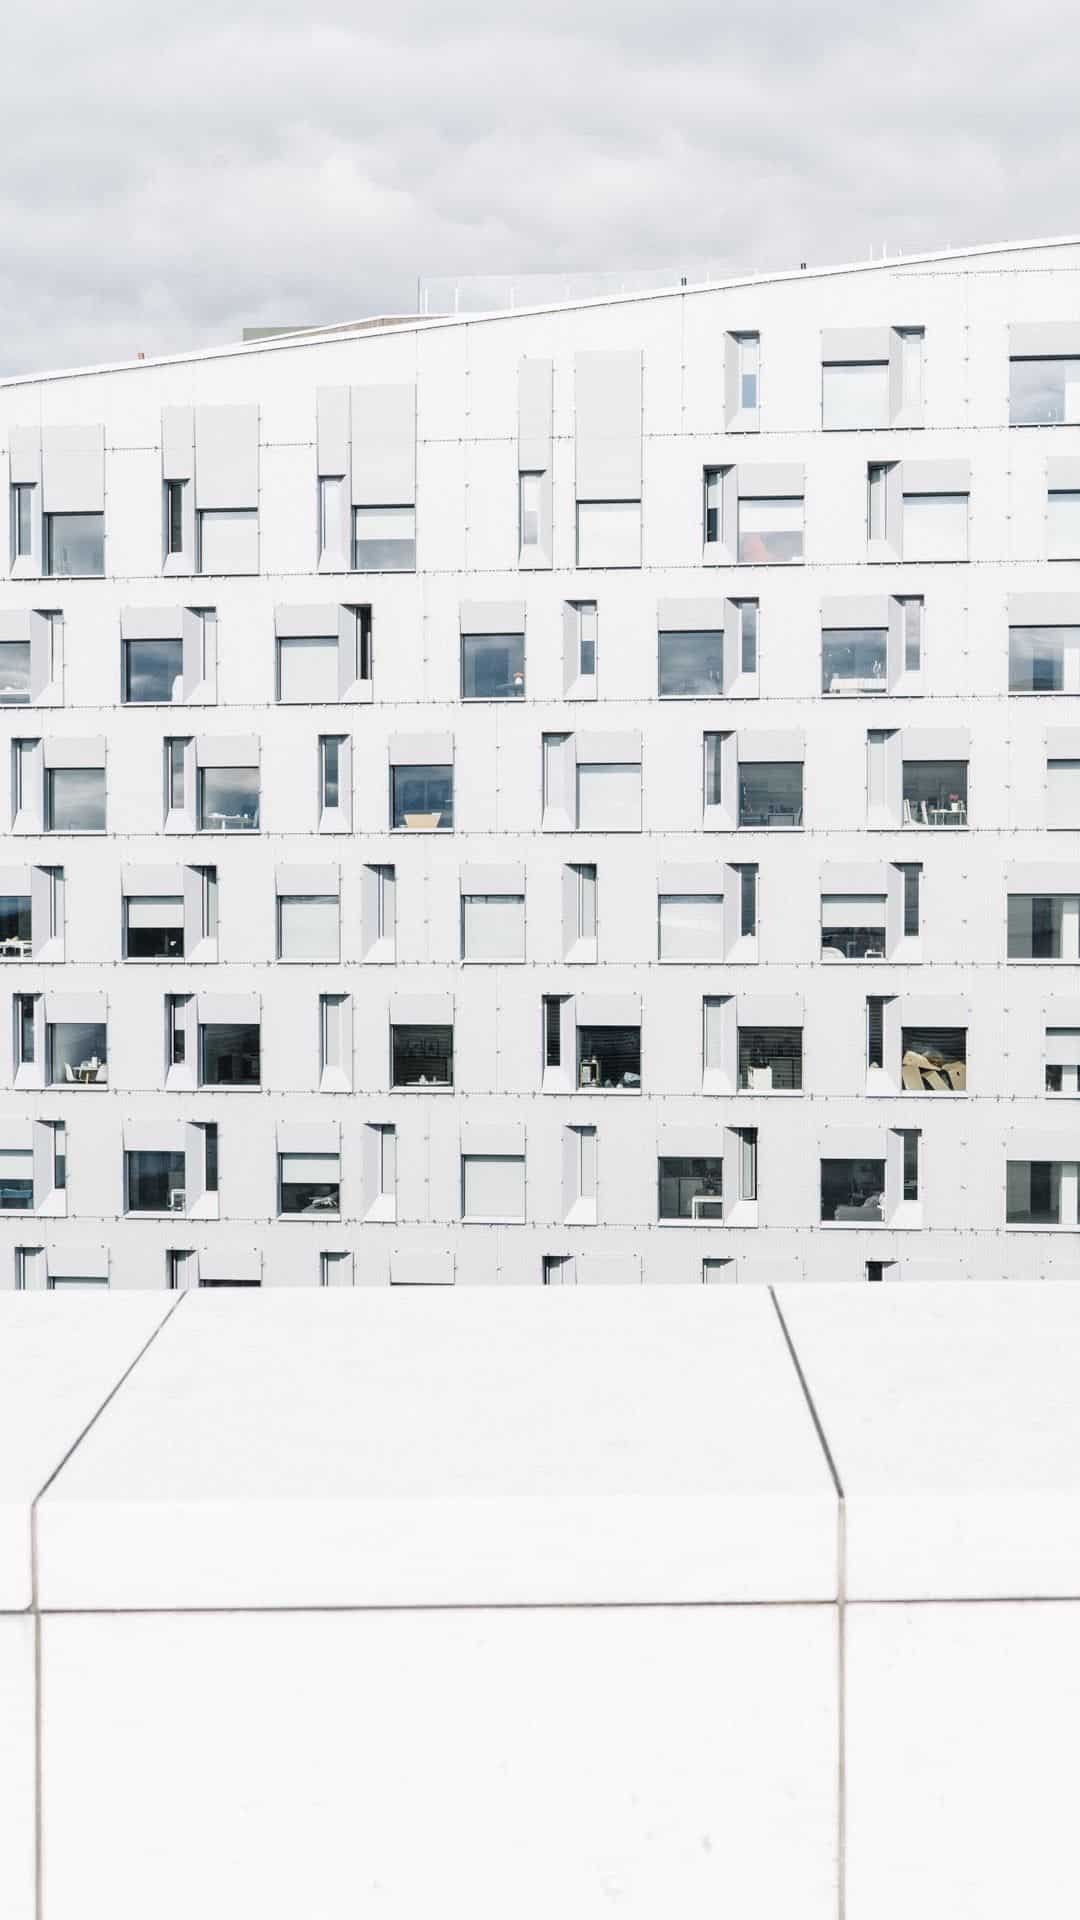
Photography Selection


Enjoyed this? Support me via Monero, Bitcoin or Ethereum! More info.